Lola and Finn's Mum

Lola and Finn's Mum

Thursday, 30 October 2014

Piggin' lovely! Pork Chops with Chorizo and Pepper Sauce with Manchego Rice


Day 4 of my blogging marathon. I am posting every day this week because who knows when I will be able to post again once I am back at work. Who knows if I will ever be able to cook again let's be honest, let alone take pictures of it and then blog about it. Anyway, in the spirit of running my freezer down so I can stock them in the lead up to Christmas full of cut price whoopsies and mark downs, I have been scouring the lower echelons of the freezer for something to defrost and cook. Lo and behold I found pork chops, which I quite like but they don't really do for some of the others in the Lola and Finn household, especially dad, who has pronounced pork as tasteless on many occasions. And, in all fairness to him, he is probably right. I think pork can be quite disappointing, especially supermarket pork, which this was. So, a quick Google turned up a Rachael Ray recipe which I thought would be great for ramping up the flavour a bit. I adapted the recipe to what I had, my adaptations listed in red, below. The notable change I made was leaving the sauce chunky by not blitzing the peppers in a food processor. I preferred the idea
 
Have to give a big shout out to Manchego rice by the way. I bought some Manchego cheese from the supermarket ages ago because it was a whoopsie, and after using it once, it was starting to look a bit sorry and dried out in the fridge. Some vigorous grating later and it was given a new lease of life, as was the rice, which was really tasty. Lola has confessed that she could probably eat buckets of the stuff.
 
Pork Chops with Chorizo and Pepper Sauce with Manchego Rice, adapted from the original recipe by Rachael Ray, which you can find here.
 
Serves Lola, Finn, Mum and Dad generously
 
Ingredients:
 
2 tablespoons extra-virgin olive oil, 2 turns of the pan, plus some for drizzling
4 large, boneless centre-cut pork chops, 1 1/2-inches thick
1/2 tablespoon paprika or smoked sweet paprika, half a palm full ( I used paprika 'picante')
Salt and pepper
1/4 pound chorizo, casing removed, finely chopped
2 cloves garlic, chopped
1 small yellow onion, chopped
1 tablespoon chopped thyme leaves, 4 sprigs (I used a tsp of dried thyme)
1 (16-ounce) jar pequillo peppers or roasted red peppers, drained (I used 250g of frozen peppers, defrosted)
1/2 cup flat-leaf parsley, a couple of generous handfuls
1/4 cup dry sherry or dry white wine, eyeball it (I used white wine)
 
Manchego Cheesy Rice:
2 tablespoons butter
1 1/2 cups white rice
3 cups chicken stock
Handful flat-leaf parsley, finely chopped
1 cup grated Manchego cheese
Salt and pepper
 
Method
 
Preheat oven to 375 degrees F.


Heat a large frying pan over medium-high to high heat. Add extra-virgin olive oil, 2 turns of the pan. Season the chops with paprika, salt, and pepper. Place chops in skillet and sear meat to caramelise, about 2 minutes each side.
 
Start to cook the rice (the actual method for the rice is below)
 
Transfer the chops to a baking sheet and place in the oven to finish off, 8 to 10 minutes, or until meat is firm to touch, but not tough. Remove from the oven and let the chops rest covered with a piece of aluminium foil for a few minutes.


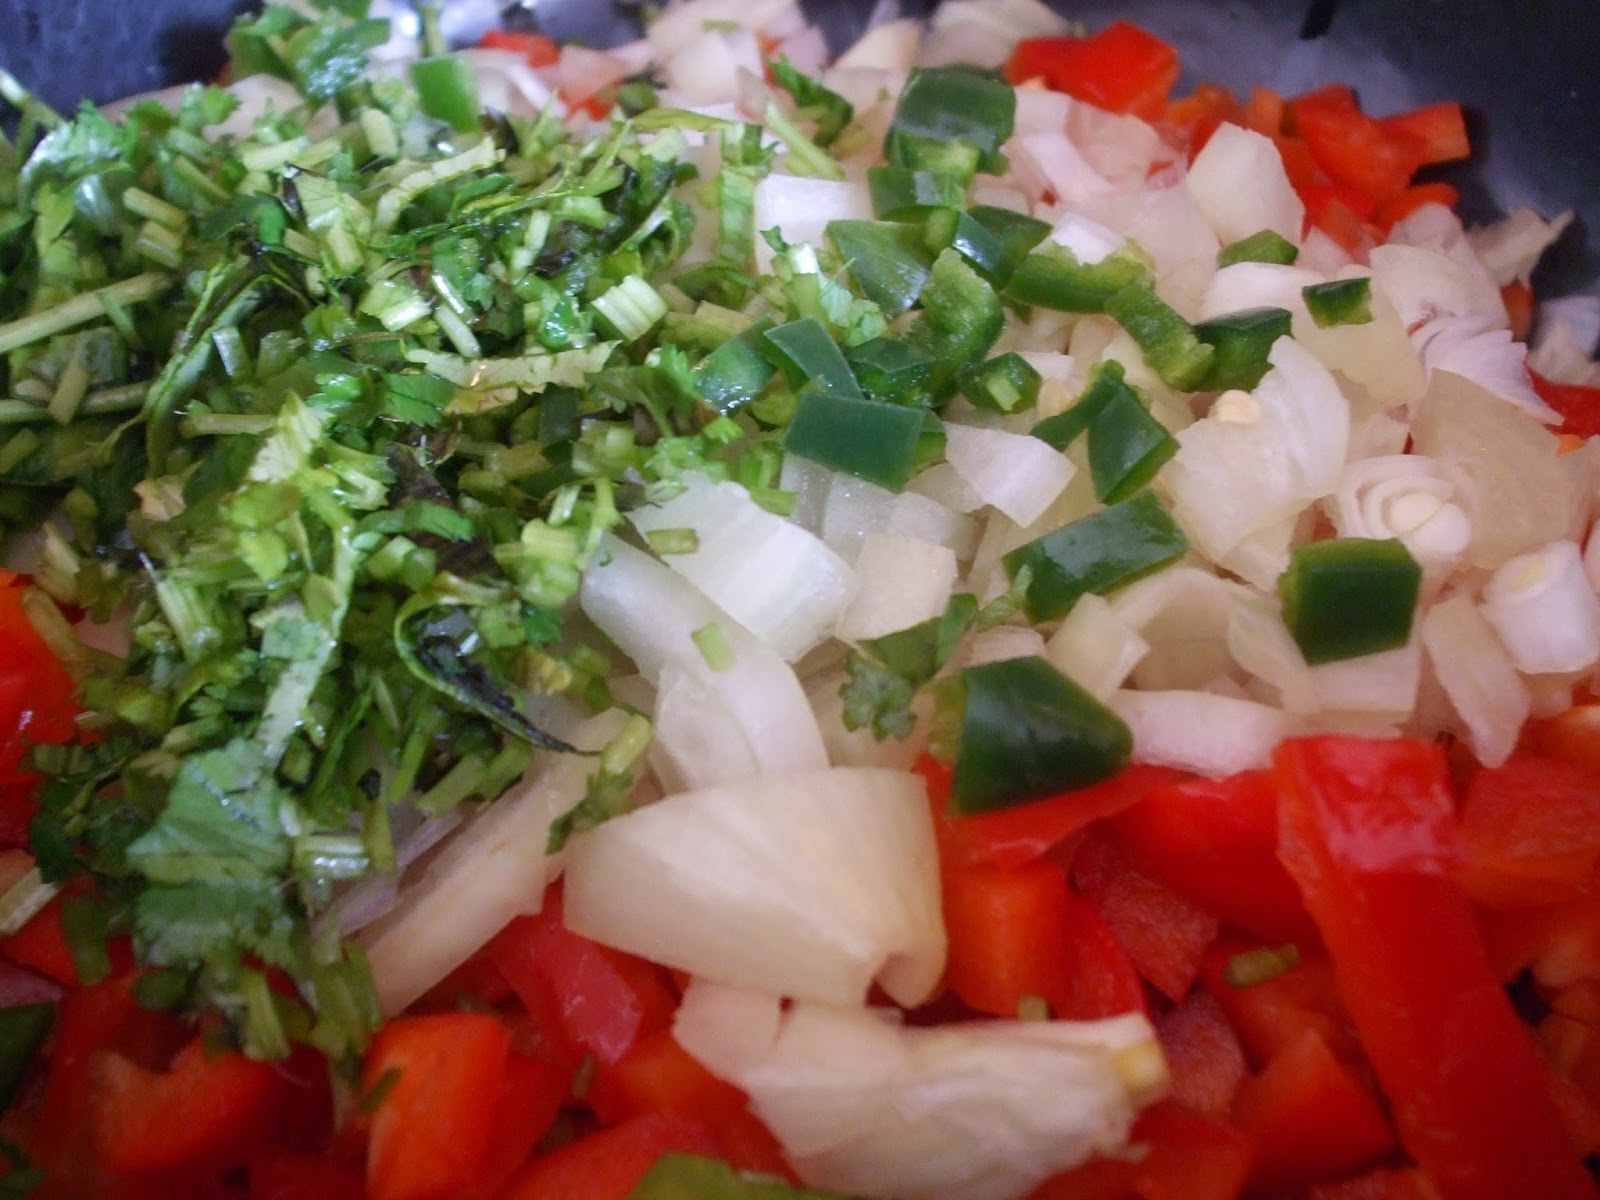
While the chops are in the oven, return the frying pan to the cook top over medium heat. Add the diced chorizo and cook stirring frequently for 2 minutes or until the chorizo starts to release its paprika tinted juices. Add the garlic, onion, thyme, salt, and pepper.
 
Cook meat and onions for about 3 minutes.


Add the wine to the chorizo and onions and stir, then add the chopped peppers. Cook another minute or two or until the peppers are heated through.
 
 
Place a chop on each dinner plate and top with the chorizo-roasted pepper sauce.  At this point, the rice should be ready to add the cheese and parsley to (see below):
 
Manchego Cheesy Rice:
                       
Melt butter over medium heat in a medium saucepan. Add rice and toast in butter for a couple of minutes.
 
Add stock and bring rice up to a boil.
 
Cook the rice until it is tender and liquids are absorbed. Remove from heat, fluff rice with fork, then stir in the parsley and cheese. Season the rice with salt and pepper, to taste.


Wednesday, 29 October 2014

Bonfire Fodder - Buffalo Chilli

 
If I was having one of those bonfire type gatherings, this would be my food of choice, because it is easy to scale up or down, looks as well atop a jacket potato as it does on some fluffy rice, and warms your bones as you stand out watching hundreds of thousands of pretty sparks shoot across an inky sky. Of course, some carefully chosen alcohol would also keep you warm against the cold, but it doesn't keep your hands warm as you wrap your hand around the glass, whereas a bowl of this stuff warms you inside and out, and tastes splendid.
 
Buffalo. I am not deliberately trying to be fancy. The fact is, it was at the back of the freezer, almost in the permafrost (I need to defrost the freezer) and I bought it because it was cheap. In reality, this is how I acquire the vast majority of some of the weirder ingredients in my freezer - if it has a yellow sticker, then it will be bought for some point in the future, and as far as the buffalo is concerned, that point has now been reached. You could obviously use diced beef; It would still be tremendous.
 
I kept the chilli reasonably tame because of Lola and Finn who aren't fond of eating anything which feels like it should be on fire. You should be far more liberal if fire eating happens to be your thing.
 
If you cook this really slow, you should produce unctuous chunks of beef which you theoretically cut with a spoon, and like most dishes of this nature, it is amazingly good the day after. And if you really go for it you could freeze vats of the stuff to be eaten on another random winter night, minus fireworks, when you need something to defrost your bones.
 
 
Buffalo Chilli, loosely based on any recipe or any version of chilli or a stew that I have ever made.
 
Serves Lola, Finn, Mum and Dad, plus 1 other, generously
 
Ingredients:
 
1 chipotle chilli
4 tbsp. olive oil
3 peppers - I went for all red - diced
1 onion, diced
2 sticks celery, finely chopped
1 fresh green chilli, deseeded if you like, finely chopped
800g diced buffalo (or diced beef)
3 garlic cloves
250ml beef stock
1/4 tsp dried chilli flakes
2 tsp ground cumin
2 tsp dried oregano
2 x 400g tinned tomatoes
3 x 400g tins of kidney beans
1 tbsp. fresh coriander stalks
 
Method:


Soak the chipotle chilli in a few tablespoons of water until it is soft. Whilst this is happening, you should crack on with the rest of the method.
 
Heat 2 of the tbsp. of oil in a suitable pot/pan that will be big enough to take all the ingredients later on.


Add the onion, the peppers, the chilli, the coriander stalks and the celery with some salt and saute until soft but not coloured.  Remove from the pan and set aside.


Put the rest of the oil into the pan and then add the meat. You should cook the buffalo until it is well browned; consider doing this in a couple of batches as you want the beef to brown, not steam. Add the chopped garlic and a little bit of salt and pepper. Cook the garlic only until fragrant and then add the beef stock. Deglaze the pan with the stock and bring it to the boil.
 
Return the pepper mixture to the pan and add the herbs and spices.


Add the tomatoes and the kidney beans and some seasoning. You will need a good amount of seasoning so don't be shy.
 
Lastly, remove the chipotle chilli from the soaking liquid and chop finely. Add this and the soaking liquid to the mixture and stir well.


I simmered this, covered with a tightly fitting lid, on a really low heat for a couple of hours, checking it now and then to ensure it wasn't boiling dry. After a couple of hours gentle simmering, I removed the lid and raised the heat to reduce the sauce to the consistency that I like.


Tuesday, 28 October 2014

Pimp my flapjack... Apple Flapjacks


It's not like I have a box of apples anywhere or anything - you can decide, if you like, whether that is likely by reading my last blog post about scrumping and apple vodka, but putting grated apple into flapjacks is seriously tasty, especially if they are slightly tart like the apples from the scrumping mission. They act as an acidic foil to all that golden syrup that goes into making flapjacks. And on the subject of golden syrup, and sugar, and butter, I don't think I will ever tire of the gooey unctuousness that flapjacks are, especially if they are crispy and brittle at the edges. I know you can get allsorts of fancy tray bakes now, but this is the number one. Low faff, maximum impact. And somehow, as the nights get longer, it's these type of cakes that I like to turn to. I mean, something light and fluffy is fine and all, but I find myself craving more ballast with a cup of tea when there is a nip in the air and the leaves have started to turn...
 
Apple Flapjacks, adapted from Cegin Bryn by Bryn Williams (and it's in his book 'Bryn's Kitchen' too. Yes, by the way, I do know that 'Cegin Bryn' is Welsh for 'Bryn's Kitchen'. I am in touch with my Welsh roots....)
 
Makes 12
 
Ingredients:
 
150g butter
50g light brown sugar
3 heaped tbsp. golden syrup
100g peeled apple, grated
220g porridge oats
 
 
Method:
 
Pre heat the oven to 160c


Melt the butter in a heavy bottomed saucepan. Add the sugar and the golden syrup.
 
 
Add the apple and the oats. Stir the mixture until evenly combined.


Place the mixture into a greased baking tray that has greaseproof paper in the base.  Mine was 12 by 30cm.
 
Spread the mixture evenly, then bake until golden, probably about 15 minutes but keep checking.


Take out of the oven and allow to cool. Whilst still warm, cut the flapjacks into squares or rectangles. Then leave to cool completely.


Monday, 27 October 2014

A work in progress - Apple, Cinnamon and Star Anise Vodka


I hate to mention the 'C' word, so at this moment I won't, but I have in mind for this a certain evening in December, when the house has become quiet because excitable children have finally given up and gone to bed, the fairy lights are twinkling on the tree and the fire is roaring. Unfortunately, that is where my utopian vision ends. Since we moved, we have one of these pretend things rather than the real thing, and though I really don't miss the dust and the dirt, I do miss that once in a while situation, usually when it is cold and dark outside, where a roaring fire is a necessary detail. Anyway, if I can't get warm in the way I might like, I am hoping that this little experiment will turn into something that will warm the cockles instead, but, I will have to wait to find out.


Because of the weird obsession I have with fruit trees, September and October are filled with fruit tree spotting.  It is a pastime which makes my return to work for the worst half term of the whole year a little more bearable, as with every passing year I discover another random fruit tree blooming with fruit. What's that? Yes, you're right. I should be keeping my eyes on the road, but in case you're interested and are vaguely in the north Liverpool area,  you might be surprisedto learn that the East Lancs road contains quite a few fruit trees, as does the Northern Perimeter Road at Netherton, the M57 between Switch Island and Kirkby and then there is the Rainford Bypass, which is where these apples are from. Lola, Finn, Phill and I went along three weeks ago and stripped the lower branches of a random tree, and then Phill lifted Finn, ever the daredevil, so we could get to those round, rosy ones at the top of the tree. Scrumping has not lost its appeal, and has probably provoked a life long memory for Finn, who seemed to have the best time.
 
I usually make blackcurrant vodka, but decided to try apple this time. I was thinking apple pie when I threw the cinnamon and star anise in. Due to the tartness of the apples, I did throw about 50g of sugar into the mix to hopefully take away anything too sour, and I used the cheapest vodka I could get my hands on. Don't be using 'Grey Goose' for this; get down to Lidl. The other thing I did was sterilise the jar and the spoon I used to push the apples into the jar, to hopefully prevent anything weird starting to grow.
 
Apple, Cinnamon and Star Anise Vodka
 
Serves me, all through Christmas, hopefully.
 
Ingredients
 
1litre of cheap vodka
Two star anise
1 large cinnamon stick, broken up
50g sugar (optional, depending on the tartness of your apples)
About half a dozen medium size apples, cut into quarters.
 
Method:


Once you have sterilised a suitable jar, put the spices, the sugar if using and the vodka into the bottle. Don't fill all the way up to the top because you have to put the apples in which will displace the load.


Put the apples in. They will float, so you will need something to push them down with. I used a serving spoon as it had a long apple and also helped to stir the mixture a little. Put in as many as you can. Once full, seal the jar.
 
Keep the bottle in a dark place. Mine is under the sink. Theoretically, the vodka would become infused after about a fortnight, but I am leaving mine until the week before Christmas, when I will decant it into a pretty bottle I bought from Range.
 
To be continued...


Sunday, 26 October 2014

Easy does it! Ottolenghi Chicken with Caramelised Onion and Cardamom Rice.


Easy. Often things aren't are they? Though there are those annoying types who think that somehow something being easy isn't enough of a challenge and that something that doesn't test your perseverance is somehow not worth bothering with. It's a bit like that 'if it isn't hurting, it isn't working' adage that gets trotted out every so often by those who are probably well meaning but extraordinarily irritating. And whilst these people always seem to be atop of everything, I refuse to believe that there isn't a part of their lives which is as chaotic and stupid as mine, so even they would be appreciative of something that was as effortless as this recipe.
 
This 'effortless' thing, however, is all relative. There requires some involvement: some rudimentary chopping skills, the opening of a packet of rice and a requirement to be in or around the kitchen whilst the thing cooks, but other than that, it is something you can 'knock up' (not the greatest phrase ever) whilst doing something else, like sorting out a small amount of the chaos that is your life maybe, if you happen to be me.
 
I have waxed lyrical about my love of all things Ottolenghi elsewhere on this blog. This recipe, unsurprisingly, does not disappoint on any level. Yum!
 
Ottolenghi Chicken with Caramelised Onion and Cardamom Rice, adapted from 'Jerusalem' by Yotam Ottolenghi and Sami Tamimi
 
Serves Lola, Finn, Mum, Dad and one other
 
Ingredients:
 
4 tbsp olive oil
2 medium onions, finely sliced (250g in total)
1kg chicken thighs, with bone and skin, or 1 whole chicken divided into quarters (I used chicken thighs)
10 cardamom pods
⅓ tsp whole cloves
2 long cinnamon sticks, broken in two
300g basmati rice
550ml boiling water
1 chicken stock cube (my addition)
 5g parsley, chopped
5g dill, chopped (I omitted this, as I don't like it really and as a result, didn't have it)
5g coriander, chopped
100g Greek yoghurt, mixed with 2 tablespoons of olive oil (optional)
salt and black pepper
 
Method:


Heat half the olive oil in a large sauté pan for which you have a lid over medium heat. Add the onion, and cook for 10 to 15 minutes, stirring occasionally, until the onion has turned a deep golden brown. Transfer the onion to a small bowl and wipe the pan clean.


Place the chicken in a large mixing bowl and season with 1½ teaspoons each salt and black pepper. Add the remaining olive oil, cardamom, cloves and cinnamon and use your hands to mix everything together well. Heat the frying pan again and place the chicken and spices in it. Sear chicken for 5 minutes on each side and remove from the pan (this is important as it part-cooks the chicken). The spices can stay in the pan, but don’t worry if they stick to the chicken.
 
Remove most of the remaining oil as well, leaving just a thin film at the bottom.
 
Add the rice, caramelized onion, 1 teaspoon salt and plenty of black pepper. Add the currants. Stir well and return the seared chicken to the pan, pushing it into the rice.


Pour the boiling water (in which I dissolved a stock cube) over the rice and chicken, cover the pan, and cook over very low heat for 30 minutes.


Take the pan off the heat, remove the lid, quickly place a clean tea towel over the pan, and seal again with the lid. Leave the dish undisturbed for another 10 minutes.


Finally, add the herbs and use a fork to stir them in and fluff up the rice. Taste and add more salt and pepper if needed.
 
Serve hot or warm with yogurt mixture if you like.

Sunday, 19 October 2014

Angel Delight - not just for pretty sundae glasses! Angel Delight 'Cheesecakes'.


Angel Delight. I must have eaten gallons of it when I was a kid. I wasn't fussy about which flavour - I just used to love the way that within minutes there was something to eat that sweetened the mouth after having my tea - I suspect that my mum loved it as much as me, as it was a quick and economical way of putting something on the table for us all to enjoy.


And, as it goes, things haven't changed. I know it's nice to make everything from scratch but you know, sometimes it doesn't happen that way, and that's okay because Lola and Finn adore Angel Delight, so I find myself, like my mum used to, whipping up a pack of Angel Delight to sate the sweet cravings of my bubs once dinner is over, secure in the knowledge that it is made using only natural colourings and is suitable for vegetarians.

However, Angel Delight does not just end at the bottom of a pretty sundae glass. In one of my more creative moments (it does still happen...) I decided to experiment with the versatility of the Bubblegum flavour, as stocked by Tesco's, and make something resembling a cheesecake, minus the cheese of course, but with the cakey biscuit base. Using moulds, I melted some butter whilst getting rid of any pent up anger by smashing up some digestive biscuits with a rolling pin. Once butter and biscuits were mixed, I whipped up a packet of bubblegum Angel Delight, following the instructions on the packet, and then poured it into the mould, on top of the biscuit base. A couple of hours in the fridge to firm everything up and a scattering of hundreds and thousands later, and there it was, a pretty little dessert which Lola and Finn (and dad and me, actually) devoured.

It was like being a kid all over again.

Angel Delight 'Cheesecakes'

Serves Lola, Finn, Mum and Dad.

Ingredients:

8 sweet digestive biscuits
50g melted unsalted butter
One pack of Bubblegum Angel Delight, made up using the packet instructions
Hundreds and thousands, or decorations of your choice.

I also used four circular moulds.

Method:


Melt the butter and crumble the digestive biscuits until they resemble coarse breadcrumbs.


Mix the melted butter and the biscuits together to make kind of paste.

Put your moulds on the a flat surface that you can transfer into the fridge; a plate would do.


Put some of the biscuit mixture into the moulds and press it down so that it forms a base.


Mix up the Angel Delight until it becomes quite thick.


Spoon the mixture into the moulds. (If your mixture is still similar to 'pouring' consistency then you need to mix further).

Flatten the tops using the back of a teaspoon and place into the fridge for a couple of hours.


When ready to serve, scatter some hundreds and thousands on top of the Angel Delight mixture and then run a sharp knife around the inside of the mould to release the biscuit base. A quick wobble of the mould should see the whole thing drop out of the mould and on to the plate.


This post is an entry for #AngelDelightMoments Linky Challenge, hosted by Britmums. You can learn more here: http://bit.ly/angeldelight


LinkWithin

Related Posts Plugin for WordPress, Blogger...