Lola and Finn's Mum

Lola and Finn's Mum
Showing posts with label sugarpaste. Show all posts

Saturday, 7 December 2013

Feelin' Festive: Cupcakes that look like Christmas trees, if you really, really squint...


Blogging. I used to do it so often once upon a time, but now, well, I think it is going to be a 'high days and holidays' type activity, and talking of holidays, Finn's class were in charge of the cake stall for the Christmas fair, and because the Christmas holidays can't come soon, I thought I would get into the mood for it all with some festive baking.
 
I realised that I hadn't made anything from the amazing Rachel Allen just yet (and this blog is already two and a half years old...) so as a fan of her gorgeous cakes I thought I would use her recipe for chocolate cupcakes and then adorn them with a green swirl and a few strategically placed dragees to make them look vaguely Christmas tree like, if you really, really squint...
 
I decided to finish them off with some sugarpaste stars, which I ambitiously decided to cut out by hand before remembering that my mum had given me my shapes that I used to use to cut out playdoh when I was a kid. In there, I found a cute little star cutter. Problem solved.
 
A few musings about frosting. I don't really follow a recipe to be honest. I mix unsalted butter, some vanilla extract, icing sugar and a bit of milk to slacken it off if need's be, but I have given some approximate weights in the recipe below.
 
Chocolate cupcakes with vanilla frosting from 'Cake Diaries' by Rachel Allen
 
Makes 12 cupcakes
 
Ingredients:
 
100 g (31⁄2 oz) butter, softened
150 g (5oz) caster sugar
2 eggs
125 ml (41⁄2 fl oz) milk
175 g (6oz) plain flour
25 g (1oz) cocoa powder
2 tsp baking powder
pinch of salt
 
For the frosting:
 
200g butter, at room temperature
500g icing sugar (to be added gradually and to taste)
1 tsp vanilla extract
1 - 2 tbsp. milk
holly green food colouring
a little sugarpaste
silver balls
edible glitter
 
 
Method:
 
 
Preheat the oven to 180°C (350°F/Gas 4), and line the muffin tray with the paper cases.


Cream the butter until soft in a large bowl or in an electric food mixer. Add the sugar and beat until the mixture is light and fluffy.


Whisk the eggs together in a small bowl for a few seconds or just until mixed, then gradually add them to the butter mixture, beating all the time.
 
 
Pour in the milk and beat until mixed. Sift in the flour, cocoa powder, baking powder and salt and mix gently to combine.
 
 
Divide the mixture between the muffin cases, filling each case two thirds full. Bake for 20–25 minutes or until well risen and lightly springy to the touch.
 
Allow to cool for 5 minutes, then remove from the tray and place on a wire rack to finish cooling down.
 
Meanwhile, make the frosting. beat the butter in a mixer until it is very soft. Slowly add the icing sugar a bit at a time with a few drops of vanilla extract until you are happy with the sweetness and the consistency. You could add a little milk to slacken the mixture off or to reduce the sweetness a tiny bit.
 
You will need to beat the mixture for a while so that the icing sugar dissolves and the icing is smooth and becoming fluffy but spreadable (or pipeable... possibly a new word there...)


To decorate the cakes use a large star nozzle on a piping bag, and pipe a swirl on top of each cake. Then place some dragees and sprinkle some edible glitter on top of the swirls. In a final flourish, cut out stars out of sugarpaste and place them on top.


Saturday, 1 December 2012

Cooking like a star for Finn's Christmas Fair. Martha Stewart's Vanilla Cupcakes with a Christmas Twist


Because I am disorganised (and a little distracted by tough stuff at the moment) it took 'til Wednesday for me to realise that instead of helping Finn with his 'Busy Bee Book' this week I was on 'Baking for the Christmas Fair' duty instead. Panic. My week was already busy without added cupcake chaos but I would have felt a bit of a fraud if I had popped out to buy half a dozen when I am apparently someone who likes cooking and baking. And to be honest, the mixing of batter, the swirling of frosting and the shaping of holly berries was more therapeutic than I had imagined. Sometimes things happen for a reason, or so I am led to believe.


I had a mind to bake a la Martha Stewart as I was determined to take part in the December blog hop of Cook Like A Star which is hosted by Zoe over at Bake For Happy Kids. After asking some good friends I cooked a couple of Martha Stewart recipes in preparation and then as I discovered that I had cupcakes to create in short time, I decided that another chance to cook a Martha Stewart recipe. So, seeing as it's 1st December, I am blogging this in an attempt to get myself a little Christmas spirit.
 
The cupcake and frosting recipes are both from the Martha Stewart website, but the holly decoration is my own. I had a little green and red sugarpaste left over from my adventures with Angry Birds so with a craft knife and a steady hand I cut out some leaves and shaped some berries. Not difficult.
 
Anyway, these cupcakes provoked some very flattering comments at the school gate, and it was nice to be complimented, especially since these are not onerously difficult to make. I hope you will give these a try!
 
Vanilla Cupcakes with Basic Vanilla Buttercream
 
Makes 24 (though I made 18 big ones!)
 
For the cakes:
 
3 cups all-purpose flour
1 1/2 teaspoons baking powder
3/4 teaspoon salt
12 tablespoons unsalted butter, room temperature (1 1/2 sticks)
1 1/2 cups sugar
4 large eggs
2 teaspoons pure vanilla extract
1 1/4 cups milk
 
 
And for the vanilla buttercream:
 
1 cup (2 sticks) unsalted butter, room temperature
6 to 8 cups confectioners' sugar
1/2 cup milk
1 teaspoon pure vanilla extract
 
And the holly decoration:
 
A little red sugarpaste
About 50g green sugarpaste


Method:
 
Heat oven to 350 degrees.
 
Line cupcake pan with paper liners; set aside.
 
In a medium mixing bowl, whisk together flour, baking powder, and salt.


In another mixing bowl, cream the butter and sugar until light and fluffy, about 4 minutes.


Add eggs one at a time, mixing until incorporated and scraping down sides of bowl, beat in vanilla.


Add flour mixture and milk alternately, beginning and ending with flour. Scrape the sides and bottom of bowl to assure the batter is thoroughly mixed.


Divide batter evenly among liners, filling papers about 2/3 full.
 
Slightly domed! I just sliced the tops off to flatten them off!
 
Bake on the centre rack of the oven until tops spring back to touch, about 20 minutes. Transfer to a wire rack to cool completely.
 
In the bowl of an electric mixer fitted with the paddle attachment, cream butter until smooth and creamy, 2 to 3 minutes.
 
With mixer on low speed, add 6 cups sugar, milk, and vanilla; mix until light and fluffy. If necessary, gradually add remaining 2 cups sugar to reach desired consistency.


Using a piping bag with a star nozzle, pipe a swirl onto the top of the cooled cupcakes.


Roll out the green sugarpaste onto a surface floured with icing sugar. Using a knife, cut out a holly leaf (or use a cookie cutter). Mark out the veins on the leaf and place them carefully onto the cupcake.
 
Finn - offering valauble cake decorating advice and all round moral support
 
Take the red sugarpaste and roll into tiny red balls. Place at the bottom of the holly leaves to create the holly sprig.
 
 
Please take the opportunity to visit the blog posts below, all of which contain some amazing Martha Stewart recipes!

Thursday, 15 November 2012

Happy birthday Finn - Elderflower Cake with added Angry Birds!

 
Finn is now five years old. I am frankly amazed at where the time has gone (as is any parent from what I can gather) but every single day of my life since his arrival has been blessed with his smile, his charm, his energy. Like his sister Lola, his very presence in my world is special, wondrous, the things miracles are truly made of.
 
  A grainy baby Finn, newborn
 
So, when it came round to the subject of birthday cakes, I asked him what he would like dreading the word 'dinosaurs' as last years' birthday cake offering looked more like a pigeon than a T-Rex. He said 'Angry Birds' and I really got to wondering just what sort of mess I would make of them. Well, I did better than expected. They might be a bit rough and ready but you know, from a distance, if you squint, they look a little like those pesky little birds that I have catapulted at piggies whilst having an idle moment or two. yes, even mums like Angry Birds!
 
The sponge cake recipe is an elderflower cake recipe taken from Fiona Cairns' 'Birthday Cake Book' which is so, so pretty. I am not surprised that she was chosen to make William and Kate's wedding cake. I have often looked wistfully at her beautifully perfect cupcakes ensconced behind the glass in Waitrose. Each twirl, each curl, each delicate flower so splendid in its execution. I can only dream of being so adept. But it's not only her fantastic decoration that I am a fan of, it's her actual cakes which are innovative and interesting. I liked the idea of an elderflower cake and whilst I might not have achieved the total effect as I went my own way in terms of decorating the cake, it was still a nice cake to make and to eat.
 
The original recipe suggests a filling of elderflower flavoured cream with additional strawberries to bring out the summery elderfloweryness (yes, I invented a word!) but my only addition apart from angry birds was to spread a generous dollop or two of strawberry jam to sandwich the two cakes together. I think I may have missed out on the wow factor of elderflower and strawberry combined, but I needed to adapt the recipe and method to suit my purpose.
 
The recipe below is for the cake only. As far as making Angry Birds goes, it's quite hard to demonstrate but my plan of attack was to print out some pictures of the birds and then use sugar paste to create them. I cut the basic shapes out with a knife and then cut or modelled the remaining details and stuck them on after moistening the sugarpaste with a dab of water. I covered the cake with sugar paste and then stuck the birds on whilst everything was soft and pliable, only then allowing the paste to dry out.
 
Finn was impressed. His opinion was the one that mattered.
 
Elderflower cake, taken from Elderflower and Strawberry Cake in Fiona Cairns' 'The Birthday Cake Book'
 
Serves 24 (so I halved the recipe below to serve 12)
 
Ingredients:
 
450g (1lb) self-raising flour
 
450g (1lb) really soft unsalted butter, diced
 
2tsp baking powder
 
8 eggs, lightly beaten
 
Finely grated zest of 2 unwaxed lemons
 
450g (1lb) golden caster sugar
 
4tbsp elderflower cordial
 
 
The Angry Birds:
 
Red, yellow, black, green, blue, orange sugarpaste
A black edible marker pen
 
Method:
 
Preheat the oven to 190°C/fan 170°C/gas 4. Butter three 20cm (8in) round cake tins and line the bases with parchment. (I used 2 sandwich tins)


Cream the butter and eggs then add the sifted flour and baking powder, lemon zest and sugar and beat well, adding the cordial towards the end.


Pour into the cake tins and bake for 30-35 minutes. Remove from the oven, leave for a couple of minutes, run a knife around the rims and turn out onto a wire rack. Remove the papers and cool. Trim the cakes flat.


Sandwich with strawberry jam and place on a flat plate.
 
I put some 'grass' to try to disguise the imperfect way that I decorated the sides of the cake!
 
Roll out the sugarpaste, on a surface lightly flowered with icing sugar, to an even depth, then place over the cake. Smooth the edges as much as possible and trim.


Make your birds as described above. Once made place them onto the top of the cake.


Serve, preferably adorned with candles, to an excited five year old.


Thursday, 17 November 2011

Victoria Sponge - with added flower power!


I am a big fan of simple pleasures, and despite my enthusiasm for all things 'cake' I think you have to go a long way to beat a simply made Victoria Sponge with a generous layer of seedless raspberry jam and a liberal dusting of icing sugar on the top. I would be most happy with this arrangement, particularly if it were accompanied by a cup of tea and a few minutes ducking out time where I could be alone with my thoughts. Lovely. However, when it comes to a girlie birthday cake, then some embellishments need to be made, hence the (garish) pink and peach flowered creation you see before you.

I am still a cake decorating novice, with a very shaky hand but quite a bit of positivity about the whole thing (usually) so whilst it might not look like one of those beautifully perfect ones you get from the bakery or the supermarket, I like to see this one as one of a kind, its charm being that it is spectacularly unique and unmistakably homemade. Plus, the birthday girl loved it, and she was the one who needed to be impressed.

The sponge recipe is a whipped sponge rather than a Genoese; and the recipe, though not exclusively his because I have seen it elsewhere and I am sure it is basically the standard approach, was sourced from James Martin's 'Desserts'. I may have put a little more vanilla in than he suggested but that is because I like a cake to taste 'vanillery'; yes, I believe I have just invented a word.

I filled the layer with seedless raspberry jam; I think the 'seedless' bit is pretty crucial, and of course you could (and maybe should add whipped cream or buttercream on top of the raspberry layer, but as this was a cake where the decoration was the main event, I decided to forego these. Even I think you can only have so much frosting.

And while I am at it, a word about frosting. I love food colouring pastes, rather than little bottles of liquid, simply because you can get a myriad of shades without splitting the frosting. Secondly, these days I have become more haphazard in my making of buttercream as I have decided that I don't necessarily want something that is too tooth achingly sweet. I tend to use the 'Hummingbird Bakery' frosting but I would suggest that you don't always put as much icing as is suggested and that you taste regularly until you achieve the sweetness and consistency that you desire. If you are judicious with the adding of the milk and the icing sugar rather than just following the recipe, you may find that you create something that you like slightly better. Just my opinion. You could be a sugar fiend, in which case, fire away!

Victoria Sponge (from James Martin - Desserts)

Ingredients

  • oil, for greasing
  • flour for dusting
  • 200g unsalted butter
  • 200g caster sugar
  • 1 tsp vanilla essence
  • 4 eggs
  • 200g self-raising flour, sifted

Method

1. Preheat the oven to 190°C/gas 5.

2. Grease and flour two 20cm sandwich tins.


3. Combine the butter, sugar and vanilla essence in a bowl or food processor, and mix well to a creamy consistency.


4. Slowly beat in the eggs one by one.


5. Fold in the sifted flour. I like to add the flour in three batches so I don't over beat the mixture at this stage.


6. Pour the mixture into the prepared tins. Bake for 20-25 minutes until well-risen, golden brown and springy when pressed.

7. Turn out onto a wire rack and leave to cool.


8. Spread one cake with jam, and cream, if using. Place the other cake on top.

For the frosting:

For the vanilla frosting:

  • 250g icing sugar, sifted
  • 80g unsalted butter, at room temperature
  • 25ml whole milk
  • a couple of drops of vanilla extract
For the decoration:
Peach sugar paste
Flower cutters
Pink sprinkles and white chocolate sprinkles


Can I remind you of my note about frosting? I use the above measurements as a guide but you might like to experiment.


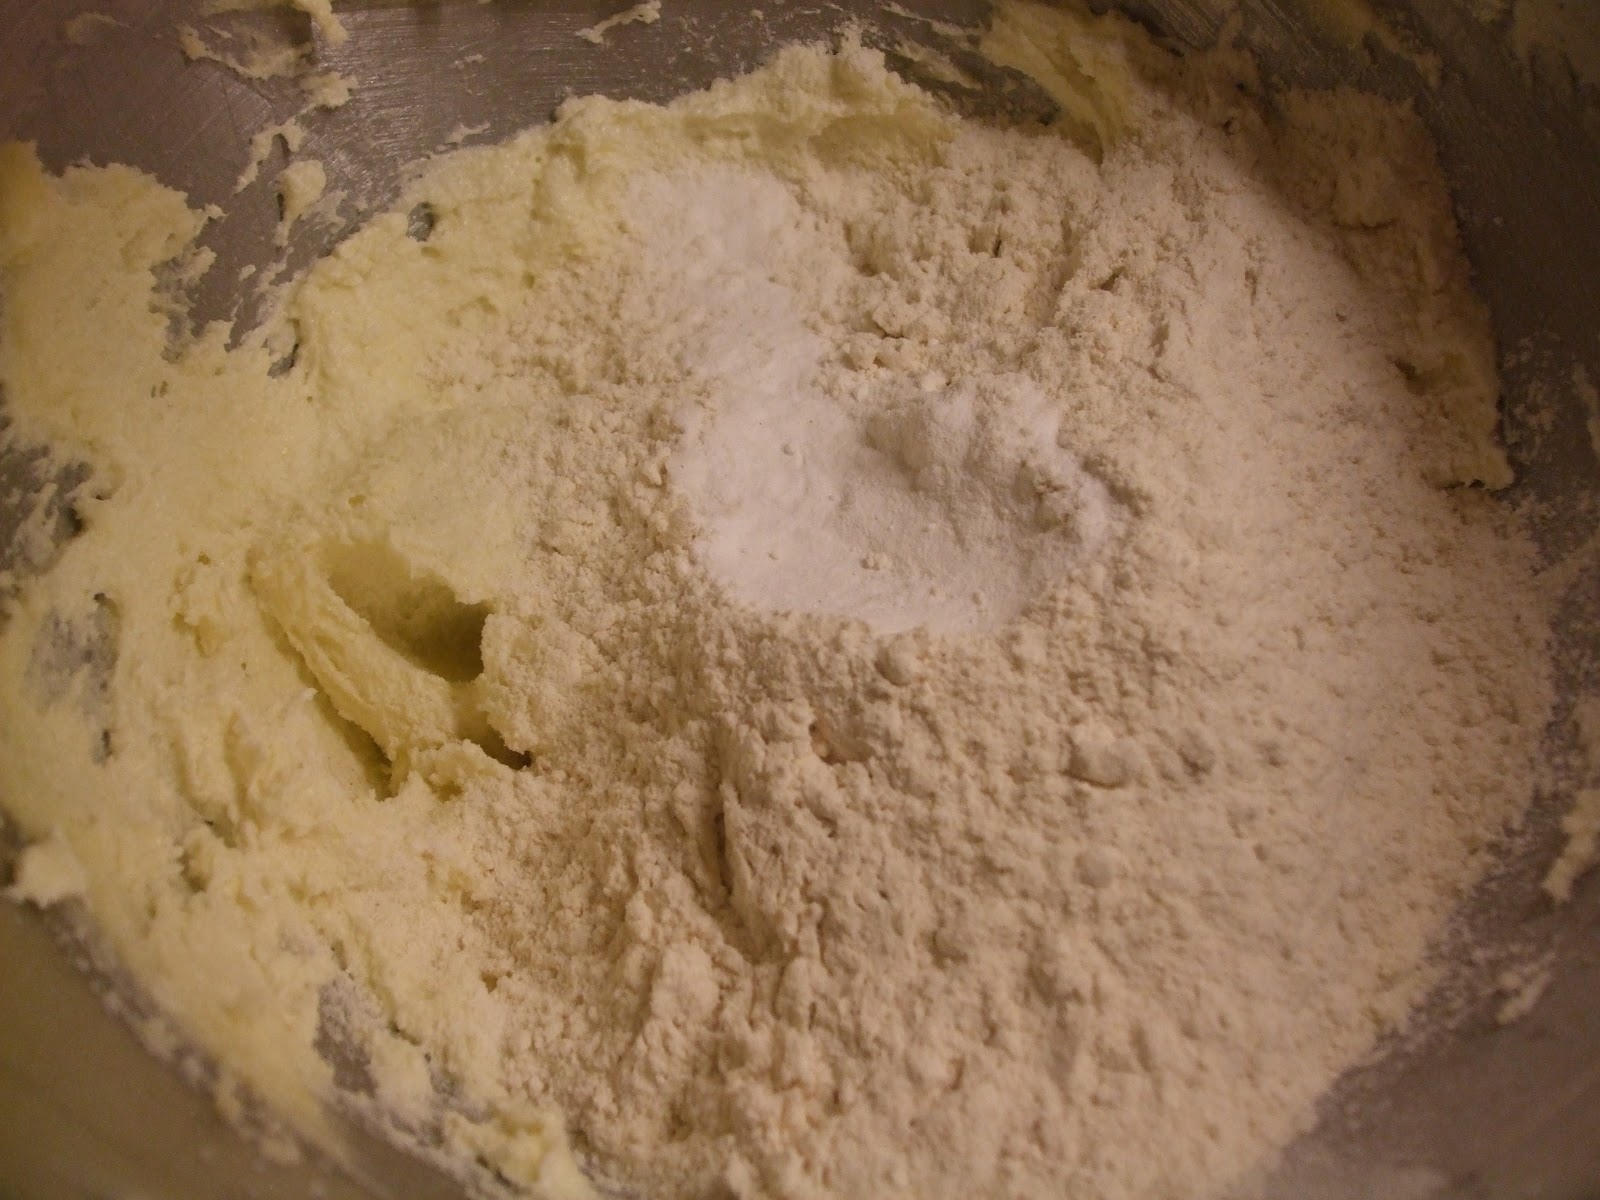
Beat (some) of the icing sugar and butter together in a freestanding electric mixer with a paddle attachment (or use a handheld electric whisk) on medium-slow speed until the mixture comes together and is well mixed.

Turn the mixer down to slow speed. Combine the milk and vanilla extract in a separate bowl, then add to the butter mixture a couple of tablespoons at a time. Taste regularly to see if you need to add more of the icing sugar. Once all the milk has been incorporated, turn the mixer up to high speed.


Add your food colouring, it you are using.

Continue beating until the frosting is light and fluffy, at least 5 minutes. The longer the frosting is beaten, the fluffier and lighter it becomes.


To frost on the cake.

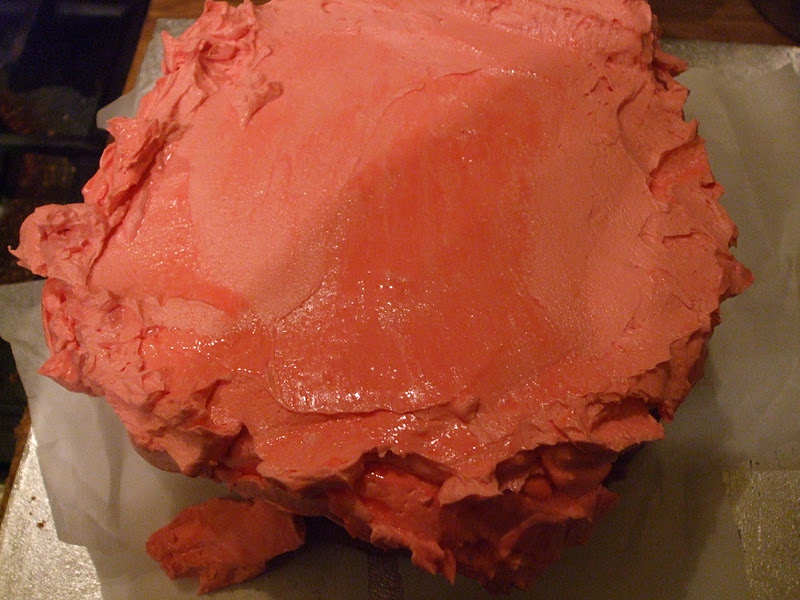
Make sure that you have placed the cake on strips of greaseproof paper. You can pull these out gently once you have iced the cake to create a neatish edge to the bottom of the cake.


Load most of the frosting on to the top of the cake.


Using a flat knife or spatula that has been dipped in a cup of hot water, smooth the frosting over the top of the cake and down on to the sides.


Using the knife, try to spread the frosting neatly down the sides. You will need to dip the knife in hot water regularly.


Once reasonably neat, use the knife to lightly spread the frosting upwards from the sides of the cake onto the top. Then smooth that frosting in strokes towards the middle, so you are left with an excess of frosting in the middle of the cake. You can detract from this by putting one of your decorations there.


I used flower cutters to cut out shapes from some peach sugar paste that I had rolled out. I then added pink sprinkles to the middles of the flowers by indenting the centres of the flowers lightly on the cake and moistening them slightly so that the sprinkles would stick. I used white chocolate sprinkles for the centres of the little flowers, but of course, you can decorate how you like!

For the decoration

Peach sugar paste
Flower cutters
Pink sprinles and white chocolate sprinkles

LinkWithin

Related Posts Plugin for WordPress, Blogger...