Lola and Finn's Mum

Lola and Finn's Mum
Showing posts with label oranges. Show all posts

Tuesday, 21 May 2013

Mermaids for the birthday girl: Orange drizzle cake without the drizzle but with other fun stuff!!


Lola is seven. I really don't know how or when this happened. I think I must have blinked. Anyway, the fact of the matter is that the girl with the shock of rock and roll hair and a knowing look which belied the fact that though a babe in arms, she had definitely been here before is now a very old seven, and if you ask me she is a '7 going on 17' kinda girl, judging by her requests for nail polish, jewellery and lip glosses and some false nails off her auntie, who has since been declared the best auntie ever. I don't think I knew this stuff existed until I was at least in double figures but it's true what they say when it's declared that they grow up quick these days, because they do. And it is a shame.
 
Lola, aged seventeen hours
Lola, aged seven
 
However, I was slightly placated by the conversation I had with her several weeks ago about the birthday cake challenge she was going to set me this year. I was expecting her to tell me she wanted 'One Direction' on her cake but she told me that mermaids were where it was at. Thank goodness. a sense of childlike wonder was still evident, as it should be when you are seven.
 
Anyway, I recalled a picture I had seen somewhere of white chocolate shells and toasted coconut creating a beach scene and I decided that after my Angry Birds cake I would try to make something resembling a mermaid out of sugar paste. If you squint it sort of looks like one. I decided also to fore go the orange drizzle and icing that goes with the original cake recipe (from Fiona Cairns' 'Bake and Decorate') but split the cake and spread a thick layer of raspberry jam. Orange, raspberry, coconut, vanilla frosting. If you insist.
 
Orange drizzle cake, adapted from Fiona Cairns' 'Bake and Decorate'.
 
Serves 8 (though in reality I doubled the ingredients for I was making two cakes).
 
Ingredients.
 
For the cake:
 
250g unsalted butter, softened, plus more for the tin
250g golden caster sugar
Grated zest of 2 large oranges, plus 75ml orange juice
4 eggs, lightly beaten
250g self-raising flour, sifted
a pinch of salt
1/2 jar of seedless raspberry jam.
 
For the frosting:
 
(I'll be honest - I eyeball this; there is no definitive recipe I just mix softened butter with icing sugar, a teaspoon of vanilla and some milk until I get a consistency that is spreadable but then holds its shape. Then I added baby blue colouring to get to the shade I wanted. If it helps, I often use the Hummingbird Bakery recipe that you can find here. Scroll down for the recipe).
 
For the decoration:
 
Pink sugar paste
flesh coloured sugar paste
teddy bear brown sugar paste
Edible ink pens
50g dessicated coconut
white and yellow Wilton Candy Melts
a mould for creating the shells
Some cardboard
 
Method:


Preheat the oven to 170ºC/fan 160ºC/340ºF/gas mark 3 ½. Butter a 20cm diameter, 7.5cm deep, round tin, then line the base with baking parchment.


Cream the butter, sugar and zest until very pale, light and fluffy (it will take at least 5 mins in an electric mixer). Add the eggs gradually, beating between each addition, along with 1tbsp of the flour to prevent curdling. Fold in the remaining flour and, lastly, slowly mix in the orange juice.


Pour the mixture into the prepared tin and bake for 40 - 45 mins until the cake springs back to the touch, or a skewer inserted into centre comes out clean. Remove from the oven, leave for 1 min, then turn out to cool on a wire rack.


Once cool, split the cake carefully and spread the inside with raspberry jam before sandwiching the two layers together.


Melt the candy melts according to the pack instructions and when melted and pliable, spoon the molten chocolate into moulds. Place in the fridge to set.
 
Toast the coconut in a dry frying pan, stirring occasionally until the coconut begins to colour. Once it starts to brown it happens quickly so be vigilant. Allow to cool completely or else it will melt the frosting.


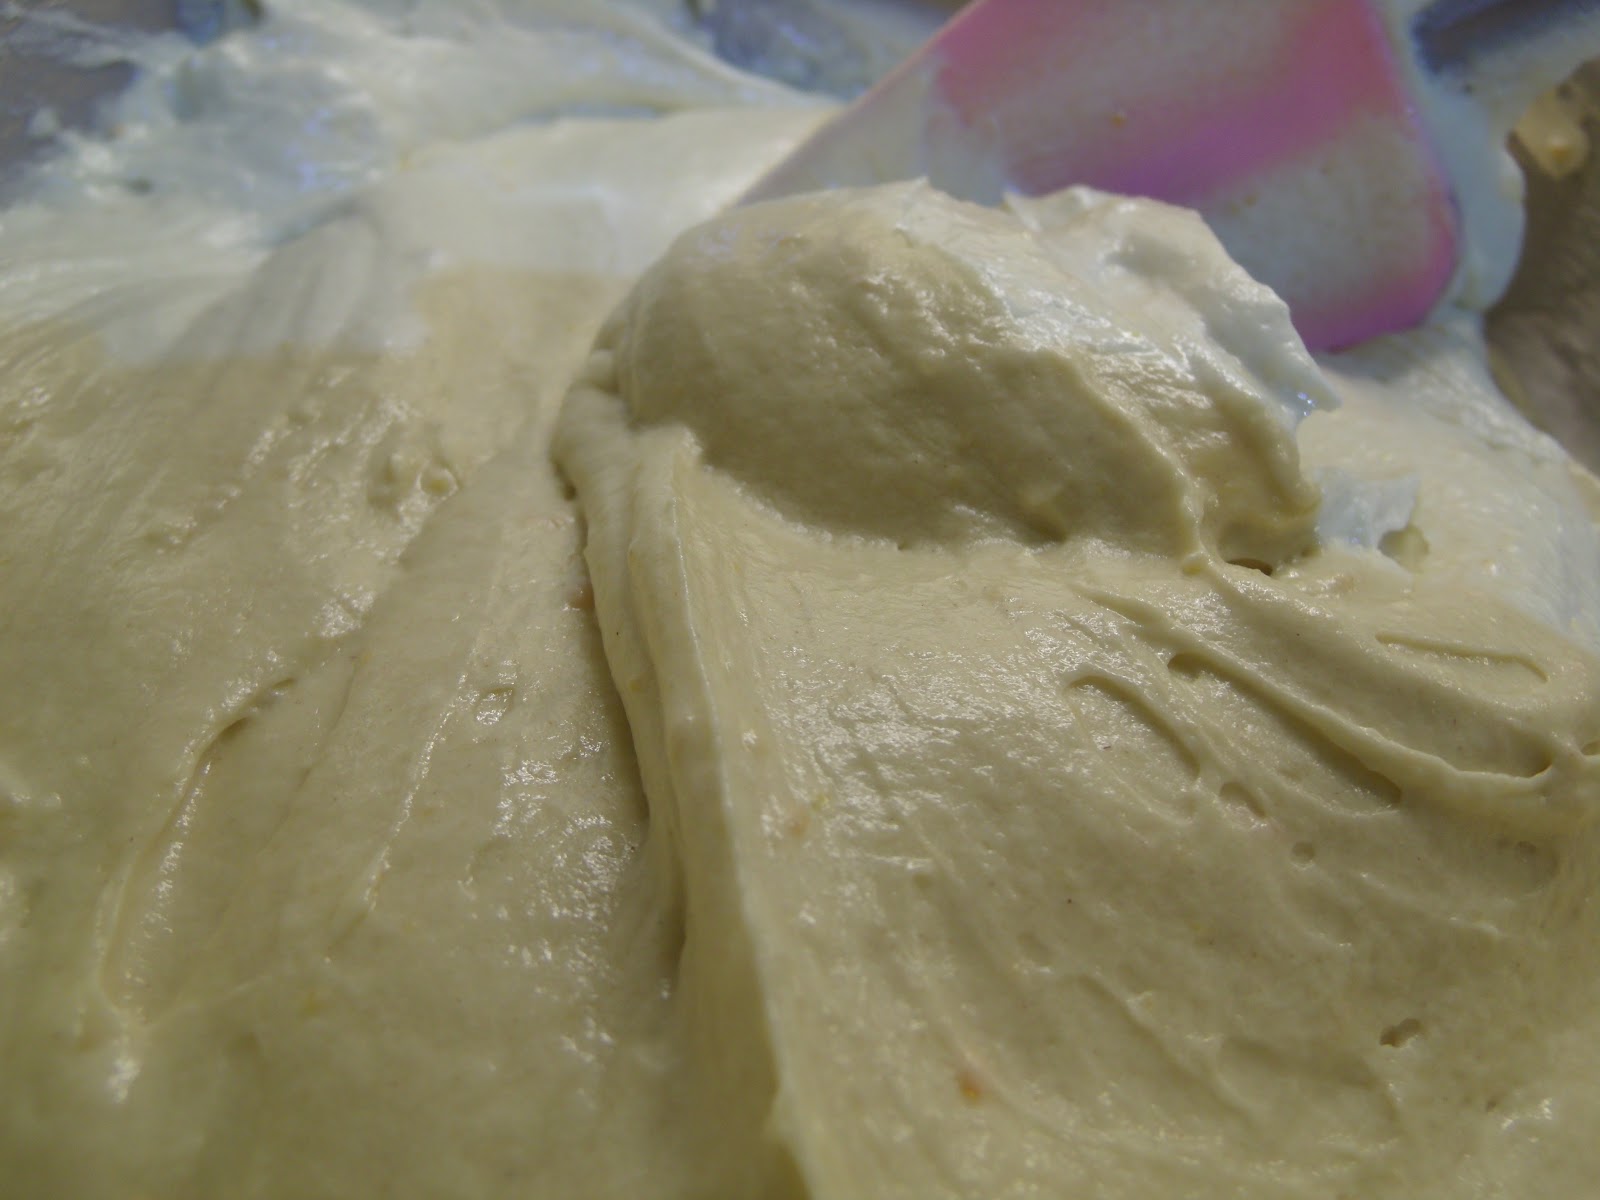
Make your frosting by beating the butter and then gradually adding the icing sugar and a little milk and a teaspoon of vanilla followed by a knife tip of colour paste. Mix until the frosting becomes fluffy but stiff enough to spread on the cake. This could take quite a few minutes.


Spread the frosting on the cake by starting on top and spreading the frosting on the top and then down and around the sides. Use a knife dipped in hot water to move and spread the frosting around the cake.


Once the cake is covered, tidy the frosting up by spreading the frosting upwards on the sides of the cake and then smooth the top as much as possible.
 
Roll out your sugar pastes and cut out a fish tail, a body, a face and hair. Put the parts together carefully on the cake. Using the edible pens, draw the features on the face.


I used a piece of cardboard with an 'undulating' pattern cut out to act as a template for sprinkling the coconut over the cake. take the template away once you have sprinkled the coconut over the cake.
 
Unmould the shells and place them onto the cake.
 
Unfortunate Warburtons Bread shot...
 
Serve to a seven year old who is going on seventeen...

Saturday, 2 March 2013

Cooking Like a Star, Delia Stylee - Orange and Greek Honey Syrup Cake


I think it is safe to say that you know where you are with Delia. There is some unwritten gastronomic rule somewhere that says that every Delia recipe will deliver. Your dinner party will be amazing. Everyone will swoon over your pudding. Your bolied egg will be perfect, for Delia showed you how to boil that egg. And whilst a lot of what I have just written is just a little tongue in cheek, it’s very rare a Delia recipe fails you. It’s food that makes you happy.
And that brings me rather neatly to cake, and I will speak for the group here; cake makes you happy. In that way they’re a bit like flowers, or balloons. They make you smile, and even if you decline a slice, (What is wrong with you?) they’re nice to look at. Pretty little things.
 
 
So, when I realised that March is the not only the month of white rabbits, but the month of Delia Smith on ‘Cook like a star’ hosted by Zoe at Bake for Happy Kids, Baby Sumo at Eat your Heart Out and Mich at Piece of Cake I had to start with cake and as it’s a month nearer to what should be the start of some warmer weather (one of these years, I will be right…) I chose something Greek, and who knows, if I wish really hard and my punt on the Euromillions this evening comes off, then tomorrow I might be eating something similar sat outside some taverna somewhere *crosses fingers*.
Cakes with a soaking syrup usually don’t dry out so you can choose to eat this over a few days if you like. It’s a very moreish, tasty, zingy cake though quite crumbly despite the syrup soaking. Probably the semolina/cornmeal content. It does need the yoghurt topping because of this in my opinion. If I made this again, I would go for something richer like ever so slightly sweetened mascarpone spread over the top. That would be tremendous!
Greek Orange and Honey Syrup Cake, adapted from Delia Smith’s ‘How to Cook, Book Three’.
Ingredients:
For the cake:
2 small oranges (weighing about 9 oz/250 g)
4½ oz (125 g) ground almonds
6 oz (175 g) well-softened butter, plus a little extra for greasing
6 oz (175 g) golden caster sugar
3 large eggs, beaten
9 oz (250 g) semolina (I used fine cornmeal)
4½ level teaspoons baking powder
For the syrup:
8 fl oz (225 ml) Greek mountain honey
5 tablespoons orange juice
1½ tablespoons lemon juice
1½ inch (4 cm) cinnamon stick (I used a tsp of ground cinnamon)
For the topping:
7 oz (200 g) Greek yoghurt
1½ oz (40 g) unsalted, shelled pistachio nuts
2 tablespoons Greek mountain honey
 
Method:
Pre-heat the oven to gas mark 6, 400°F (200°C)
 
 
First, cut the oranges into chunks, removing the pips. Then tip the whole lot – flesh, pith and zest – into a food processor and whiz it to a thick purée.
Next, put all the other cake ingredients into a large bowl and, provided the butter is really soft, just go in with an electric hand whisk and whisk everything together until you have a smooth, well-combined mixture.
When combined, fold in the orange purée, spoon the mixture into a prepared 10 inch springform tin and smooth the top with the back of the spoon.
Now place the cake on the centre shelf of the oven and bake it for an initial 10 minutes. Then lower the temperature to gas mark 4, 350°F (180°C) and bake for a further 40-45 minutes, or until it is golden brown, springy in the centre and has shrunk slightly from the sides of the tin.
Meanwhile, make the syrup. To do this, simply combine the honey and 5 tablespoons water with the cinnamon stick in a small saucepan, place it over a gentle heat, bring it up to simmering point and let it simmer gently for about 5 minutes. After that, take the pan off the heat, remove the cinnamon stick and stir in the orange and lemon juices. (I just threw it all in together and heated the mixture!!)
 
Leave the cake aside to cool for 5 minutes, then remove it from the tin to a wire rack to cool, with a large plate underneath. Make a few holes all over it with a skewer before pouring the syrup over it. (It will look like there is far too much, but don’t worry, the cake will absorb more than you think, and any that is not absorbed can be poured from the plate back over the cake.) Then, when the cake is absolutely cold, place it on a serving plate, cover it and leave it in a cool place overnight, though I served it a few hours later.
 
 
Just before serving, spread the top of the cake with the Greek yoghurt, sprinkle over the pistachios, drizzle with the honey and serve cut into chunky slices.
This is a big cake. Serves 8 – 10 comfortably.
 
I am submitting this recipe to March 2013's 'Cook Like A Star' blog hop hosted by Zoe at Bake for Happy Kids, Baby Sumo at Eat your Heart Out and Mich at Piece of Cake. See other amazing Delia recipes below!

Friday, 22 February 2013

Still indulging my fondness for the Orient, express style! - Glazed Pork Fillet with steamed rice and stir fry vegetables


I'm loving the fact that I have rediscovered my wok and tapped into those half bottles of Asian ingredients that I bought on a whim, used once or twice and then being the culinary butterfly that I am, decided that I wanted to cook Italian (or insert Mediterranean country here) or something after a few stir fry sessions. Anyway, the fact is I am back rocking the wok for a short time at least and it's great, not least because it is quick, healthy and Lola and Finn seem to be enjoying it.
 
Anyway, whilst the wok isn't compulsory equipment here, a tablespoon or two of some of those aforementioned bottles of Asian ingredients certainly was and the result was a speedy dish of burnished, sticky citrussy pork which the children really enjoyed. Even Finn. Though he did leave the vegetables, because they are vegetables, and therefore evil.
 
The recipe I used is a Trish Deseine recipe, which I found on the RTE website. From the cookbooks I have that she has written, I never even thought of consulting them for something oriental, but then if I had been more thoughtful at the time, I might have thought of 'Indochine' and the fact that there's eastern influence in French cuisine too. I have much to learn.
 
Anyway, the only alterations I made to this was that I upped the sauce content because we like sauce here and I would rather have too much than too little. And I used palm sugar instead of Demerara, mainly because the Demerara is right at the back of the cupboard which is the one I have to boot shut, such is the amount of cramming of random ingredients therein. If I wasn't so feckless I'd sort it out. Anyway, enough of my inadequacy, here's the recipe:
 
Glazed Pork Fillet, adapted from 'Glazed Pork Fillet' by Trish Deseine, from the RTE website
 
My adaptions in red
 
Serves Lola, Finn, Mum and Dad
 
Ingredients:
 
1 pork fillet (Mine was about 400g)
Juice of four large oranges with a little zest (I used six, with the zest from one of the oranges) You may need extra juice.
a little garlic (I used one large clove, finely diced)
a little bit of ginger (I used about half a thumb's worth)
Thai fish sauce (I used 2 tsp)
soy sauce (I used 2 tsp)
Demerara sugar (I used a little palm sugar)
 
Method:
 
 
Mix all the sauce ingredients together in a bowl and then pour into a pan that will be big enough to hold your pork fillet. Bring the sauce to the boil.


Wheen the sauce has been boiling for three to four minutes, drop the fillet carefully in and seal it on one side.
 
Once it’s evenly coloured, turn it over gently to do the same on the other side. Then just look after it and keep basting it in the sauce for 15 or 20 minutes, until the meat is cooked through. (I also turned mine around reasonably often and the cooking time was just over 20 minutes).


The sauce will reduce during the cooking of the pork until it has almost caramelised and the fillet will be covered with a lovely sticky glaze.
 
If it is in danger of drying out, make sure you have extra freshly squeezed orange juice standing by (which I did use just to loosen the sauce a little).
 
Pre sauce addition, I should say.
 
 
Slice and serve with rice and something crunchy like green beans or snap peas. (I served with rice, mange tout and baby corn).
 

Tuesday, 14 August 2012

When life hands you oranges, make Sicilian Orange Cake


I know that the saying goes something like that with lemons, but as the fruit bowl was full of oranges I had to go with that, though come to think of it, sub lemons for oranges and this cake would probably still work. It is a light, citrussy cake whose texture is fluffy yet moist. It is a real, real orangey treat. And even if it is cliche, it is the perfect cake for tea.

The recipe is taken from Rick Stein's super cookery book, 'Meditteranean Escapes', a tome that is well battered and splattered as it has been used frequently in the past, present and no doubt, the future. It is also very easy to make with very little faff, for example sifting, adding flour alternately with liquid yadda yadda. Once you've beaten your butter and sugar and added your eggs, just bung the rest in in order and ensure it is well mixed without being overworked. Simple. The icing does not have to be a thing of beauty either. The picture in Stein's book shows the icing trickling over the top and down the sides of the cake. Understated and beautiful, like this cake. I tried the same but, being cack handed, I got something like the spring melt of Alpine snow caps, but it didn't detract from the fact that this cake tastes utterly sublime.

Lola and Finn gave this massive thumbs up. Phill had two slices for pudding. After being made yesterday, I'd be surprised if it lasts much longer than this evening.

Sicilian orange cake taken from 'Meditteranean Escapes' by Rick Stein

Serves about 8 people

Ingredients:

250g lightly salted butter, at room temperature, plus extra for greasing (I used unsalted with a pinch of salt)
250g caster sugar
4 medium eggs
1½ teaspoons finely grated orange zest (two oranges worth for me, but may depend on the size of your oranges)
250g self-raising flour
85ml freshly squeezed orange juice (two oranges worth for me)

For the icing:

125g icing sugar
5 teaspoons freshly squeezed orange juice

Method:

Preheat the oven to 170C/gas mark 3. Grease and line a 22cm clip-sided round cake tin with non-stick baking paper.


Using an electric whisk, cream the butter and sugar together for 4-5 minutes until very pale.

First egg...
Fourth egg...

 Beat in the eggs, one at a time, beating well between each one, if necessary adding a spoonful of flour with the last egg to prevent the mixture from curdling.


Beat in the orange zest.


Add the flour all at once and mix in well, then slowly mix in the orange juice.


Spoon the mixture into the tin and bake on the middle shelf of the oven for 45-50 minutes or until a skewer, inserted into the centre of the cake, comes out clean. If it starts to brown too quickly, cover loosely with a sheet of lightly buttered foil.


Leave the cake, in its tin, to cool on a wire rack, then carefully remove the sides and base of the tin and peel off the paper. Put it onto a serving plate.


Sift the icing sugar into a bowl and stir in the orange juice until you have a spreadable consistency.


Spread it over the top of the cake, letting it drip down the sides, and leave to set.


Serve cut into slices and ENJOY!

LinkWithin

Related Posts Plugin for WordPress, Blogger...