Lola and Finn's Mum

Lola and Finn's Mum

Wednesday, 9 January 2013

It might be winter, but this reminds me of the sunshine! Fusilli con la Zucca, or Pumpkin (Squash) Pasta


I did have a plan that I would be less spontaneous when it came to shopping for food and that once I had got in the staples that I need in the weekly shop, then I would consult a cookery book, pick a recipe I would like to try, get the ingredients, and then create the dish, yadda, yadda, yadda, and then I realised whilst it might be financially savvy and reduces waste (two good things) it was also bringing out a side in me that was rather predictable and staid (very bad).
 
So, acknowledging that a little spontaneity is a good thing and that it is okay to veer 'off the list' occasionally, I spied 69p squashes at the greengrocers in Crosby village that I was not going to pass up. I never buy squash these days, since I realised that my Lola and Finn hate roasted vegetables and they are not too fond of squash soup. What I was going to do with them, I wasn't sure, but at 69p, I was buying them. They would be the staple for something. And frankly, what a good spot it was, because I would never have cooked this gorgeous dish if I hadn't have bought them.
 
So, after dumping the squash in the fridge for a couple of days and forgetting about it, I unearthed it once more looking for something else. Off to cookbook corner (more like a whole wall these days) to consult better chefs than I. After a rummage, I surfaced with 'Twelve' by Tessa Kiros (a glorious tome of Tuscan recipes) and a recipe for penne with pumpkin. I had all the ingredients, save for the pumpkin and the penne, but you know, a squash is near enough, I figured and as for the penne, well, we're fusilli people here. It was all going to be fine.
 
I did adapt a few little things here and there from the recipe. In particular, I cut my squash into quite small dice mostly, with a few slightly larger ones. Whilst I would like to say this was intentional, it was merely due to the fact that my knife skills are cack. What it did result in however was some of the smaller dice disintegrating pleasingly into the tomatoey sauce and the bigger dice retaining their shape and therefore giving texture. I also only put a cup of water in rather than the three recommended because I knew the cooking time for the squash would be less and I hoped that the sauce would reduce into something reasonably intense. Which it did.
 
So, why am I banging on about sunshine in the title of my blog post? Well, it struck me whilst chopping up squash how beautifully vibrant a squash is. In a season which is more likely to be associated with the more insipid, lifeless colours as nature almost lies dormant, the squash just glows and resonates warmth. Though a winter vegetable, its sunny colour makes me think of those golden days of summer. Why didn't my ancestors stay in the Med? I was made to be where the sun shines!!
 
Lola liked this. Finn, well, ate some. He is a very tough customer but don't let his lukewarm reaction put you off. Please make this. It's pretty economical, light but substantial (if that is possible) and tastes really wonderful. And, I still have half a squash left...
 
Fusilli con la Zucca, or Pumpkin spiral pasta, adapted from Penne con la Zucca, from 'Twelve' by Tessa Kiros.
 
My adaptations in red.
 
Serves Lola, Finn, Mum and Dad plus 2.
 
Ingredients:
 
3 tbsp olive oil
1 medium onion, chopped finely (actually, I used some shallots, about 4)
1 Italian sausage, about 80 g (3 oz), skin removed and crumbled or 80 g (3 oz) of unsmoked pancetta, chopped finely.(I used ready diced unsmoked pancetta and a couple of bits of streaky bacon cut up with kitchen scissors to make up the shortfall)
300 g (10.5 oz) skinned, cleaned pumpkin, peeled and sliced finely (as already mentioned several times I used a butternut squash)
400 g (14 oz) tin  tomatoes with juice
1/2 small dried red chilli (I used half a deseeded red chilli which gave a latent 'nudge')500 g (1 lb 2 oz) penne or other short pasta (Fusilli!)about 120 g (
1 1/4 cups) grated Parmesan cheese, to serve
A little parsley, for sprinkling and garnish
 

Method:


Heat the olive oil in a saucepan and sauté the onion until it has softened. add the sausage or pancetta and sauté until it has browned lightly.
 

Cut the pumpkin slices into small pieces of about 2 cm (3/4 in) (I cut mine half the size of this, see preamble above) and add them to the pan.
 
 
Add the tomato and chilli, and season with salt and pepper.
 
Add about 750 ml (3 cups) (I used one cup of water) and simmer for 30-40 minutes. (I simmered for about 20 minutes before inserting the tip of a knife into the bigger dice) The pumpkin should melt into the sauce a little and there should be enough liquid to coast the pasta. Add a little more water, if necessary, to prevent the sauce from sticking.
 
 
When the sauce is of a desired consistency and the squash has cooked through. Check again for seasoning.

Bring a large saucepan of salted water to the boil. Cook the penne according to the packet instructions. Drain and mix into the sauce, tossing quickly to coat evenly, and serve. Or, serve the pasta with the sauce on top with some Parmesan cheese and a sprinkling of parsley.
 

Monday, 7 January 2013

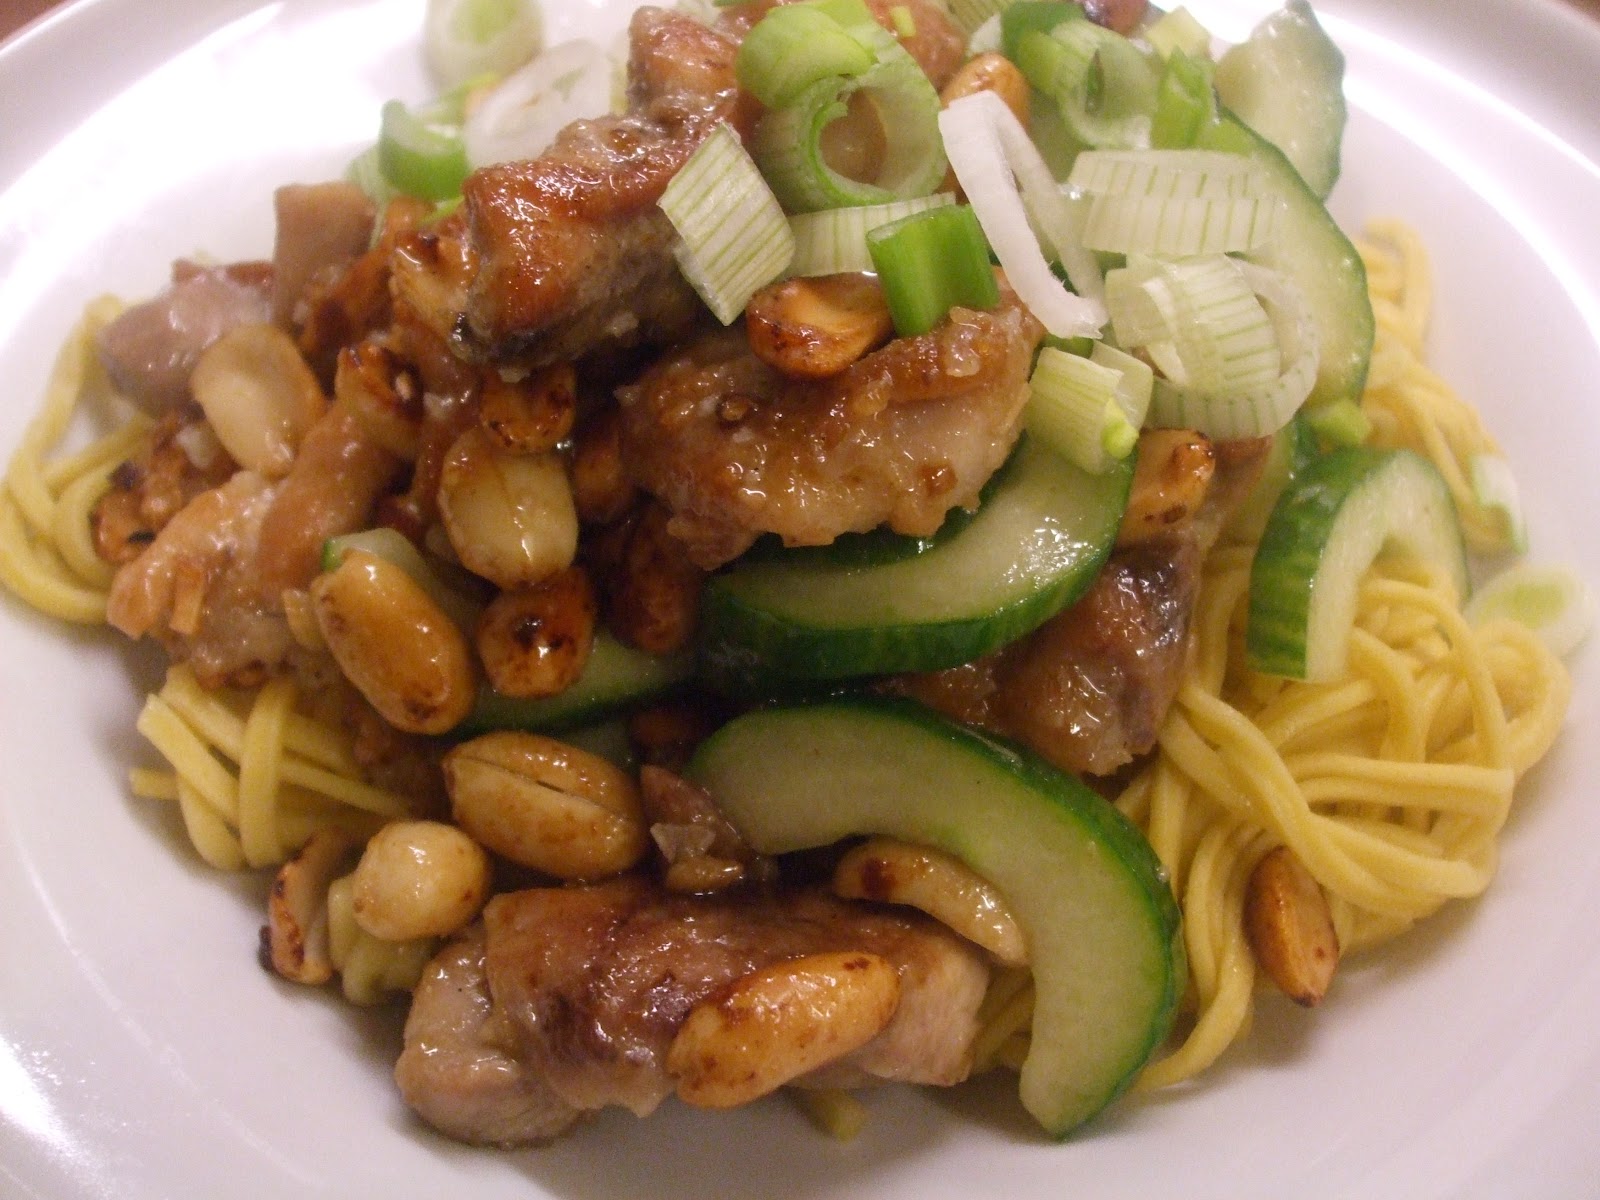
Kinda healthy. Well, healthier than usual. Chicken and Cashew Nuts


...although I think it's fair to say that nuts, whilst high in fat, do offer more nutritional value than, say, lard, so perhaps I was right with my first assumption.
 
Ah yes, January. The month of good intentions. Unfortunately I still have a fridge full of cream, cheese and eggs, which I will have to use up before any good intentions that I may have regarding what we eat begin to take shape, so just to be contrary, expect a few deeply unhealthy but frankly glorious recipes to come to a blog near you sometime soon. By mid January, the fridge will be reasonably empty of food likely to lead me astray, and I'll be cooking meals more akin to what I have decided to blog about today.
 
I have returned to work today after two and a half weeks of late nights, late mornings and a general sense of happiness and well being. Then, the new year arrives and you realise that the lottery numbers haven't come up and you are back working for a living. Because I am, frankly, useless and not able to compete with those supermums who have it all done and dusted and get their children in bed by seven, I find myself crashing through the door about 4.30pm with two hungry kids, an armful of marking, book bags, lunch boxes and other assorted school paraphernalia and a cold realisation that you have to put a meal on the table as well as do all the other 'mum' stuff. If you can get yourself together, this meal is quick and it's like take away without the take away. Bask in your all round virtuousness!
 
I do try to get Lola and Finn to eat a variety of foods, and Chinese food is something that they feel more confident about eating. Lola was enthusiastic about it and Finn, being Finn, picked his way through it, leaving an assortment of nuts and cucumber. However, it wasn't a total refusal and this can only really be seen as a bonus. I do find it really strange though how a child who has been brought up with a variety of food experiences can be so sniffy when it comes to food.
 
So, in trying to be a good mum, we have...
 
Chicken and Cashew Nuts, adapted from Simple Chinese Cooking by Kylie Kwong
 
Serves Lola, Finn, Mum and Dad plus 2
 
Ingredients:
 
For the marinade:
 
2 tablespoons shao hsing wine or dry sherry (I used dry sherry)
2 tablespoons cornflour
1 tablespoon cold water
1 teaspoon sea salt
 
For the chicken:
 
1 pound 10 ounces boneless skinless chicken thighs, cut into 1-inch slices
1 medium cucumber (unpeeled)
3 tablespoons peanut oil
1 cup (about 5 ounces) roasted unsalted cashews (I didn't have enough so added some peanuts instead)
6 medium cloves garlic, finely chopped
2 tablespoons shao hsing wine or dry sherry (I used dry sherry)
1 to 2 teaspoons sea salt (in my opinion, 1 teaspoon is enough!)
3/4 cup finely sliced (crosswise) spring onions, white and tender green parts, for garnish
 
Method:


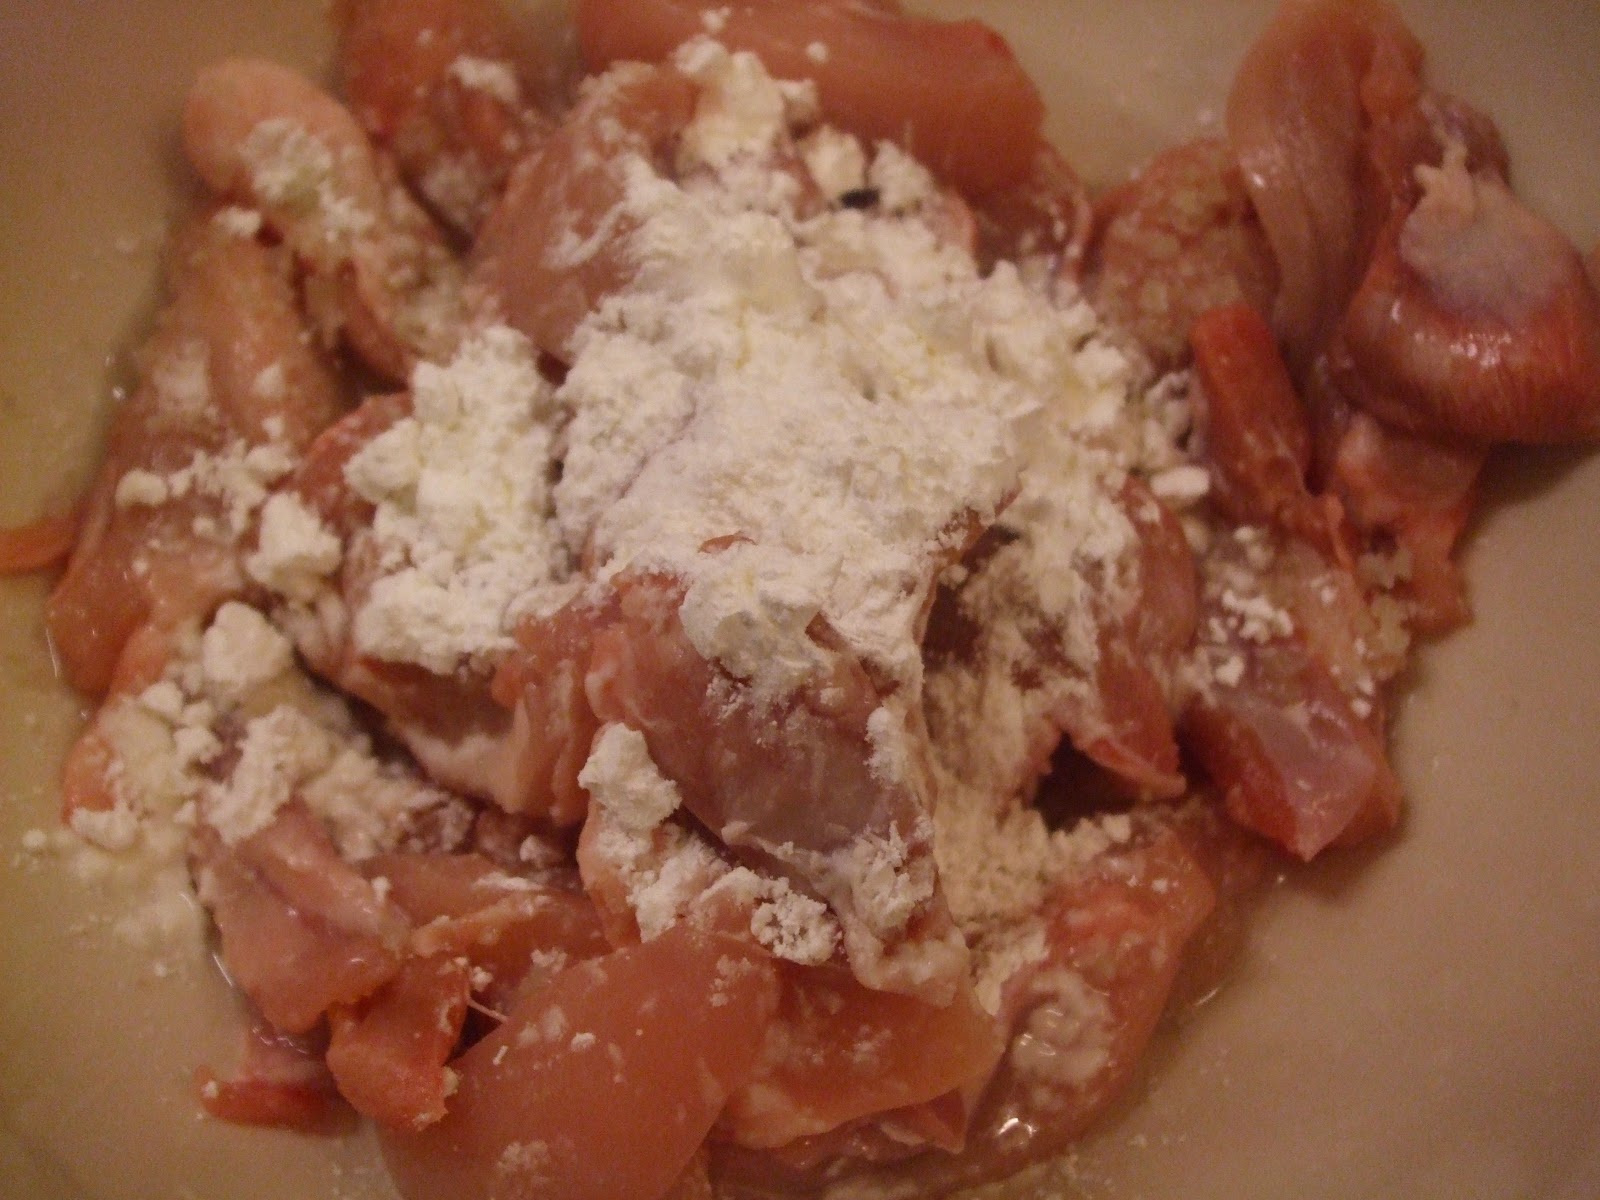
Combine the marinade ingredients with the chicken in a resealable plastic food storage bag. Seal and refrigerate for at least 30 minutes or up to 1 day, or put in a bowl, cover with cling film and refrigerate.
 
Collect together and prepare all the ingredients you need before you start to cook as the cooking process is very quick.
 
When ready to cook, cut the cucumber in half lengthwise and scoop out the seeds with a spoon. Place the cucumber cut side down on a cutting board; trim off the ends and discard. Slice the remaining cucumber thinly on the diagonal and set aside.


Heat 2 tablespoons of the oil in a hot wok or large non stick frying pan over medium heat until it shimmers. Add half of the marinated chicken and stir-fry for 1 to 2 minutes. Use a slotted spoon to transfer to a plate. Repeat with the remaining chicken.


Add the remaining tablespoon of oil to the wok, then add the nuts and garlic. Stir-fry for 30 seconds, stirring constantly, making sure the garlic does not burn. Very important. Be vigilant.


Return all the chicken to the wok and increase the heat to high. Add the wine or sherry and stir-fry for 30 seconds to 1 minute.


Add the salt and stir-fry for about 1 minute, until the chicken is lightly browned and just cooked through. Add the cucumber and stir-fry for 10 seconds.


Divide the chicken and sauce among individual plates and sprinkle scallions over the top. Serve immediately. I served mine with some medium egg noodles.


Saturday, 5 January 2013

Bread and cheese? Together? Sounds brilliant to me. Panini al Gorgonzola, or Gorgonzola and Walnut Rolls


A little anecdote to set us off. I was thinking about the way that I really now enjoy making bread, now I seem to make stuff that does indeed resemble a loaf rather than a sponge, and it seems a far cry from the conversation that I had about 15 years ago with an English adviser who had come into the school where I was working to 'advise', as in 'state the bleeding obvious and get paid £300 for doing so', and whilst she was telling us things that we already knew, she was also waxing lyrical about the joy of making her own bread and asked me if I made my own. I looked at her with more than a little bewilderment and told her that no, it was easier to buy it from Tesco (other supermarkets are available) and that my time was taken up by ploughing through paperwork with a little bit of marking to justify the fact that I teach for a living. Yes, I started off bolshy and have progressively got worse. She merely smiled. She had time to make her own bread. Or, if she was far too busy, she made time.

And, she was right. Fast forward 15 years and here I am, dabbling in bakery and making the odd loaf here or there. Out of all the recipes I have made, the meals I have produced, the cakes I have frosted, I get no better satisfaction from making bread. It must be the rigorous involvement of kneading, plus the nurturing glances at the dough as it rises and then, to top it all, the smell as it bakes. Glorious.

So, this recipe, like many of the others, is from Gino D'Acampo's 'Italian Home Baking' and it combines two ingredients which were made for each other, Gorgonzola and walnuts. It produces a taste which is all at once nutty with an almost spicy then creamy hit of Gorgonzola. I got Lola and Finn to dip these rolls into tomato soup, once they got a bit past their best, but at their best, with a little prosciutto and a icy cold glass of wine, really, really heavenly.

So, when it comes to making bread, now I make time. It's worth it.

Panini al Gorgonzola, or Gorgonzola and Walnut Rolls, from 'Italian Home Baking' by Gino D'Acampo

Makes 12 rolls

Ingredients:

350g strong white flour, plus extra for dusting
350g wholemeal flour (I used spelt flour)
7g fast action yeast
1 tsp salt
200ml full fat milk, warm
250ml water, warm
180g Gorgonzola cheese, cubed
90g walnuts, roughly chopped
olive oil for brushing

Method:

Brush two baking trays with oil.


Combine the flours, the yeast and the salt together in a large bowl. make a well in the centre.
 
Pour the milk and the water and mix the ingredients together to form a soft dough.

Dump the dough onto a floured surface and knead for about 10 minutes or so.


Work the Gorgonzola and the walnuts into the dough and return the dough to the bowl. Brush the top with some oil and cover with cling film. Allow the dough to rise in a warm place away from draughts for about an hour.


When risen, turn out the dough into a lightly floured surface then divide the dough into 12 equal sized balls. Place on the oiled baking trays, putting space between each roll to allow them to rise once more. Brush with oil and cover with cling film and allow them to rise for a second time. This time, for about 45 minutes.

Whilst the rolls are rising, preheat the oven to 220c, Gas 7.

Remove the cling film and bake in the middle of the oven for 20 minutes until golden brown.


Remove from the trays and leave the rolls to cool slightly on a wire rack.


You can eat these warm. And why wouldn't you? And then you can eat more of them when they have cooled further.

Wednesday, 2 January 2013

Winter warmer - Cumin spiced chicken with Tomatoes


Well, here we are, 2013 and whilst there might be a frisson of excitement as we make plans about how this is the year where we eat less, work harder, take more exercise, take risks, live life to the full, yadda, yadda, yadda, the shining light of optimism is not matched by the weather. Today has been like living in a room where the walls are made of rain and cloud, and it has seemed as though it has barely got light, the day being merely a lighter shade of dark than the long night that surrounds it.
 
Still, as Nigella said when she was talking about cinnamon rolls, winter does have its compensations - mostly culinary - and this is one of them. If you are not curried out from turkey leftovers (this Christmas I bought only what I felt we needed, meaning that I have had not needed to force feed the clan a seemingly endless supply of cold meat sandwiches and 'pies',) then this might be the meal for you. Robust enough to blow the winter blues away with a hint of spice, but light enough to seem as though you might actually be doing yourself some good by eating it. After all, your body is a temple right now, isn't it?
 
I try not to make consecutive recipes from the same source, as I like to mix it up a little, but this recipe is also from those clever people at BBC GoodFood. A couple of years ago I bought 'GoodFood 101 Best Ever Curries' and this is one of many superbly simple recipes to spice up your life. I did adjust the amount of chicken I used as we like more of a wet curry here and I knew this sauce with its coriander and tomato would be delish. I also seasoned with plenty of black pepper and a spritz of lemon juice once the sauce had reduced down to give the sauce a sour kick. That tastes better than it sounds, trust me. And of course, you can always control the heat with the amount of chilli powder you put in. I stuck to the recommended 1/2 teaspoon and it produced a pleasing and mild warmth rather than a searing, taste bud destroying heat.
 
I served this simply with plain basmati rice. Very nice it was too!
 
Cumin spiced chicken with tomatoes, adapted from GoodFood 101 Best Ever Curries
 
Serves Lola, Finn, Mum and Dad
 
My adaptations in red.
 
Ingredients:
 
4 tsp cumin seeds (I only had 2 tsp left, so I used a heaped tsp of ground cumin instead)
3 tsp vegetable oil
2 onions, diced
700g/1lb 9oz skinless chicken thighs (I used 600g)
3 garlic cloves chopped
1 tsp coriander stalks
1/2 finger length knob of ginger, cut into thin sticks
400g chopped tomatoes
1/4 tsp ground turmeric
1/2 tsp chilli powder, or to taste
2 tsp garam masala
3 tbsp chopped fresh coriander, plus extra to garnish
juice of 1/2 lemon
seasoning, to taste.
 
Method:


Dry roast 2 teaspoons of the cumin seeds until fragrant. Set aside.


Heat the oil in a frying pan and add the remaining cumin seeds and cook until they begin to crackle, then add the diced onion. I improvised here by firstly putting my chopped onions in, closely followed by the heaped teaspoon of cumin.


Fry the onions until soft, then add the chicken to seal, cooking for about five minutes.


Then add the garlic, ginger and coriander stalks and cook for about 3 to 4 minutes, taking care not to burn the garlic.


Stir in the tomatoes, the turmeric, the chilli powder, two tablespoons of the coriander leaves, plus a teaspoon of salt.


Cover and simmer for about 40- 45 minutes until the chicken is cooked through and tender and  the sauce has thickened. If the sauce hasn't thickened then remove the lid and boil rapidly to reduce the sauce to the desired consistency.


Meanwhile, coarsely grind the roasted cumin seeds (I used a mortar and pestle).
 
Taste for seasoning. You will probably have to add a little more salt. If you like, add a few grinds of black pepper and stir in some lemon juice to give the sauce some zing.


Serve with rice and a sprinkling of the roasted cumin seeds...and more coriander sprinkled over, if you like.


Saturday, 29 December 2012

A twist on my personal Christmas treat - Poached and Smoked Salmon Pâté with Bagel Toasts


My little foodie Christmas present to me is smoked salmon, cream cheese with lashings of black pepper on a toasted bagel. I never eat it at any other time, only Christmas, and as such has retained its special quality because of the infrequency with which I eat it. However, this Christmas out of necessity I put a twist on my plans by making it into a paté to share with family for a Christmas buffet. What's more, I had all the ingredients, save the dill, so I didn't have to spend any more time than really necessary in the supermarket doing the 'Christmas shop' which every year is a real low point; I can think of better things to be doing than fighting with my fellow (wo)man over the last tube of Pringles, etc...
 
This recipe is from the January 2013 issue of Good Food. I very rarely buy any cooking magazines as I know it is a slippery slope to ultimately having a room full of them, but I had a coupon, so I allowed myself this indulgence. Thank goodness for the website which means I can have the recipes without the storage problem!
 
My adaptions for this were few. I decided to cook the salmon not by poaching but by wrapping the fillets loosely in foil with some seasoning and a couple of slices of lemon. In addition, when mixing the cream cheese and salmon together I seasoned, adding plenty of black pepper, as I love it so much with salmon and cream cheese. This is a personal thing. I also squeezed the juice from the lemons that I roasted into the mixture as I like the tang of acidity along with the rich oiliness of the salmon. Yum.
 
Poached and Smoked Salmon Pâté with Bagel Toasts from BBC GoodFood
 
Ingredients (to fill a small (650g) loaf tin):
 
olive oil for greasing and brushing
small bunch dill , chopped, a few fronds left whole
2 x 120g packs smoked salmon trimmings
2 x 170g packs steamed or poached salmon fillets, flaked into chunks
2 x 200g tubs light cream cheese
4 spring onions, finely chopped
salt and freshly ground pepper
1 lemon (see my adaptation above)
pack 10 mini bagels, split
 
Method:


Prepare the salmon fillets by either poaching or steaming them, or else, roast in foil with seasoning and lemon, as I did.


Grease and line a loaf or terrine tin (about 650g) with cling film - if you only have a standard 900g tin it will still be fine, just a bit flatter. Arrange the whole dill fronds and a few nice slivers of the smoked salmon on the bottom (this will be the top of the terrine so you want it to look quite neat).


In a food processor, pulse half the cooked salmon fillets, half the remaining smoked salmon trimmings and the cream cheese with some seasoning. Don't overmix as you want it to have a bit of texture.


 Fold in half the dill, all the spring onions and the rest of the poached and smoked salmon so that you have some nice flakes of fish running through the pâté. Scrape into the tin, smooth the surface and chill for at least 2 hrs or up to 2 days in advance. (I made mine the day before I served it).
 
 
To serve, heat oven to 200C/180C fan/ gas 6. Arrange the bagel halves in a single layer on a baking tray and brush each one with some oil. Sprinkle on a little of the dill and some sea salt, then bake for about 10-12 mins, until crisp and light golden. (If the oven is full, these can be done earlier and served at room temp.)


Turn the terrine tin upside down and use the cling film to remove it. Unwrap and serve on a platter with the bagel toasts.

LinkWithin

Related Posts Plugin for WordPress, Blogger...