Lola and Finn's Mum

Lola and Finn's Mum
Showing posts with label Hummingbird Bakery. Show all posts

Sunday, 28 July 2013

Small but perfectly formed - Strawberries and Cream Cheesecake


...though yours doesn't have to be small to be perfectly formed. Indeed you could follow the recipe below and get something far more substantial but, you see, I am not really a cheesecake fan. In my mind, there are better and lighter puds and something in me thinks that if a pudding is going to be substantial then it has to be warm. However, what I will say is that as cheesecakes go, I liked this and I think it was because of its baked, mousse like texture and because I made it small and could take a small piece and not think about how I was going to have to eat the rest. I should say here that Phill is a cheesecake aficionado and would have willingly hoovered up the rest. In fact, the small cheesecake I made here he thought was a single portion but I think that was just an amazed response to the fact that I had actually made a cheesecake.
The quantities below are from the original recipe in Hummingbird Bakery's 'Bake Days', because it is unlikely that you would want to make something so small. I halved all the quantities below and used a 4 and a half springform tin. It served Lola, Finn, dad and me in one sitting, although Phill said he could have eaten all of it again. Maybe next time I will make one just for him.
Strawberries and Cream Cheesecake, taken from The Hummingbird Bakery 'Bake Days' by Tarek Malouf.
Serves 8
 
 
FOR THE BASE
220g (8oz) digestive biscuits
100g (3 1/2oz) unsalted butter, melted
FOR THE TOPPING
200g (7oz) fresh strawberries, hulled and chopped, plus 100-200g (3 1/2-7oz) extra strawberries, cut in half to decorate
180g (6 1/2oz) caster sugar
600g (1lb 5oz) full-fat cream cheese (such as Philadelphia)
2 large eggs
100g (3 1/2oz) mascarpone cheese
20g (3/4oz) icing sugar
100ml (3 1/2fl oz) double cream
 
Method:
 
 
Line the base of the tin with baking parchment. Using a food processor with the blade attachment, blitz the biscuits into fine crumbs. Alternatively place them in a plastic bag, seal and crush with a rolling pin.
 

 Pour the biscuit crumbs into a bowl, add the melted butter and stir together, then tip into the lined tin and press into the base with the back of a spoon.
 
Place the tin in the fridge for 20-30 minutes to allow the base to set.

 
Meanwhile, place the strawberries in a saucepan with 80g (3oz) of the sugar and 30ml (1fl oz) of water and bring to the boil. Reduce the heat and cook until the strawberries are soft and the liquid has reduced by half. Take off the hob and set aside until completely cold.


Preheat the oven to 160c (320f), gas mark 3. Prepare the topping by using a hand-held electric whisk or a free standing electric mixer with the paddle attachment to beat together the cream cheese and remaining sugar on a medium speed until smooth. Add the eggs one at a time, mixing well after each addition and scraping the sides of the bowl now and then. Tip the cooked strawberries and stir in by hand, ensuring that they are evenly dispersed.
  
Pour the mixture into the prepared tin - it should be about two-thirds full. Place in a roasting tin (first wrap the cake tin in foil) and fill this with water up to about 5mm (1/4in) from the top of the cake tin. This creates a water bath in which to bake the cheesecake, preventing it from drying out and cracking in the oven.
 
Bake for approximately 30 minutes or until firm on the top with a very slight wobble in the centre. Allow the cheesecake to cool at room temperature still in the tin, then place in the fridge to chill and set for 1-2 hours.
 

Using the electric whisk or free standing mixer, beat the mascarpone and icing sugar on a medium speed until smooth. In a separate bowl, whip the double cream until soft peaks form, then fold it into the mascarpone.


Remove the chilled cheesecake from the fridge and pour the mascarpone cream on top, spreading it evenly. Place back in the fridge for a few hours, or preferably overnight, to set.
 

When you are ready to serve, carefully remove the cheesecake from the tin and top with fresh strawberry halves.

Saturday, 6 July 2013

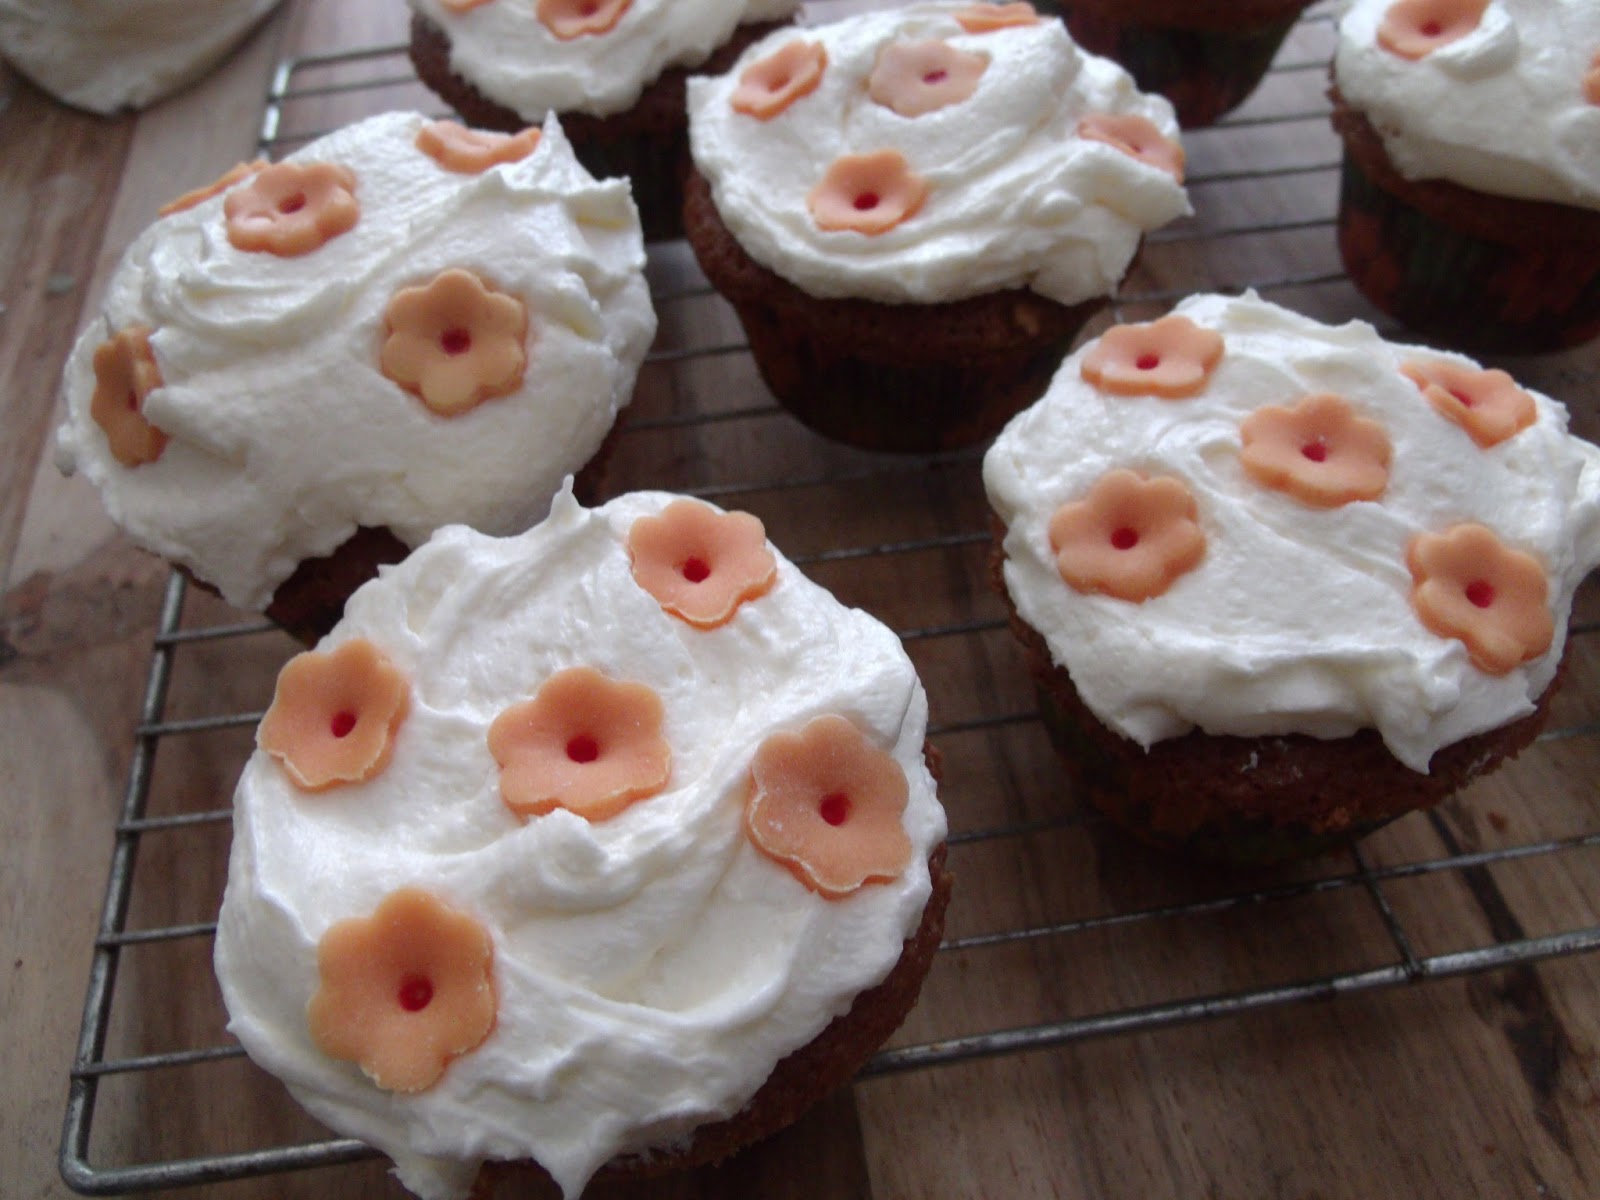
Baking for the Summer Fair part I: Orange Blossom Cupcakes

 
Yes, it is that time of year again where from a personally joyful perspective I can sense the summer hols coming nearer and nearer. There are the little things that remind meit's nearly time, like what is ripening in the garden, or coming out in full bloom. Then there is the urge to set my classroom on fire in a desperate attempt to get rid of all the bumf I have managed to generate in the past year (mental note to self: stop reinventing the wheel) and there is the call for cakes for Lola and Finn's school summer fair. This year it was Finn's class' turn to do the cake thing so I set to work, with an able assistant...
 
 
My able assistant before...
 
 
and after.
 
We are just embarking on another summer here just now - the cynics amongst us thought that the three days in June was probably 'it' as far as 'Summer 2013, Brit Stylee' was concerned, but no, the sun is back and could be here for a whole week, so to match my summery mood I went for something a bit floral, though the orange blossom thing that you see here is probably wrong on many levels -  am aware that orange blossom for one, is white, and secondly, you might not see orange blossom at this time of year, but don't rain on my parade all you gardening peeps, I had all the ingredients and it made me feel summery, even if it wasn't for any reason based on actual fact.
 
After some time apart I have reunited myself with those lovely 'Hummingbird Bakery' cookbooks that I own. This is from 'Bake Days' and is a variation on the 'Apple Blossom Cupcake' recipe. So here we go...
 
Orange Blossom Cupcakes, from 'Bake Days' by Tarek Malouf and The Hummingbird Bakers.
 
Makes 12-16 cupcakes
 
Ingredients:
 
For the sponge
 
80g (3oz) unsalted butter, softened
280g (10 oz) caster sugar
240g (8 ½ oz) plain flour
1 tbsp baking powder (yes, really!)
¼ tsp salt
200ml (7fl oz) whole milk
1 tbsp orange flower water
2 large eggs
 
For the frosting
 
160g (5 ½ oz) unsalted butter, softened
50ml (1 ¾ fl oz) whole milk
500g (1lb 2oz) icing sugar
3 tsp orange flower water
 
To decorate:
 
Some orange sugar paste and a small flower cutter
 
 
Method:
 
Preheat the oven to 190°C (375°F), Gas mark 5, and line a muffin tin with muffin cases.


Using a hand-held electric whisk or a freestanding electric mixer with the paddle attachment, whisk together the butter, sugar, flour, baking powder and salt on a low speed until all the ingredients are well incorporated and resemble fine breadcrumbs.


Place the milk in a jug with the eggs and orange flower water and whisk together by hand.
 
Pour three-quarters of the milk mixture into the dry ingredients and mix on a low speed to combine. Increase the speed to medium and keep mixing until smooth and thick. Scrape down the sides of the bowl, add the remaining milk mixture and continue to beat on a medium speed until everything is mixed in and the batter is smooth.


Divide the batter between the paper cases, filling them up to two-thirds. Any remaining batter can be used to fill up to four more cases in a second muffin tin.


Place in the oven and bake for 18-20 minutes or until well-risen and springy to the touch. Leave to cool slightly before removing from the tin, then place on a wire rack to cool down fully before adding the frosting .
 
To make the frosting, using the electric whisk or the freestanding mixer with paddle attachment, slowly whisk the icing sugar with the butter until sandy in texture and no large lumps of butter remain. Gradually pour the milk and orange flower water into the icing sugar and butter mixture. Once all the milk has been added, increase the speed to high and whisk until light and fluffy. (Some comments on frosting: I think the quantities don't have to be bang on - my take on it is you add ingredients and mix very well until you get the consistency/taste you require. Also, I may have been a bit stingy on the frosting front, as I did have some left over frosting after icing these cupcakes, which I am going to use to sandwich another cake).


Top each cake with a generous spoonful of frosting, then gently smooth over with a palette knife, adding a swirl at the top if you wish. (Or try, if you're me...)


Decorate with the flowers!
 

Sunday, 7 October 2012

Happy Birthday Dad - Hummingbird Bakery Maple and Pecan Layer Cake


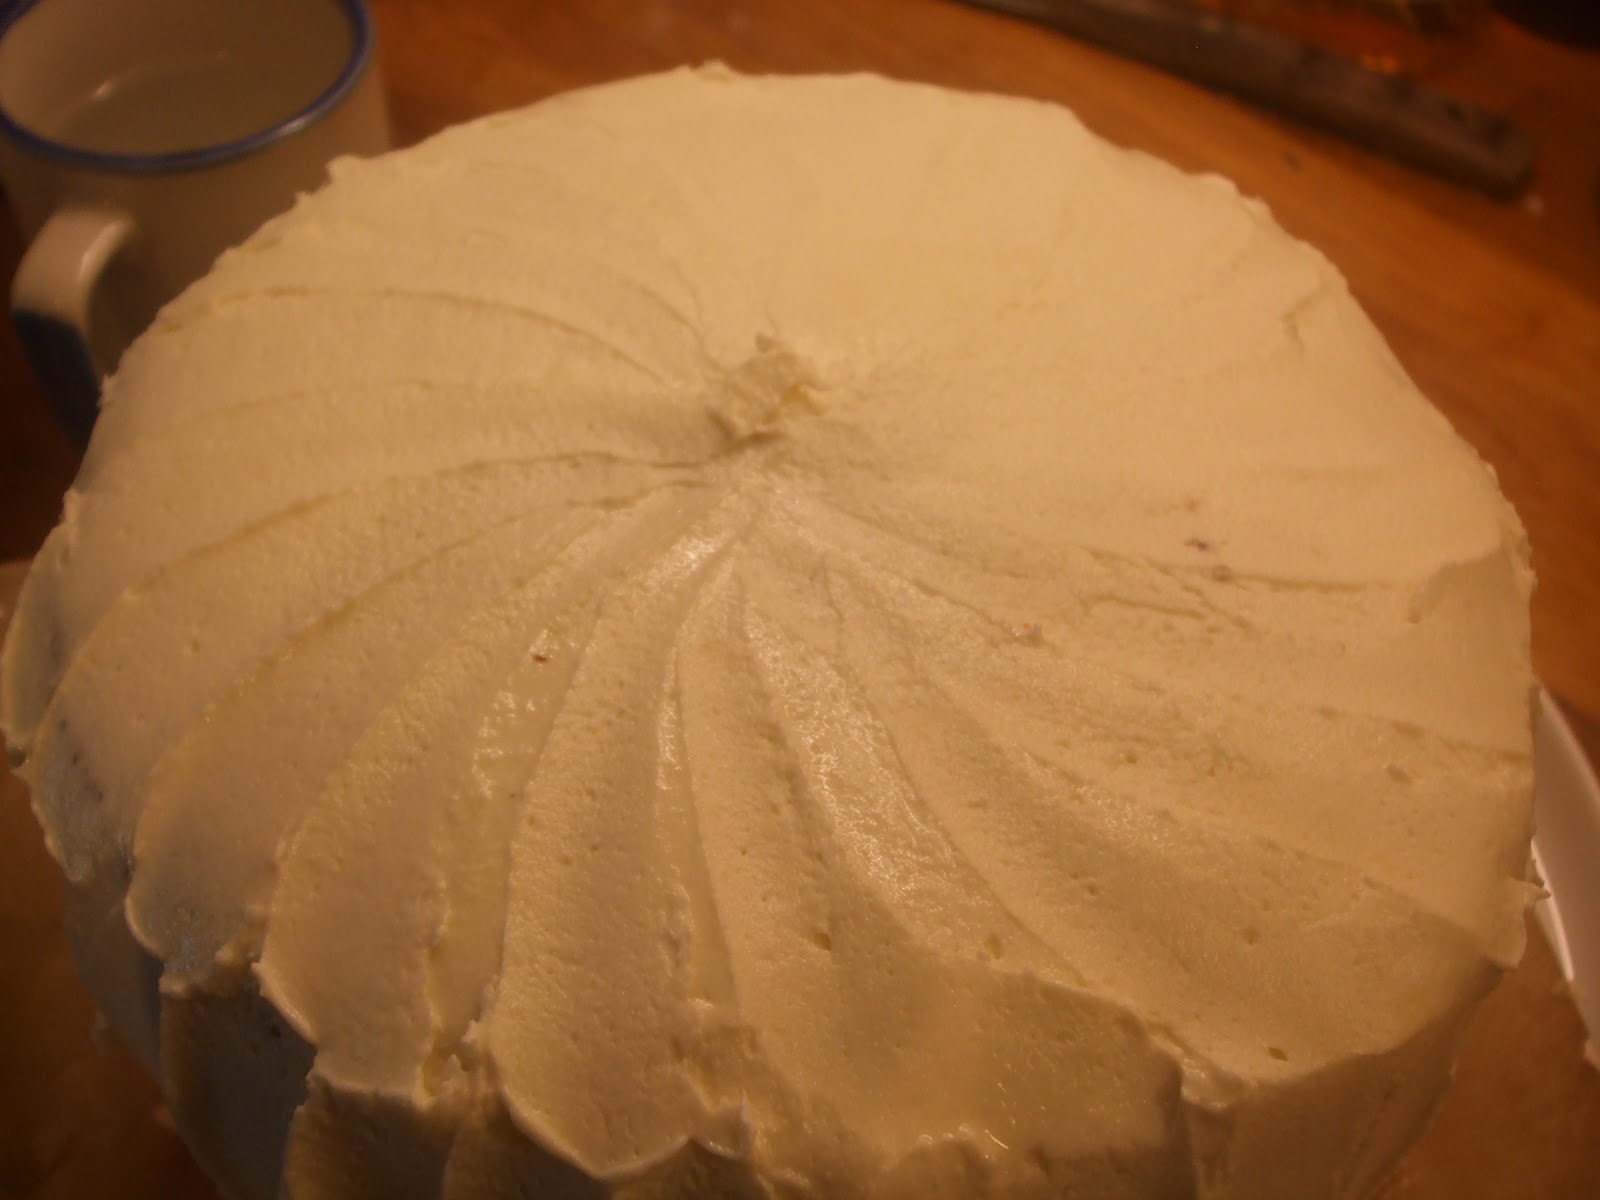
You're never too old for a birthday cake. My dad is 65 today and such a milestone (both my parents are finally twirlies - OMG how did that happen?) deserves something a bit out of the ordinary so I decided instead of using the old faithful Hershey's Chocolate Cake, the birthday cake of choice around here, that it might be nice to do something a little different. This called for the Hummingbird Bakery's Maple and Pecan Layer Cake, with its decadent pearly white icing and skyscraper layers (this cake is pretty big once you get it iced up!).
 
I was a little worried initially that the cake was dry on cutting but it wasn't. It was moist with the background distinctive sweetness of maple syrup. And pecans are just lovely!
 
Anyway, with all that sweetness there will be lots of energy for the walk to the post office in the morning to pick up the pension. Happy days! Happy Birthday Dad!
 
Maple and Pecan Layer Cake taken from the Hummingbird Bakery's 'Cake Days'
 
Serves 10 - 12
 
Ingredients:
 
For the sponge:
 
120g unsalted butter, softened
400g white sugar
360g all purpose flour
1 ½ tbsp baking powder
¼ tsp salt
360ml whole milk
40ml maple syrup
3 large eggs
100g pecans, chopped
 
For the frosting:
 
240g unsalted butter
750g icing sugar
60ml whole milk
1tbsp maple syrup
Pecan halves to decorate
 
Method:


Preheat the oven to 170° Gas 3 and prepare three 8 inch diameter sandwich tins with baking parchment.


Mix together the butter, sugar, flour, baking powder and salt with an electric mixer at low speed until the mixture reaches a crumb-like consistency.


In a bowl mix together the milk, maple syrup and eggs by hand.


Pour this mixture into the dry ingredients and mix with an electric mixer until well combined. Stir in the chopped pecans by hand. 


Divide the cake batter equally between the 3 baking pans and bake for 20-25 minutes until the cakes become light brown. Leave them in the pan for a few minutes, then turn out and allow to cool completely.


For the frosting, whisk with an electric mixer the butter and icing sugar until fluffy and sandy in texture, then add milk and maple syrup, mix well and then beat at high speed until it becomes soft and fluffy.
 
Obligatory cup of tea when icing a cake. Also, cup of hot water with a pallet knife. The hot knife helps to smooth the icing. Also, there are strips of greaseproof paper under the cake which are there to stop the icing going on the plate. Remove the strips when the cake has been iced to give you a (reasonably) tidy finish
 
 
When the sponges are completely cold, place the first layer on a plate, top with 3-4 tablespoons of the frosting, and smooth it down using a palette knife and adding a little more if needed.


Put the second layer on top and cover with frosting in the same layer.
 
My cake decorating still appears to come from the school of hard knocks, but you see what I am getting at!
 
Then put the third layer, frost the sides and top of the cake and decorate with pecan halves.

LinkWithin

Related Posts Plugin for WordPress, Blogger...