Lola and Finn's Mum

Lola and Finn's Mum
Showing posts with label butter. Show all posts

Tuesday, 7 February 2017

Whoa, did someone says Guinness? And Chocolate? Guinness Brownies


Guinness. Lovely Guinness. Wonderful on its own, and it would seem, pretty good with chocolate too, but in honesty I already knew that, as evidenced here and here.
Because Guinness is good for you, I fervently believe that these brownies will have health giving properties. It is a mere detail that they contain stuff which may not form part of a calorie controlled diet, for the reason that these are so beneficial is that I defy anyone not to sit down with one of these bad boys and a cuppa and not feel completely restored, or else just a little bit better about the trivialities of life. Here is some photographic proof of the restorative properties of Guinness, from a small visit to Dublin more years ago than I would like to admit.
Has Guinness
Gets smiley

This is not necessarily a shameful attempt to get in early on the whole ‘what shall I cook for St Patrick’s Day?’ internet traffic, more an encouragement for those who may be pre-disposed to celebrate the day with a pig under their arm/wear a ‘Kiss Me, I’m Irish’ t shirt/don a snazzy leprechaun hat to do something slightly less predictable. Actually, scratch that. This blog is no place for sanctimony and so this is not the time and place to tell people how to live their lives.  You crack on with whatever it is you’re planning, but make these brownies as well, because they are amazingly glorious. In fact, don’t wait ‘til St Patrick’s Day to make them. Make them now.
You’re welcome. Slainte!
Guinness Brownies, adapted from 'Baked in America' by David Muniz and David Muzniak
Makes 12 humungous ones
Ingredients:
8oz plain flour
6oz plus 2 tablespoons cocoa
½ tsp salt (or taste the batter once it’s mixed; you might need a smidgen more)
12oz dark chocolate - I used 72% cocoa. Go big or go home.
6oz white chocolate
6oz unsalted butter, cubed
6 large eggs at room temperature
12oz caster sugar - original recipe says granulated but, not for me.
1 tsp vanilla extract
16fl oz Guinness, at room temperature
9oz milk chocolate chips

Method:

Preheat the oven to 190c
Grease a 12 x 9 x 2 inch pan really, really well. I then line it with foil, in a bit of a cradle style so I can lift the brownies out afterwards.

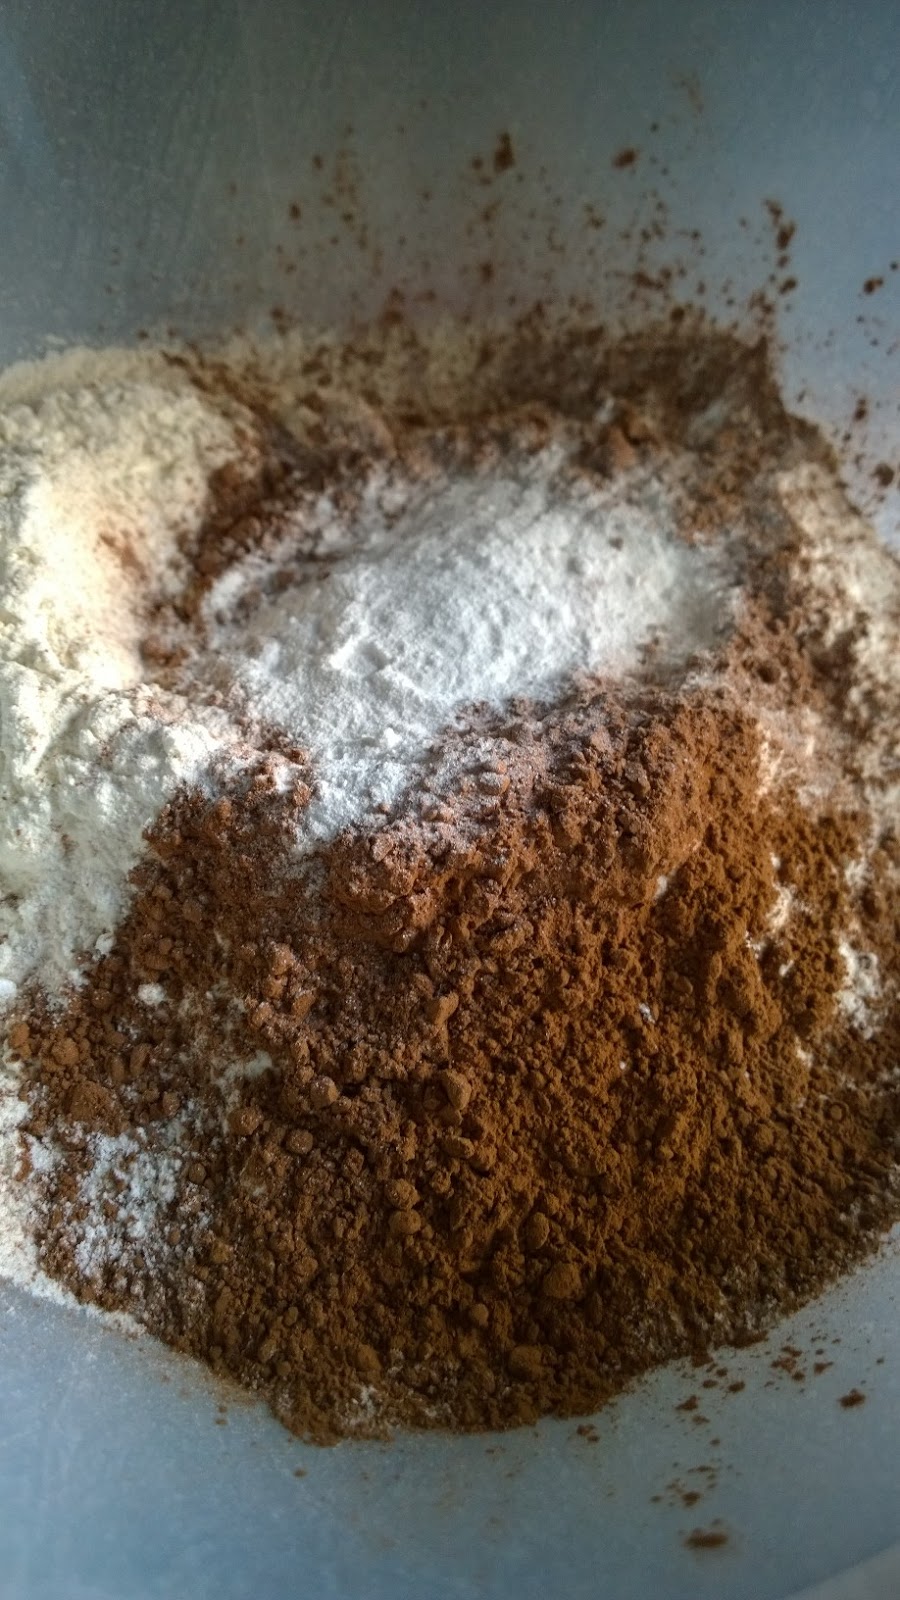
In a large bowl, mix the dry ingredients – the flour, the cocoa, the salt.

Place a heatproof bow over a pan of simmering water and melt the white and dark chocolate and the butter. Don’t allow the bottom of the heatproof bowl to touch the simmering water or you risk the chocolate seizing. Set aside to cool a little. You don’t want it so hot that it will ‘cook’ the eggs when you add them.


Talking of eggs – in yet another bowl, beat the eggs and sugar until the mixture becomes light and creamy and the beaters/whisk leave a ribbon like trail when you pull it out of the mixture.

Put the mixer onto medium and carefully add the melted chocolate mixture, stopping periodically to scrape down the sides of the bowl. Ensure that the mixture is completely amalgamated together. Reduce the speed to low, add the vanilla and then add the flour mixture in stages, allowing the flour to mix completely into the batter before adding more. Do not overbeat.


Finally, continuing with the mixer on low, add the Guinness, and mix until everything is well combined.

Carefully pour the batter into the prepared tin, giving it a bit of a shake so it all levels out and fills the corner of the tin. Once the mixture has settled, scatter the chocolate chips over the top.

Bake in the oven for about 30 minutes, or until a knife inserted into the centre emerges with set crumb, not raw mixture. Do not overbake. The mixture will probably shrink from the edges of the pan.

Allow the brownies to cool completely before cutting into big slabs/removing them from the tin. I put mine in the fridge to speed the process a bit. I have no idea if this is correct but patience and Guinness and chocolate have never really gone together in my life, so….

Monday, 15 February 2016

A seventies cake for a seventies chick - Black Forest Victoria Cake


Retro. That’s me. And that being the case, it was only fitting that my birthday cake of choice would also be, like me, of a seventies vintage, the Black Forest Gateau. I don’t care if it’s naff, the combination of chocolate, cream and cherries is, quite frankly, lush, and I thumb my nose to all you dinner party aficionados who think it a gastronomic crime to serve this after your prawn cocktail and your duck a l’orange… (I lurve duck a l’orange by the way…)
I was flicking through some cookery books for an idea as to what to indulge myself with (and force upon others) for my birthday and when the book fell open on this cake I thought to myself, bingo… I have all the ingredients, so no visit to the supermarket (a dangerous business when you are in the midst of ‘healthy eating’ and feel like eating your own arms…) and I like chocolate. And cherries. And cream. And more chocolate. If I am abandoning my current pastime of living virtuously, albeit temporarily, then this is a beautiful way to do it.
This recipe is from ‘Gorgeous Cakes’ by Annie Bell. A completely apt title if you ask me. I made some adaptions, like adding some vanilla extract and salt to the chocolate cake mix, for chocolate likes vanilla and needs salt for that chocolatey ‘hit’. I brushed the warm cakes over with some kirsch because I don’t believe that you can ever have too much of a good thing, and I sweetened the cream with some vanilla and a little icing sugar. Because I can.
The other nice thing about Black Forest Gateau is that you can make it look as pretty as a picture. It didn’t need the 42 candles that should have gone on it. Just as well really as I imagine that such an amount of candles constitutes some kind of fire hazard.

Black Forest Victoria, adapted from ‘Gorgeous Cakes’ by Annie Bell
Makes a 1 20cm cake with sides of 9cm deep, (but I divided the mixture into three 18cm sandwich tins)
Ingredients:
For the cake -
225g unsalted butter, at room temperature
200g golden caster sugar
1 tbsp golden syrup
1tsp vanilla extract
200g self-raising flour
2 tsp baking powder
25g cocoa powder, sifted
4 medium eggs
100ml milk
Pinch of salt
10 – 15ml kirsch, for brushing over the cake
For the filling –
Half a jar of black cherry jam
1 tbsp kirsch
350ml double cream
1 tsp vanilla extract
1 tbsp icing sugar, sifted
To decorate:
Approx 50g of grated chocolate (Should have used dark chocolate, chose to use milk due to fussy children!)
Cherries (I used some from a jar)

Method:
Preheat the oven to 180c and prepare tins by greasing and then lining the bottoms with greaseproof paper.

The original recipe recommends putting all the ingredients together and creaming them until combined. Rightly or wrongly I did it the way mama taught me, that is, creaming the butter with the sugar, then added the syrup, the vanilla and the eggs, one at a time, putting a spoonful of flour into the mix after each egg to stop the mixture from splitting. Then I added the flour alternately with the milk and mixed to only just combined. Lastly, I added the salt and then for the final mix together I used a spatula to ensure that all the mixture was combined.

Pour the mixture into the tin(s). If using the sandwich tins then bake for about 20 mins, until the cake is firm to the touch and has shrunk away from the sides of the tin. If baking in the recommended tin, bake for about 55 mins or until a toothpick placed into the centre of the cake comes out clean).
Once the cakes come out of the oven and whilst still warm, brush a little of the kirsch over the top of the cake(s). If you are making one cake then you will need to cut the cake into layers.
To make the filling: Whip up the cream with the icing sugar and vanilla until it forms pretty stiff peaks which will hold whilst piping. Do not overbeat.
Put the jam into a bowl and loosen with the kirsch. Grate the chocolate.

To assemble. Once cool, spread jam over the layer and then pipe some cream on. Place the next layer onto the cake and then repeat the process.

On the top layer, brush the jam over the top and then cover the jam with grated chocolate. Once the top is completely covered in chocolate, pipe the top decoratively. Adorn the cake with pitted cherries.
Don your bell bottoms and Cuban heels and then serve to all and sundry.


Saturday, 9 May 2015

The tart that makes you look pretty damn good when really you're just well read, resourceful and in a hurry: French Apple Tart (Tarte aux Pommes)


I know I would be a far better cook if I made my own puff pastry but the fact is, I am, essentially, lazy. And I buy loads of that lovely all butter French stuff when I go to France so why on earth would I bother? And, I wouldn't have been able to knock out this tart in the five minutes it took, if I had to spend God knows how long folding, rolling and resting, folding, rolling and resting....
 
I had a small two concerns: Is it wise to make a dessert that is more nuts than I am? I didn't think there was a major chance of anaphylaxis amongst our Sunday afternoon meal crowd (more like a Sunday soiree crowd in the end: note to self, don't open that wine you've been saving and drink two glasses of it without checking that you have actually put the oven on 'oven' instead of 'grill') and sometimes, people just don't like nuts, so I decided to have a reserve. And this was it. Once you've prepped the apples, five minutes will probably do it and with an apricot jam glaze, it looks like it's come straight out of a French patisserie window. And it tastes, and smells, sublime.
 
This was essentially sourced from Michel Roux Jnr's 'My Life in the Kitchen', which is current bedside reading, though there are a couple of little Lola and Finn's Mum twists, namely instead of creating an apple compote, I finished off a jar of apple sauce laced with calvados from Christmas that had been lurking at the back of the fridge by spreading it on the base of the tart. I then sprinkled a little sugar and cinnamon over the top of that before piling the apples neatly on top. With a bit of a flourish to adorn the surprisingly neat job I had made of the apples, I sprinkled a little more cinnamon over the top after I had brushed them with melted butter.
 
This was such a joyous dessert; and amazingly easy to assemble make. And apples, sugar and flaky pastry is never, ever wrong. If you find yourself in a bit of a dessert bind, free yourself with this beautiful thing...
 
French Apple Tart, adapted from 'My Life in the Kitchen' by Michel Roux Jnr
 
Serves Lola, Finn, Mum, Dad and four others
 
Ingredients:
 
1 box of ready rolled all butter puff pastry
2 to 3 tbsp. of apple compote/apple sauce
1/2 - 1tsp of sugar to taste.
1/4 tsp cinnamon
3 to 4 cox or Granny Smith apples, peeled, cored and sliced very thinly (put the slices into acidulated water whilst prepping the pastry to prevent the slices turning brown).
20g melted butter
1 tsp sugar
1/4 tsp cinnamon
beaten egg, to glaze before baking.
2 tbsp. of apricot jam, warmed, to glaze the tart
 
Method:


Unroll the pastry and cut a circle, using a dinner plate to cut around. Crimp the pastry to create an edge and then turn the pastry over. Apparently according to Michel Roux Jnr, this helps the layers to puff better, and let's face it, if anyone is going to know, it's him.
 
Dock the pastry with a fork.


Spoon the compote/sauce over the base of the pastry, leaving about a centimetre around the edge of the pastry.
 
Sprinkle over the sugar and the cinnamon over the compote.


Arrange the apples in neat circles on top of the compote, maintaining the centimetre around the edge of the tart.


Brush the apples with melted butter and sprinkle a little more sugar and cinnamon over the apples if desired. (I tasted the apples to see how they were sour they were; that determined my decision).
 
Brush the edge of the tart with the egg wash and place on the preheated tray. Bake in the oven for about 20/25 minutes until the pastry is puffed and golden, the apples yield easily to the tip of a knife and are starting to colour a little.
 
pre glaze!!
 
Leave to cool somewhat, then glaze with the warmed apricot jam.


I served this with homemade vanilla ice cream because I like to show off.


Saturday, 1 November 2014

Cake!!!! Lemon and Blueberry Layer Cake


I don't make enough cakes for this blog, or for anybody or anything, really. And I should, because I have really enjoyed pottering around in my kitchen, whisking and tasting and creating something that looks ever so pretty. And whatever else I make and do, baking is the biggest challenge; it's a scientific thing; no hurling of a bit of this and a bit of that, hoping that something amazing will take place. Oh no, it's 'get the scales out' time. And be prepared to take the consequences if you stray too far from the path.
 
However, there was a little straying that took place here in terms of the ingredients for this recipe. In my Hummingbird Bakery cook book, this started out as lemon and raspberry, but I decided to ring the changes by turning this into a blueberry cake, for blueberries and cakes are lovely. I'm thinking blueberry muffins, yum.
 
There are some significant adaptations to the original recipe therefore, and it doesn't really bare too much resemblance to the original. I substituted yoghurt for the original buttermilk, as I have a memory of a lemon cake made with yoghurt which was completely delicious. I also tripled the lemon zest content - If a cake is going to be lemon cake, then it has to be lemon. I don't want you to think that this 'zings' with too much lemon; it doesn't. It 'sings'. Just the way I like it.
 
I don't like making icing with the usual full fat cream cheese. It's too unstable and I think it turns frosting to liquid without too much sleight of hand. I prefer Mascarpone. It is far more well behaved and I love the creaminess it beings to frosting. The frosting below is ample for this cake -you could frost the sides if you wanted, but I decided on less is more and left the remainder of the frosting to be devoured by a passing Lola, or Finn, or dad.
 
 
Lemon and Blueberry Layer Cake
 
 
Cuts into 10 - 12 slices
 
For the sponge
110g unsalted butter, softened
380g caster sugar
320g plain flour
4 tsp baking powder
320ml natural yoghurt
zest of three lemons and the juice of one
3 large eggs
salt to taste
 
80g blueberry jam
 
For the frosting:
I tend to eyeball and taste frosting to get it to the consistency that I want, but it goes a little bit like this:
 
150g unsalted butter, softened
250g mascarpone cheese
500g icing sugar
zest and juice of 1 lemon
 
To decorate:
Grated zest of a lemon
A handful of blueberries

Method:


Preheat the oven to 170 degrees and line two large cake tins with greaseproof paper.
Make the sponge by creaming the butter and the sugar together until light and fluffy.


Add the eggs, one at a time, putting a couple of spoonfuls of flour in with the last egg to prevent the mixture from splitting.
 
Add the zest and the lemon juice and mix until combined.


Lastly, add the flour and the baking powder and the yoghurt alternatively, taking care not to overbeat. Mix until just combined.
 
Divide the batter between the two tins and bake for 20-30 minutes until golden brown and an inserted skewer comes out clean.


Meanwhile, make the frosting by gradually mixing the butter, the mascarpone, the icing sugar, lemon zest and juice and together on a low speed with the electric whisk until combined and there are no large lumps of butter and the icing has lost its grainy texture.
 
Once the sponges are cool, assemble the cake by placing one layer on a large plate.


Spread with a layer of blueberry jam and top with 3-4tbsp of frosting, smoothing out with a palette knife.


Sandwich the second layer on top and frost the top of the cake (and the sides if you want).


Decorate with a few blueberries, some lemon zest and a sprinkling of icing sugar. 
 

Thursday, 30 October 2014

Piggin' lovely! Pork Chops with Chorizo and Pepper Sauce with Manchego Rice


Day 4 of my blogging marathon. I am posting every day this week because who knows when I will be able to post again once I am back at work. Who knows if I will ever be able to cook again let's be honest, let alone take pictures of it and then blog about it. Anyway, in the spirit of running my freezer down so I can stock them in the lead up to Christmas full of cut price whoopsies and mark downs, I have been scouring the lower echelons of the freezer for something to defrost and cook. Lo and behold I found pork chops, which I quite like but they don't really do for some of the others in the Lola and Finn household, especially dad, who has pronounced pork as tasteless on many occasions. And, in all fairness to him, he is probably right. I think pork can be quite disappointing, especially supermarket pork, which this was. So, a quick Google turned up a Rachael Ray recipe which I thought would be great for ramping up the flavour a bit. I adapted the recipe to what I had, my adaptations listed in red, below. The notable change I made was leaving the sauce chunky by not blitzing the peppers in a food processor. I preferred the idea
 
Have to give a big shout out to Manchego rice by the way. I bought some Manchego cheese from the supermarket ages ago because it was a whoopsie, and after using it once, it was starting to look a bit sorry and dried out in the fridge. Some vigorous grating later and it was given a new lease of life, as was the rice, which was really tasty. Lola has confessed that she could probably eat buckets of the stuff.
 
Pork Chops with Chorizo and Pepper Sauce with Manchego Rice, adapted from the original recipe by Rachael Ray, which you can find here.
 
Serves Lola, Finn, Mum and Dad generously
 
Ingredients:
 
2 tablespoons extra-virgin olive oil, 2 turns of the pan, plus some for drizzling
4 large, boneless centre-cut pork chops, 1 1/2-inches thick
1/2 tablespoon paprika or smoked sweet paprika, half a palm full ( I used paprika 'picante')
Salt and pepper
1/4 pound chorizo, casing removed, finely chopped
2 cloves garlic, chopped
1 small yellow onion, chopped
1 tablespoon chopped thyme leaves, 4 sprigs (I used a tsp of dried thyme)
1 (16-ounce) jar pequillo peppers or roasted red peppers, drained (I used 250g of frozen peppers, defrosted)
1/2 cup flat-leaf parsley, a couple of generous handfuls
1/4 cup dry sherry or dry white wine, eyeball it (I used white wine)
 
Manchego Cheesy Rice:
2 tablespoons butter
1 1/2 cups white rice
3 cups chicken stock
Handful flat-leaf parsley, finely chopped
1 cup grated Manchego cheese
Salt and pepper
 
Method
 
Preheat oven to 375 degrees F.


Heat a large frying pan over medium-high to high heat. Add extra-virgin olive oil, 2 turns of the pan. Season the chops with paprika, salt, and pepper. Place chops in skillet and sear meat to caramelise, about 2 minutes each side.
 
Start to cook the rice (the actual method for the rice is below)
 
Transfer the chops to a baking sheet and place in the oven to finish off, 8 to 10 minutes, or until meat is firm to touch, but not tough. Remove from the oven and let the chops rest covered with a piece of aluminium foil for a few minutes.


While the chops are in the oven, return the frying pan to the cook top over medium heat. Add the diced chorizo and cook stirring frequently for 2 minutes or until the chorizo starts to release its paprika tinted juices. Add the garlic, onion, thyme, salt, and pepper.
 
Cook meat and onions for about 3 minutes.


Add the wine to the chorizo and onions and stir, then add the chopped peppers. Cook another minute or two or until the peppers are heated through.
 
 
Place a chop on each dinner plate and top with the chorizo-roasted pepper sauce.  At this point, the rice should be ready to add the cheese and parsley to (see below):
 
Manchego Cheesy Rice:
                       
Melt butter over medium heat in a medium saucepan. Add rice and toast in butter for a couple of minutes.
 
Add stock and bring rice up to a boil.
 
Cook the rice until it is tender and liquids are absorbed. Remove from heat, fluff rice with fork, then stir in the parsley and cheese. Season the rice with salt and pepper, to taste.


LinkWithin

Related Posts Plugin for WordPress, Blogger...