Lola and Finn's Mum

Lola and Finn's Mum
Showing posts with label sugar. Show all posts

Tuesday, 7 February 2017

Whoa, did someone says Guinness? And Chocolate? Guinness Brownies


Guinness. Lovely Guinness. Wonderful on its own, and it would seem, pretty good with chocolate too, but in honesty I already knew that, as evidenced here and here.
Because Guinness is good for you, I fervently believe that these brownies will have health giving properties. It is a mere detail that they contain stuff which may not form part of a calorie controlled diet, for the reason that these are so beneficial is that I defy anyone not to sit down with one of these bad boys and a cuppa and not feel completely restored, or else just a little bit better about the trivialities of life. Here is some photographic proof of the restorative properties of Guinness, from a small visit to Dublin more years ago than I would like to admit.
Has Guinness
Gets smiley

This is not necessarily a shameful attempt to get in early on the whole ‘what shall I cook for St Patrick’s Day?’ internet traffic, more an encouragement for those who may be pre-disposed to celebrate the day with a pig under their arm/wear a ‘Kiss Me, I’m Irish’ t shirt/don a snazzy leprechaun hat to do something slightly less predictable. Actually, scratch that. This blog is no place for sanctimony and so this is not the time and place to tell people how to live their lives.  You crack on with whatever it is you’re planning, but make these brownies as well, because they are amazingly glorious. In fact, don’t wait ‘til St Patrick’s Day to make them. Make them now.
You’re welcome. Slainte!
Guinness Brownies, adapted from 'Baked in America' by David Muniz and David Muzniak
Makes 12 humungous ones
Ingredients:
8oz plain flour
6oz plus 2 tablespoons cocoa
½ tsp salt (or taste the batter once it’s mixed; you might need a smidgen more)
12oz dark chocolate - I used 72% cocoa. Go big or go home.
6oz white chocolate
6oz unsalted butter, cubed
6 large eggs at room temperature
12oz caster sugar - original recipe says granulated but, not for me.
1 tsp vanilla extract
16fl oz Guinness, at room temperature
9oz milk chocolate chips

Method:

Preheat the oven to 190c
Grease a 12 x 9 x 2 inch pan really, really well. I then line it with foil, in a bit of a cradle style so I can lift the brownies out afterwards.

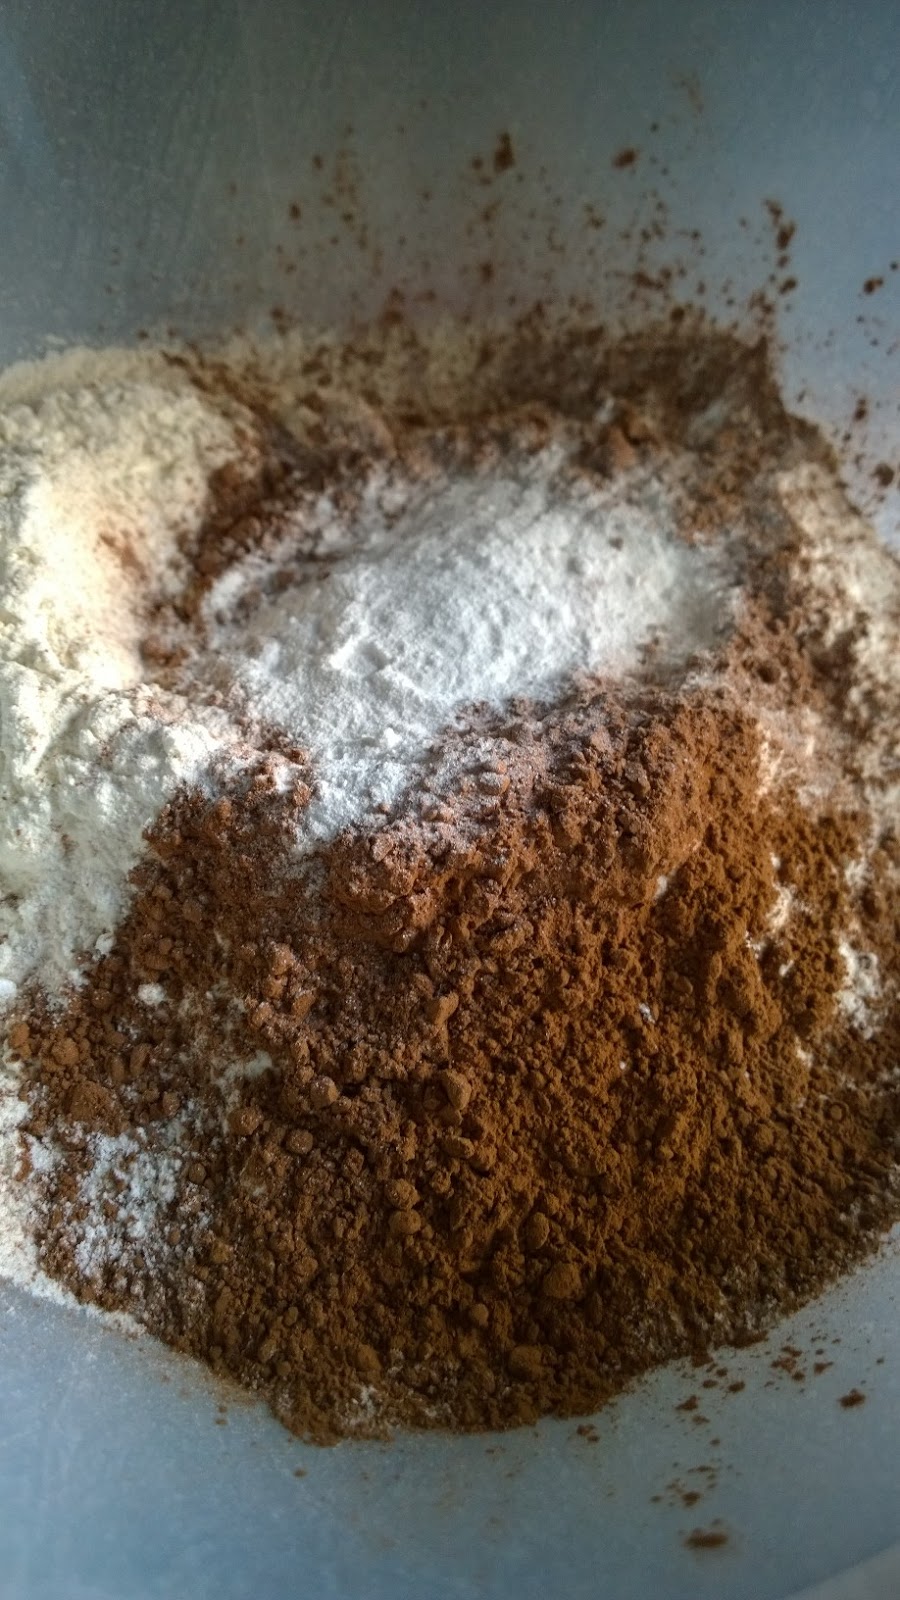
In a large bowl, mix the dry ingredients – the flour, the cocoa, the salt.

Place a heatproof bow over a pan of simmering water and melt the white and dark chocolate and the butter. Don’t allow the bottom of the heatproof bowl to touch the simmering water or you risk the chocolate seizing. Set aside to cool a little. You don’t want it so hot that it will ‘cook’ the eggs when you add them.


Talking of eggs – in yet another bowl, beat the eggs and sugar until the mixture becomes light and creamy and the beaters/whisk leave a ribbon like trail when you pull it out of the mixture.

Put the mixer onto medium and carefully add the melted chocolate mixture, stopping periodically to scrape down the sides of the bowl. Ensure that the mixture is completely amalgamated together. Reduce the speed to low, add the vanilla and then add the flour mixture in stages, allowing the flour to mix completely into the batter before adding more. Do not overbeat.


Finally, continuing with the mixer on low, add the Guinness, and mix until everything is well combined.

Carefully pour the batter into the prepared tin, giving it a bit of a shake so it all levels out and fills the corner of the tin. Once the mixture has settled, scatter the chocolate chips over the top.

Bake in the oven for about 30 minutes, or until a knife inserted into the centre emerges with set crumb, not raw mixture. Do not overbake. The mixture will probably shrink from the edges of the pan.

Allow the brownies to cool completely before cutting into big slabs/removing them from the tin. I put mine in the fridge to speed the process a bit. I have no idea if this is correct but patience and Guinness and chocolate have never really gone together in my life, so….

Monday, 4 April 2016

I should coco! - Coconut and Lemon Curd Madeleines

I’ll be honest, I’ve been slapping coconut oil on my face for as long as I can remember, and it is indeed as good a moisturiser and restorative as my previous moisturiser, if not better, which, when I discovered this, was brilliant and disappointing rolled into one. It's brilliant when I think on one hand of the money I now save by buying coconut oil and putting that on my dressing table instead of the (expensive) moisturiser that I had been sucked into buying by promises of eternal youth. My savings now go towards my not insubstantial collection of Kurt Geiger shoes, which is very pleasing, but the cloud that goes with this particular silver lining is my thinking of the copious amounts of money I had spent in the years gone by on 'posh' moisturiser which in turn led me to lament the ‘Kurt Geigers’ that could have been mine if I had been a bit more savvy. Life can be cruel.


But my recent discovery of cooking with coconut oil has been a revelation. A bit of reading around led me to discover that coconut oil had been the ‘go to’ oil for cooking and baking, before we discovered the horrors of hydrogenated, manufactured fats and indeed like many other naturally derived oils, coconut oil had long been a beauty/health staple too by those in the know. Win. Win. So, for no real logical explanation, I decided to celebrate my much improved knowledge by making madeleines.
Regular readers to this blog will know that I am a Francophile, pure and simple. That being the case, it is surprising that my madeleine pan, bought at Super U in a pretty Dordogne town one balmy summer when I was young, beautiful and carefree, before such pans were ever readily available here, has had about three airings in all the time I have owned it. Despite my lack of effort, madeleines are a cinch to make, as long as you are vigilant because like most ‘biscuity’ types, blink and they are burned.

Newly inspired, I decided to make coconut and lemon curd madeleines, which are loosely based on the idea of placing a dollop of something in the middle of the raw madeleine mix. I’d seen it done with Nutella, but with my coconut vibe, I thought that the sharp lemon tang would be a great foil to the mellow, nutty coconut. So, I set off to work, replacing the requisite amount of butter for VitaCoco coconut oil and adding about 50g of desiccated coconut, a pinch of salt and a teaspoon orange flower water (I was thinking citrus…) to a well-established madeleine recipe that I had cut out of a French cookery magazine in the dim and distant past. The result was, even though I say so myself, pretty damn good. It was a good thing that madeleines don’t really keep very well and need to be eaten within a few hours of baking. Marcel Proust used to dip his stale madeleines in his tea; Lola, Finn and Phill snaffled these before I had managed to put the kettle on. There can be no better recommendation in my mind.
And if you don’t like lemon curd, what about lime curd for a totally tropical vibe? Or a dollop of raspberry jam? Now, Coconut and raspberry: Let me just think about that for a moment. Or you could visit www.swearbyit.com for some more great recipes!
This recipe is an entry into the #swearbyit challenge with Vita Coco. Find more great coconut oil recipes and tips on using coconut oil at www.swearbyit.com

Coconut and Lemon Curd Madeleines
Makes approximately 18
Ingredients:
3 large eggs
130g caster sugar
1 tbsp honey
1tsp orange flower water (optional)
100g Vita Coco Coconut Oil, softened,( but cooled if you have melted it) plus a little more for greasing the tin.
50g desiccated coconut
150g plain flour
6g (a generous teaspoon) of dried yeast
A pinch of salt
About a quarter  to half of a jar of good quality lemon curd

Method:
Preheat the oven to 200c

Place the eggs and the sugar in a mixing bowl and beat until light and airy.
Add the honey and the orange flower water if using and mix well.

Add the coconut oil. If it is quite solid, mix it vigorously into the egg mixture until it disperses evenly.

Add the flour, the coconut, a pinch of salt and the yeast and mix until combined. Don’t overbeat. Personally I taste the mixture at this stage to see if I can discern the flavours, in this case, coconut. If it tastes a bit bland, add a little more salt, but be careful.
Grease the madeleine pan very well with the coconut oil. This is imperative as you want your madeleines to come out easily.

Place a heaped teaspoon of the mixture into each madeleine mould. Tap the pan down on the working top to encourage the mixture to settle into the mould.

Place a scant teaspoon of lemon curd onto the madeleine mixture.

Top the lemon curd with another generous teaspoon of the madeleine mixture. You may have to use the spoon to disperse the mixture evenly and it may all become a bit messy, but it will be okay.
Give the madeleines a final tap in the pan and then place them in the middle of the preheated oven. They might spread frighteningly and will look pretty awful initially but all will be fine. They should take about 8 – 10 minutes to bake and they should be a light golden brown with perhaps slightly browner ‘shell’ edges. Remove from the oven and when you can do so. If you have greased the pan well, the madeleines should come away from the moulds easily.

Trim the madeleines to their characteristic shell shape. It is likely that some of the mixture will have spread from the mould and therefore some trimming will be needed to neaten the madeleines up. I just think of all those sweet crispy bits and it pleases me enormously.
Eat warm, or whilst they are not quite cold. They will begin to become a little less light once they have been cold for a while, in which case, do what Proust did: make a pot of tea.

Monday, 15 February 2016

A seventies cake for a seventies chick - Black Forest Victoria Cake


Retro. That’s me. And that being the case, it was only fitting that my birthday cake of choice would also be, like me, of a seventies vintage, the Black Forest Gateau. I don’t care if it’s naff, the combination of chocolate, cream and cherries is, quite frankly, lush, and I thumb my nose to all you dinner party aficionados who think it a gastronomic crime to serve this after your prawn cocktail and your duck a l’orange… (I lurve duck a l’orange by the way…)
I was flicking through some cookery books for an idea as to what to indulge myself with (and force upon others) for my birthday and when the book fell open on this cake I thought to myself, bingo… I have all the ingredients, so no visit to the supermarket (a dangerous business when you are in the midst of ‘healthy eating’ and feel like eating your own arms…) and I like chocolate. And cherries. And cream. And more chocolate. If I am abandoning my current pastime of living virtuously, albeit temporarily, then this is a beautiful way to do it.
This recipe is from ‘Gorgeous Cakes’ by Annie Bell. A completely apt title if you ask me. I made some adaptions, like adding some vanilla extract and salt to the chocolate cake mix, for chocolate likes vanilla and needs salt for that chocolatey ‘hit’. I brushed the warm cakes over with some kirsch because I don’t believe that you can ever have too much of a good thing, and I sweetened the cream with some vanilla and a little icing sugar. Because I can.
The other nice thing about Black Forest Gateau is that you can make it look as pretty as a picture. It didn’t need the 42 candles that should have gone on it. Just as well really as I imagine that such an amount of candles constitutes some kind of fire hazard.

Black Forest Victoria, adapted from ‘Gorgeous Cakes’ by Annie Bell
Makes a 1 20cm cake with sides of 9cm deep, (but I divided the mixture into three 18cm sandwich tins)
Ingredients:
For the cake -
225g unsalted butter, at room temperature
200g golden caster sugar
1 tbsp golden syrup
1tsp vanilla extract
200g self-raising flour
2 tsp baking powder
25g cocoa powder, sifted
4 medium eggs
100ml milk
Pinch of salt
10 – 15ml kirsch, for brushing over the cake
For the filling –
Half a jar of black cherry jam
1 tbsp kirsch
350ml double cream
1 tsp vanilla extract
1 tbsp icing sugar, sifted
To decorate:
Approx 50g of grated chocolate (Should have used dark chocolate, chose to use milk due to fussy children!)
Cherries (I used some from a jar)

Method:
Preheat the oven to 180c and prepare tins by greasing and then lining the bottoms with greaseproof paper.

The original recipe recommends putting all the ingredients together and creaming them until combined. Rightly or wrongly I did it the way mama taught me, that is, creaming the butter with the sugar, then added the syrup, the vanilla and the eggs, one at a time, putting a spoonful of flour into the mix after each egg to stop the mixture from splitting. Then I added the flour alternately with the milk and mixed to only just combined. Lastly, I added the salt and then for the final mix together I used a spatula to ensure that all the mixture was combined.

Pour the mixture into the tin(s). If using the sandwich tins then bake for about 20 mins, until the cake is firm to the touch and has shrunk away from the sides of the tin. If baking in the recommended tin, bake for about 55 mins or until a toothpick placed into the centre of the cake comes out clean).
Once the cakes come out of the oven and whilst still warm, brush a little of the kirsch over the top of the cake(s). If you are making one cake then you will need to cut the cake into layers.
To make the filling: Whip up the cream with the icing sugar and vanilla until it forms pretty stiff peaks which will hold whilst piping. Do not overbeat.
Put the jam into a bowl and loosen with the kirsch. Grate the chocolate.

To assemble. Once cool, spread jam over the layer and then pipe some cream on. Place the next layer onto the cake and then repeat the process.

On the top layer, brush the jam over the top and then cover the jam with grated chocolate. Once the top is completely covered in chocolate, pipe the top decoratively. Adorn the cake with pitted cherries.
Don your bell bottoms and Cuban heels and then serve to all and sundry.


Saturday, 4 July 2015

A Tropical Pudding for Tropical Weather - Mango, Lime and Coconut Pudding


Well, tropical might be pushing it a bit but when a northern English summer usually means putting the heating on and watching the drops of rain roll disconsolately down the windows, the revelation that it is possible in June and July to have sun and to remove the thermals is a glorious one. And, despite global warming not giving me the wherewithal to grow mango trees just yet, I can just buy some and then make these lovely puddings.
 
These are great make ahead puddings; a little bit of faffing initially, but once they're all assembled and put into the fridge they are there, ready to serve. Imagine a chilled, creamy custard like texture, with a refreshing hit of mango and then lime. Perfect to whip out after the barbeque that you are bound to have had, taking advantage of the summer sun and the lingering light and residual warmth of a summer night.
 
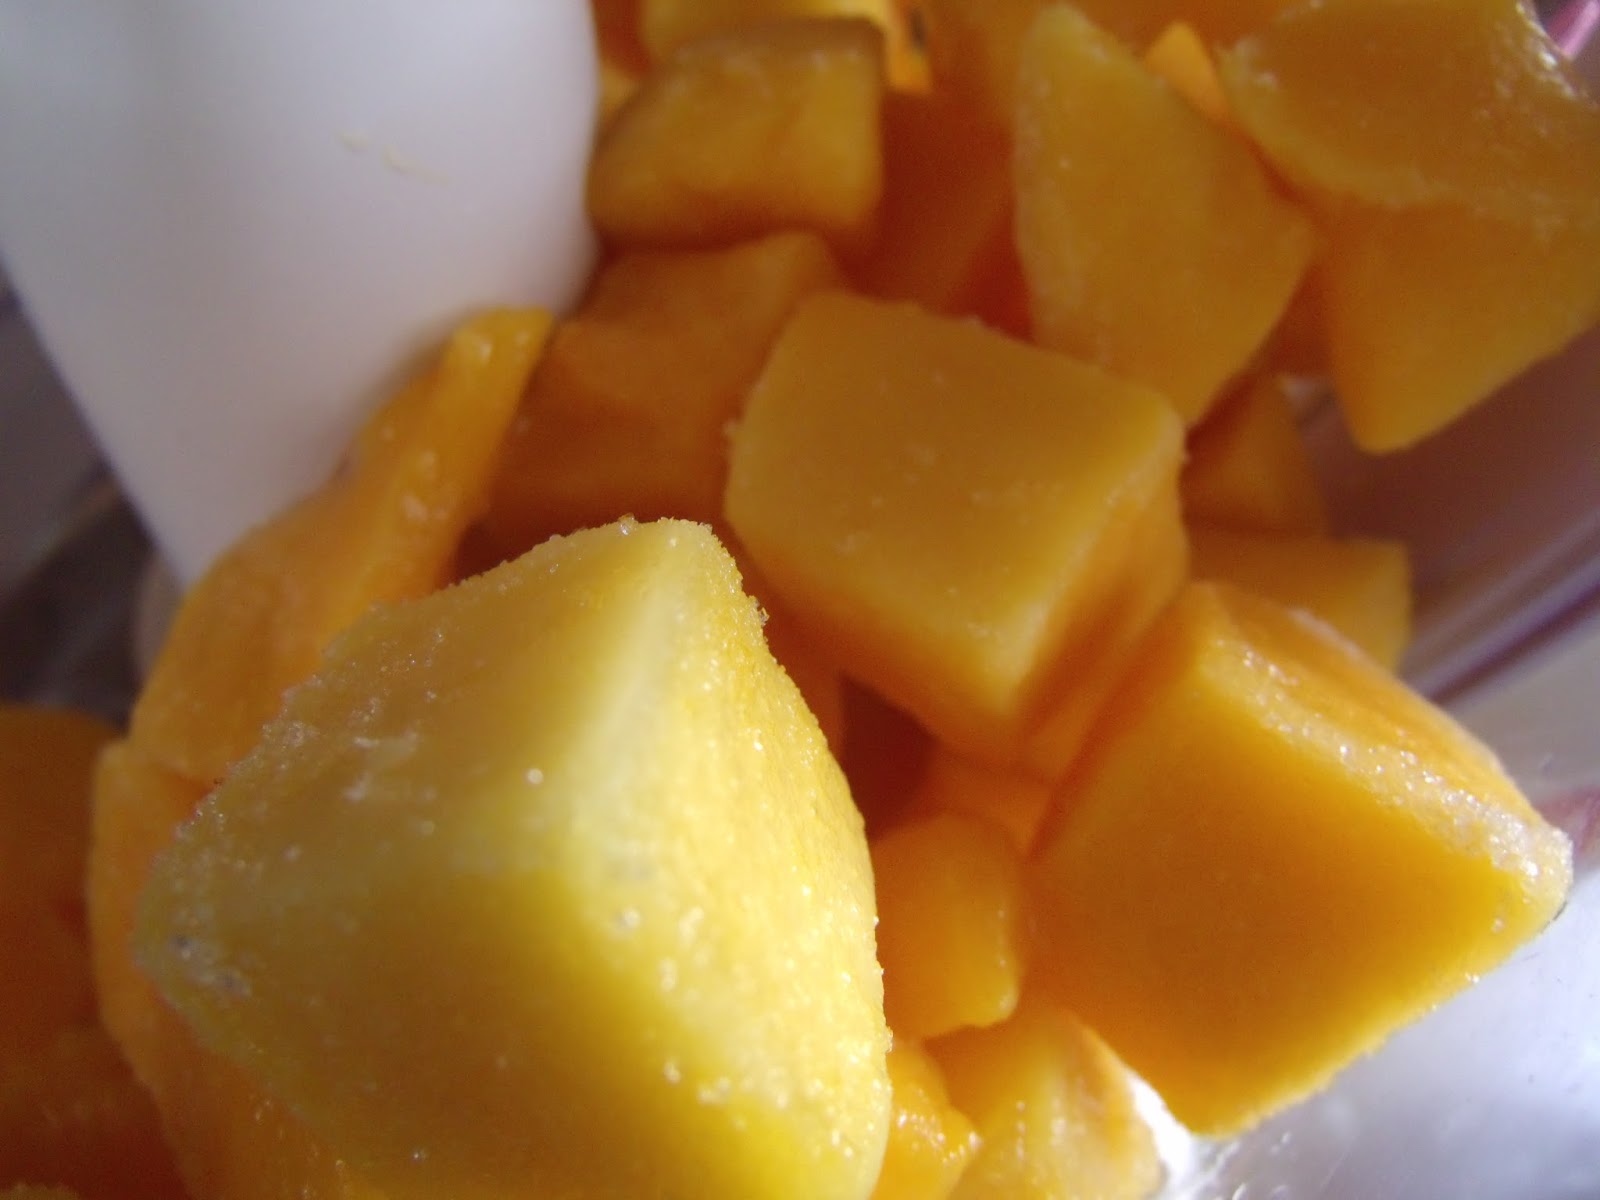
I found this recipe whilst looking for something to do with frozen mango which, for some reason, I had bought in a "Oh, that looks interesting. I'll buy it and make something with that," moment. That moment was a long time coming. In fact, the mangoes were re-discovered when I transferred them from one freezer to another whilst moving house. Why am I telling you this? Well, there is a reason, which is don't make this with frozen mango, because it creates something that is a bit watery and definitely lacking in oomph. I used my frozen mango and it wasn't an overwhelming success. However, I tried it with ripe fresh mango with an altogether far more satisfying conclusion and if you can find of those amazing Alphonso mangoes, then all the better.
 
Mango, Lime and Coconut Pudding, adapted from Bill Granger's recipe on the 'Waitrose' website
 
Ingredients:
 
3 gelatine leaves, cut into strips
3 tbsp caster sugar
2 ripe mangoes, flesh chopped
240ml coconut milk
2 limes
I also added a pinch of salt, to taste.
 
 
Method:


Soak the gelatine in 3 tbsp cold water for 10 minutes.


Meanwhile, dissolve the sugar in 75ml water in a pan on a very low heat. Whizz the mango in a blender until smooth. Add the gelatine and water to the hot sugar mixture and stir until dissolved. Keep the heat very low - the gelatine must not boil.


Transfer the gelatine mixture to the blender and blitz again with the mango, coconut milk and grated zest of a lime. Taste. If it is lacking in a little sweetness or zing, add a little sugar or a pinch of salt and a squeeze of lime juice and taste again.


Pour into 6 cups or glasses (each about 150ml) and put in the fridge for at least 3 hours. Use the zest of the second lime to decorate the puddings before serving.


LinkWithin

Related Posts Plugin for WordPress, Blogger...