Lola and Finn's Mum

Lola and Finn's Mum
Showing posts with label frosting. Show all posts

Saturday, 1 November 2014

Cake!!!! Lemon and Blueberry Layer Cake


I don't make enough cakes for this blog, or for anybody or anything, really. And I should, because I have really enjoyed pottering around in my kitchen, whisking and tasting and creating something that looks ever so pretty. And whatever else I make and do, baking is the biggest challenge; it's a scientific thing; no hurling of a bit of this and a bit of that, hoping that something amazing will take place. Oh no, it's 'get the scales out' time. And be prepared to take the consequences if you stray too far from the path.
 
However, there was a little straying that took place here in terms of the ingredients for this recipe. In my Hummingbird Bakery cook book, this started out as lemon and raspberry, but I decided to ring the changes by turning this into a blueberry cake, for blueberries and cakes are lovely. I'm thinking blueberry muffins, yum.
 
There are some significant adaptations to the original recipe therefore, and it doesn't really bare too much resemblance to the original. I substituted yoghurt for the original buttermilk, as I have a memory of a lemon cake made with yoghurt which was completely delicious. I also tripled the lemon zest content - If a cake is going to be lemon cake, then it has to be lemon. I don't want you to think that this 'zings' with too much lemon; it doesn't. It 'sings'. Just the way I like it.
 
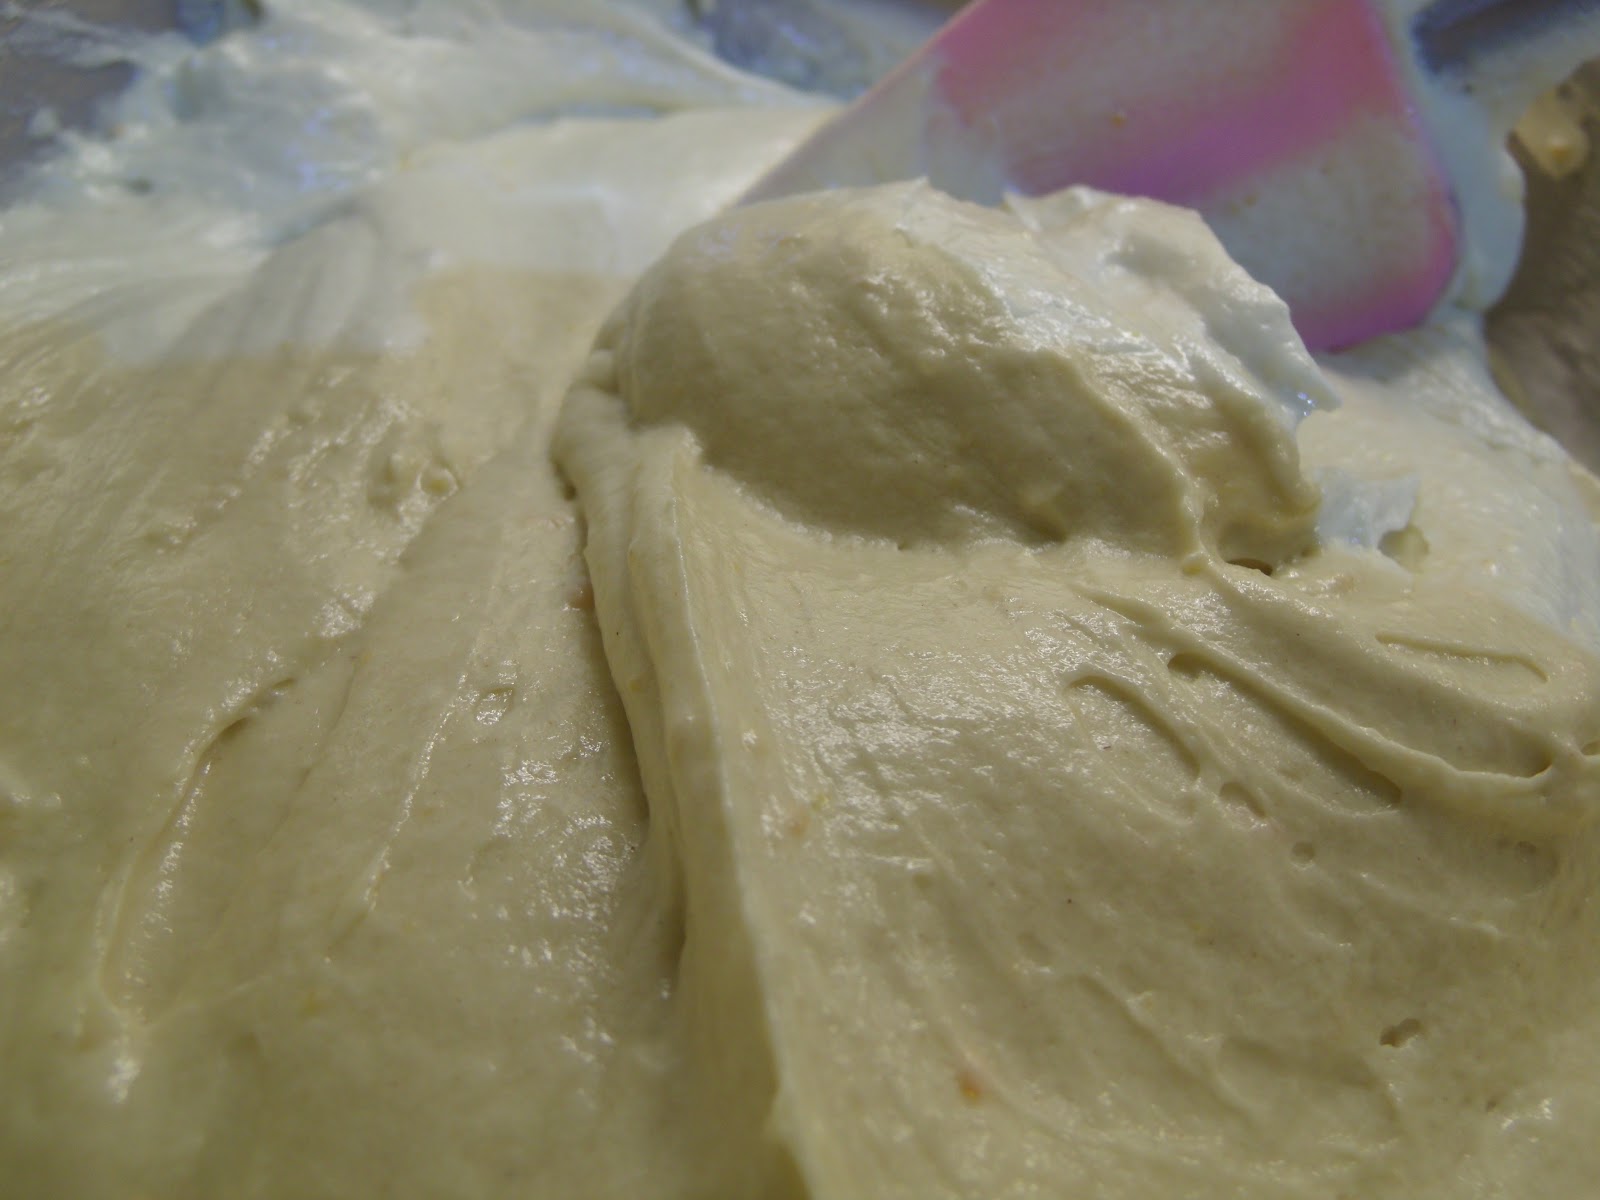
I don't like making icing with the usual full fat cream cheese. It's too unstable and I think it turns frosting to liquid without too much sleight of hand. I prefer Mascarpone. It is far more well behaved and I love the creaminess it beings to frosting. The frosting below is ample for this cake -you could frost the sides if you wanted, but I decided on less is more and left the remainder of the frosting to be devoured by a passing Lola, or Finn, or dad.
 
 
Lemon and Blueberry Layer Cake
 
 
Cuts into 10 - 12 slices
 
For the sponge
110g unsalted butter, softened
380g caster sugar
320g plain flour
4 tsp baking powder
320ml natural yoghurt
zest of three lemons and the juice of one
3 large eggs
salt to taste
 
80g blueberry jam
 
For the frosting:
I tend to eyeball and taste frosting to get it to the consistency that I want, but it goes a little bit like this:
 
150g unsalted butter, softened
250g mascarpone cheese
500g icing sugar
zest and juice of 1 lemon
 
To decorate:
Grated zest of a lemon
A handful of blueberries

Method:


Preheat the oven to 170 degrees and line two large cake tins with greaseproof paper.
Make the sponge by creaming the butter and the sugar together until light and fluffy.


Add the eggs, one at a time, putting a couple of spoonfuls of flour in with the last egg to prevent the mixture from splitting.
 
Add the zest and the lemon juice and mix until combined.


Lastly, add the flour and the baking powder and the yoghurt alternatively, taking care not to overbeat. Mix until just combined.
 
Divide the batter between the two tins and bake for 20-30 minutes until golden brown and an inserted skewer comes out clean.


Meanwhile, make the frosting by gradually mixing the butter, the mascarpone, the icing sugar, lemon zest and juice and together on a low speed with the electric whisk until combined and there are no large lumps of butter and the icing has lost its grainy texture.
 
Once the sponges are cool, assemble the cake by placing one layer on a large plate.


Spread with a layer of blueberry jam and top with 3-4tbsp of frosting, smoothing out with a palette knife.


Sandwich the second layer on top and frost the top of the cake (and the sides if you want).


Decorate with a few blueberries, some lemon zest and a sprinkling of icing sugar. 
 

Saturday, 7 December 2013

Feelin' Festive: Cupcakes that look like Christmas trees, if you really, really squint...


Blogging. I used to do it so often once upon a time, but now, well, I think it is going to be a 'high days and holidays' type activity, and talking of holidays, Finn's class were in charge of the cake stall for the Christmas fair, and because the Christmas holidays can't come soon, I thought I would get into the mood for it all with some festive baking.
 
I realised that I hadn't made anything from the amazing Rachel Allen just yet (and this blog is already two and a half years old...) so as a fan of her gorgeous cakes I thought I would use her recipe for chocolate cupcakes and then adorn them with a green swirl and a few strategically placed dragees to make them look vaguely Christmas tree like, if you really, really squint...
 
I decided to finish them off with some sugarpaste stars, which I ambitiously decided to cut out by hand before remembering that my mum had given me my shapes that I used to use to cut out playdoh when I was a kid. In there, I found a cute little star cutter. Problem solved.
 
A few musings about frosting. I don't really follow a recipe to be honest. I mix unsalted butter, some vanilla extract, icing sugar and a bit of milk to slacken it off if need's be, but I have given some approximate weights in the recipe below.
 
Chocolate cupcakes with vanilla frosting from 'Cake Diaries' by Rachel Allen
 
Makes 12 cupcakes
 
Ingredients:
 
100 g (31⁄2 oz) butter, softened
150 g (5oz) caster sugar
2 eggs
125 ml (41⁄2 fl oz) milk
175 g (6oz) plain flour
25 g (1oz) cocoa powder
2 tsp baking powder
pinch of salt
 
For the frosting:
 
200g butter, at room temperature
500g icing sugar (to be added gradually and to taste)
1 tsp vanilla extract
1 - 2 tbsp. milk
holly green food colouring
a little sugarpaste
silver balls
edible glitter
 
 
Method:
 
 
Preheat the oven to 180°C (350°F/Gas 4), and line the muffin tray with the paper cases.


Cream the butter until soft in a large bowl or in an electric food mixer. Add the sugar and beat until the mixture is light and fluffy.


Whisk the eggs together in a small bowl for a few seconds or just until mixed, then gradually add them to the butter mixture, beating all the time.
 
 
Pour in the milk and beat until mixed. Sift in the flour, cocoa powder, baking powder and salt and mix gently to combine.
 
 
Divide the mixture between the muffin cases, filling each case two thirds full. Bake for 20–25 minutes or until well risen and lightly springy to the touch.
 
Allow to cool for 5 minutes, then remove from the tray and place on a wire rack to finish cooling down.
 
Meanwhile, make the frosting. beat the butter in a mixer until it is very soft. Slowly add the icing sugar a bit at a time with a few drops of vanilla extract until you are happy with the sweetness and the consistency. You could add a little milk to slacken the mixture off or to reduce the sweetness a tiny bit.
 
You will need to beat the mixture for a while so that the icing sugar dissolves and the icing is smooth and becoming fluffy but spreadable (or pipeable... possibly a new word there...)


To decorate the cakes use a large star nozzle on a piping bag, and pipe a swirl on top of each cake. Then place some dragees and sprinkle some edible glitter on top of the swirls. In a final flourish, cut out stars out of sugarpaste and place them on top.


Saturday, 6 July 2013

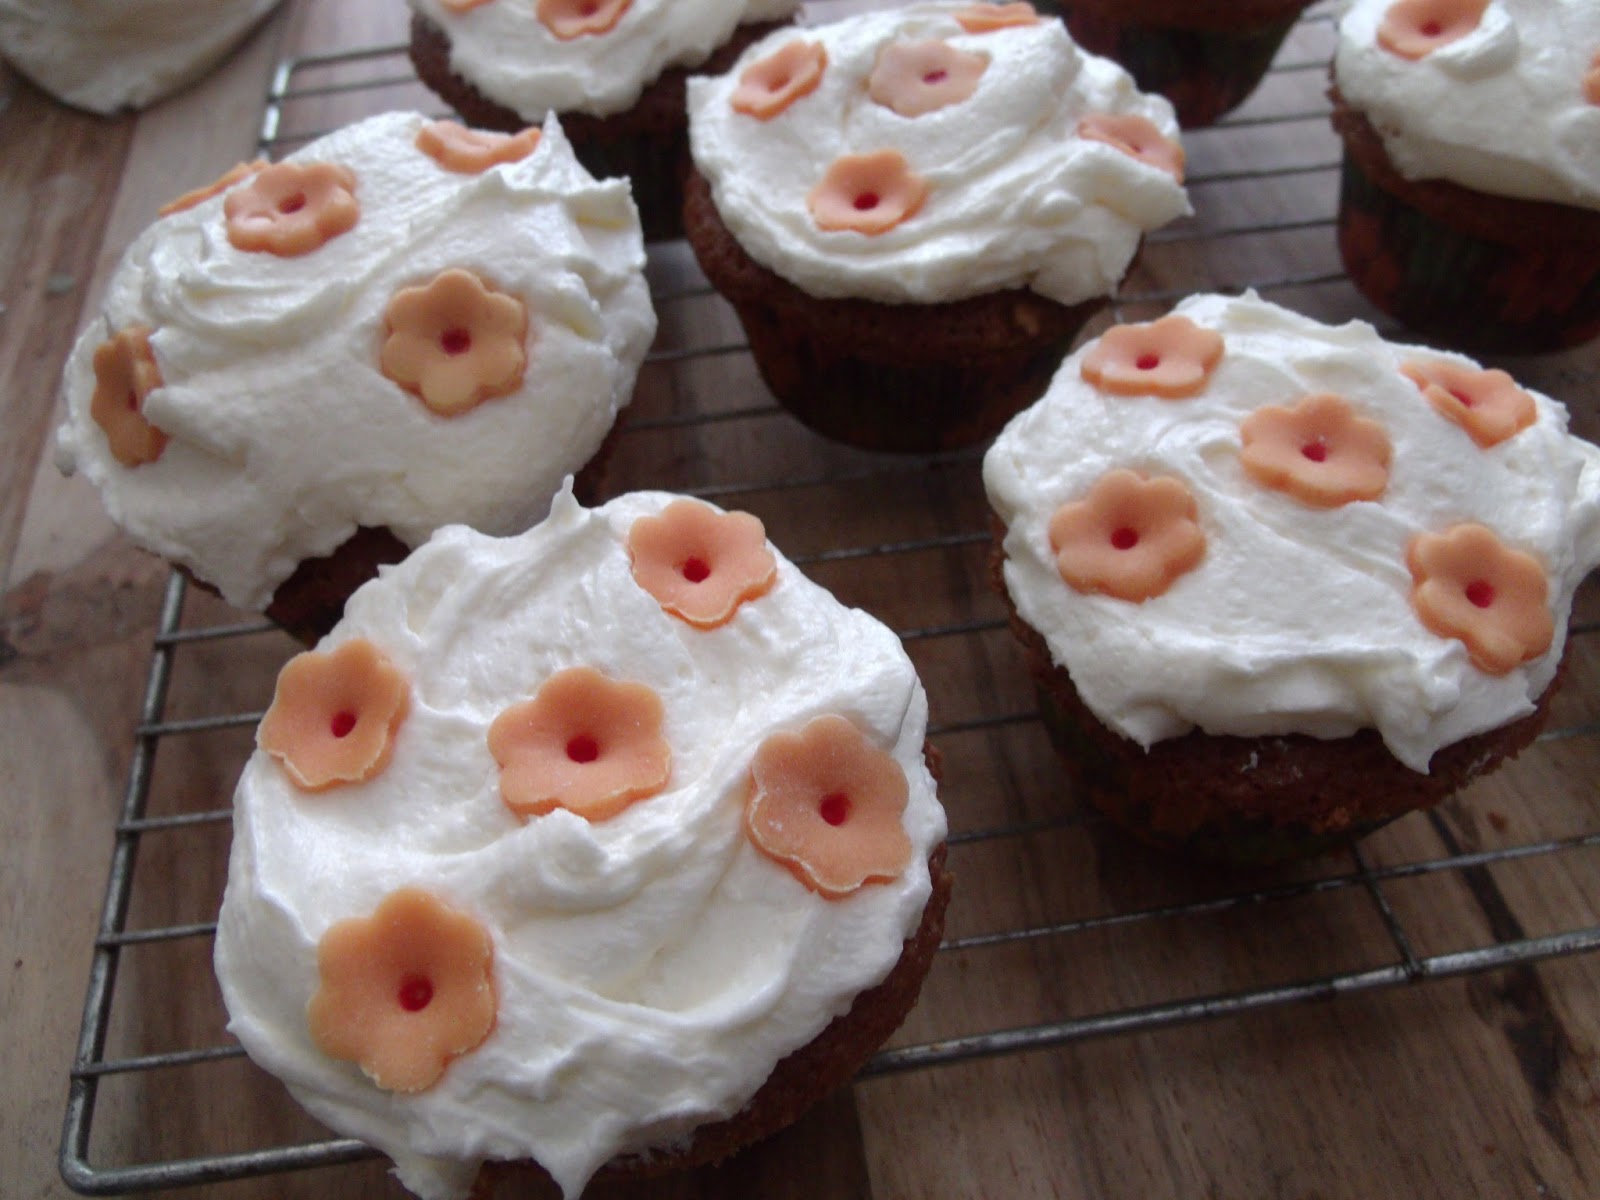
Baking for the Summer Fair part I: Orange Blossom Cupcakes

 
Yes, it is that time of year again where from a personally joyful perspective I can sense the summer hols coming nearer and nearer. There are the little things that remind meit's nearly time, like what is ripening in the garden, or coming out in full bloom. Then there is the urge to set my classroom on fire in a desperate attempt to get rid of all the bumf I have managed to generate in the past year (mental note to self: stop reinventing the wheel) and there is the call for cakes for Lola and Finn's school summer fair. This year it was Finn's class' turn to do the cake thing so I set to work, with an able assistant...
 
 
My able assistant before...
 
 
and after.
 
We are just embarking on another summer here just now - the cynics amongst us thought that the three days in June was probably 'it' as far as 'Summer 2013, Brit Stylee' was concerned, but no, the sun is back and could be here for a whole week, so to match my summery mood I went for something a bit floral, though the orange blossom thing that you see here is probably wrong on many levels -  am aware that orange blossom for one, is white, and secondly, you might not see orange blossom at this time of year, but don't rain on my parade all you gardening peeps, I had all the ingredients and it made me feel summery, even if it wasn't for any reason based on actual fact.
 
After some time apart I have reunited myself with those lovely 'Hummingbird Bakery' cookbooks that I own. This is from 'Bake Days' and is a variation on the 'Apple Blossom Cupcake' recipe. So here we go...
 
Orange Blossom Cupcakes, from 'Bake Days' by Tarek Malouf and The Hummingbird Bakers.
 
Makes 12-16 cupcakes
 
Ingredients:
 
For the sponge
 
80g (3oz) unsalted butter, softened
280g (10 oz) caster sugar
240g (8 ½ oz) plain flour
1 tbsp baking powder (yes, really!)
¼ tsp salt
200ml (7fl oz) whole milk
1 tbsp orange flower water
2 large eggs
 
For the frosting
 
160g (5 ½ oz) unsalted butter, softened
50ml (1 ¾ fl oz) whole milk
500g (1lb 2oz) icing sugar
3 tsp orange flower water
 
To decorate:
 
Some orange sugar paste and a small flower cutter
 
 
Method:
 
Preheat the oven to 190°C (375°F), Gas mark 5, and line a muffin tin with muffin cases.


Using a hand-held electric whisk or a freestanding electric mixer with the paddle attachment, whisk together the butter, sugar, flour, baking powder and salt on a low speed until all the ingredients are well incorporated and resemble fine breadcrumbs.


Place the milk in a jug with the eggs and orange flower water and whisk together by hand.
 
Pour three-quarters of the milk mixture into the dry ingredients and mix on a low speed to combine. Increase the speed to medium and keep mixing until smooth and thick. Scrape down the sides of the bowl, add the remaining milk mixture and continue to beat on a medium speed until everything is mixed in and the batter is smooth.


Divide the batter between the paper cases, filling them up to two-thirds. Any remaining batter can be used to fill up to four more cases in a second muffin tin.


Place in the oven and bake for 18-20 minutes or until well-risen and springy to the touch. Leave to cool slightly before removing from the tin, then place on a wire rack to cool down fully before adding the frosting .
 
To make the frosting, using the electric whisk or the freestanding mixer with paddle attachment, slowly whisk the icing sugar with the butter until sandy in texture and no large lumps of butter remain. Gradually pour the milk and orange flower water into the icing sugar and butter mixture. Once all the milk has been added, increase the speed to high and whisk until light and fluffy. (Some comments on frosting: I think the quantities don't have to be bang on - my take on it is you add ingredients and mix very well until you get the consistency/taste you require. Also, I may have been a bit stingy on the frosting front, as I did have some left over frosting after icing these cupcakes, which I am going to use to sandwich another cake).


Top each cake with a generous spoonful of frosting, then gently smooth over with a palette knife, adding a swirl at the top if you wish. (Or try, if you're me...)


Decorate with the flowers!
 

Tuesday, 21 May 2013

Mermaids for the birthday girl: Orange drizzle cake without the drizzle but with other fun stuff!!


Lola is seven. I really don't know how or when this happened. I think I must have blinked. Anyway, the fact of the matter is that the girl with the shock of rock and roll hair and a knowing look which belied the fact that though a babe in arms, she had definitely been here before is now a very old seven, and if you ask me she is a '7 going on 17' kinda girl, judging by her requests for nail polish, jewellery and lip glosses and some false nails off her auntie, who has since been declared the best auntie ever. I don't think I knew this stuff existed until I was at least in double figures but it's true what they say when it's declared that they grow up quick these days, because they do. And it is a shame.
 
Lola, aged seventeen hours
Lola, aged seven
 
However, I was slightly placated by the conversation I had with her several weeks ago about the birthday cake challenge she was going to set me this year. I was expecting her to tell me she wanted 'One Direction' on her cake but she told me that mermaids were where it was at. Thank goodness. a sense of childlike wonder was still evident, as it should be when you are seven.
 
Anyway, I recalled a picture I had seen somewhere of white chocolate shells and toasted coconut creating a beach scene and I decided that after my Angry Birds cake I would try to make something resembling a mermaid out of sugar paste. If you squint it sort of looks like one. I decided also to fore go the orange drizzle and icing that goes with the original cake recipe (from Fiona Cairns' 'Bake and Decorate') but split the cake and spread a thick layer of raspberry jam. Orange, raspberry, coconut, vanilla frosting. If you insist.
 
Orange drizzle cake, adapted from Fiona Cairns' 'Bake and Decorate'.
 
Serves 8 (though in reality I doubled the ingredients for I was making two cakes).
 
Ingredients.
 
For the cake:
 
250g unsalted butter, softened, plus more for the tin
250g golden caster sugar
Grated zest of 2 large oranges, plus 75ml orange juice
4 eggs, lightly beaten
250g self-raising flour, sifted
a pinch of salt
1/2 jar of seedless raspberry jam.
 
For the frosting:
 
(I'll be honest - I eyeball this; there is no definitive recipe I just mix softened butter with icing sugar, a teaspoon of vanilla and some milk until I get a consistency that is spreadable but then holds its shape. Then I added baby blue colouring to get to the shade I wanted. If it helps, I often use the Hummingbird Bakery recipe that you can find here. Scroll down for the recipe).
 
For the decoration:
 
Pink sugar paste
flesh coloured sugar paste
teddy bear brown sugar paste
Edible ink pens
50g dessicated coconut
white and yellow Wilton Candy Melts
a mould for creating the shells
Some cardboard
 
Method:


Preheat the oven to 170ÂşC/fan 160ÂşC/340ÂşF/gas mark 3 ½. Butter a 20cm diameter, 7.5cm deep, round tin, then line the base with baking parchment.


Cream the butter, sugar and zest until very pale, light and fluffy (it will take at least 5 mins in an electric mixer). Add the eggs gradually, beating between each addition, along with 1tbsp of the flour to prevent curdling. Fold in the remaining flour and, lastly, slowly mix in the orange juice.


Pour the mixture into the prepared tin and bake for 40 - 45 mins until the cake springs back to the touch, or a skewer inserted into centre comes out clean. Remove from the oven, leave for 1 min, then turn out to cool on a wire rack.


Once cool, split the cake carefully and spread the inside with raspberry jam before sandwiching the two layers together.


Melt the candy melts according to the pack instructions and when melted and pliable, spoon the molten chocolate into moulds. Place in the fridge to set.
 
Toast the coconut in a dry frying pan, stirring occasionally until the coconut begins to colour. Once it starts to brown it happens quickly so be vigilant. Allow to cool completely or else it will melt the frosting.


Make your frosting by beating the butter and then gradually adding the icing sugar and a little milk and a teaspoon of vanilla followed by a knife tip of colour paste. Mix until the frosting becomes fluffy but stiff enough to spread on the cake. This could take quite a few minutes.


Spread the frosting on the cake by starting on top and spreading the frosting on the top and then down and around the sides. Use a knife dipped in hot water to move and spread the frosting around the cake.


Once the cake is covered, tidy the frosting up by spreading the frosting upwards on the sides of the cake and then smooth the top as much as possible.
 
Roll out your sugar pastes and cut out a fish tail, a body, a face and hair. Put the parts together carefully on the cake. Using the edible pens, draw the features on the face.


I used a piece of cardboard with an 'undulating' pattern cut out to act as a template for sprinkling the coconut over the cake. take the template away once you have sprinkled the coconut over the cake.
 
Unmould the shells and place them onto the cake.
 
Unfortunate Warburtons Bread shot...
 
Serve to a seven year old who is going on seventeen...

LinkWithin

Related Posts Plugin for WordPress, Blogger...