Lola and Finn's Mum

Lola and Finn's Mum
Showing posts with label orange. Show all posts

Saturday, 23 January 2016

A cake to make me less narky: Barefoot Contessa's Apple Spice Cake


So, I am justifying the inclusion of this truly wonderful cake into my ‘do things better’ agenda for the following reasons: It has apple in it, so surely must be one of my five a day. It is made with vegetable oil and not butter so that has to make it a ‘better’ cake, whatever that is. It is packed with spices and of course they have oodles of medicinal qualities, and lastly, a bit of what you fancy does you good, and the opportunity to sit down with a slice of this with a cuppa turns a narky Stella into a less narky one. Only one slice mind…
If you want a really really reliable, decadent, frankly scrumptious cake, you open a Barefoot Contessa book and turn to the section marked ‘desserts’. There you will find cake heaven. And it was in her ‘Make it Ahead’ cookery book that I found this. Don’t be put off by the amount of spices; go buy them if you haven’t got them because you will be making this cake more than once. I promise.
I very rarely alter a Barefoot Contessa recipe because they are usually perfect. However, I have made a couple of alterations, mainly due to the fact that I didn’t have any golden raisins, but I did have some pretty jewel like sultanas which did the job just nicely. I also didn’t have the exact size pan as indicated in the recipe, so I split the mixture between two smaller pans.
If you don’t fancy my chosen way of eating this, with a cuppa, then serve some slightly warm with some ice cream. And swoon…

APPLE SPICE CAKE from ‘Make It Ahead’ by Ina Garten
serves 12
An American recipe, so uses cup measurements (which I quite like…)
INGREDIENTS
1 cup pecans, chopped
1/2 cup rum
1 cup golden raisins (I used sultanas)
1 cup granulated sugar
1 cup dark brown (Muscavado) sugar
3 large eggs
3/4 cup vegetable oil
2 tsp vanilla extract
2 tsp grated orange zest
2 1/2 cup plain flour
2 tsp baking powder
1/2 tsp salt
2 tsp ground cinnamon
1/2 tsp ground nutmeg
1/2 tsp ground ginger
1/8 tsp ground cloves
3 (large) to 4 (small) Granny Smith apples, peeled, cored, and 1/4 inch diced

Method:
Preheat the oven to 350°F. Grease and flour a 9x13x2 inch baking pan, or a pan(s) that will take the amount of mixture.
Toast the pecans on a baking sheet for 5 to 10 minutes. Watch the nuts like a hawk. They burn in the blink of an eye. Set aside.
Add the rum and raisins to a microwave-safe bowl and cover with a sheet of plastic wrap; microwave for 1 minute, then set aside.

In the bowl of a stand mixer, combine the granulated sugar, brown sugar, eggs, vegetable oil, vanilla, and orange zest on medium speed.

Once combined, add the flour, baking powder, salt, cinnamon, nutmeg, ginger, and cloves; mix until smooth. The batter will be very thick.
Drain the raisins before adding them to the batter. Drink the rum.

Add the apples and pecans too, then use a rubber spatula to fold them all into the batter.

Spread this batter in your prepared pan, smoothing it out.
Bake the cake for 35 to 45 minutes, until a toothpick inserted in the centre comes out clean.
Let the cake cool until it’s barely warm or room temperature before cutting into squares.
Enjoy!

Sunday, 11 May 2014

In the midst of a two course meal, there is little better than a make ahead dessert - Buttermilk Panna Cotta with Rhubarb and Ginger


It's that point where you have been running around bringing everything together for a dinner and you sit down to eat, finally, and have a quiet smile to yourself, knowing that dessert is already done. And panna cotta is a wonderfully simple thing to make ahead, as long as you ensure all the gelatine has dissolved and that you only use enough of that gelatine to set it to a sensuous wobble rather than something hard enough to break a window with. And that you allow it long enough to set. And you can get it out of the mould. I did say this was simple, didn't I?
 
Well, it is if you use the recipe below. This is from Bryn Williams' excellent book 'Bryn's Kitchen'. This was such a wonderful dessert. The creamy panna cotta, complete with its beautiful wobble, was a joy in itself, but when put with the rhubarb and ginger, it was simply amazing. I have to confess I could have eaten a bowl of that rhubarb and ginger compote alone, such was its all round amazingness!
 
The sharp eyed amongst you will notice that the side of the mould I pictured in the method is not the same size as the panna cotta that I chose to photograph when I had plated it all up. There are two reasons for this: Number 1, I forgot. Number 2: I doubled the recipe I had below so I would have enough for everyone and some left over. I used smaller moulds initially and then finished off with ramekins. And I decided to plate up the ramekin size, because if I am having panna cotta, then I am having panna cotta, if you catch my drift.
 
Lola and Finn loved this. And so did I. Please make this; it's wonderful!
 
Buttermilk Panna Cotta with Rhubarb and Ginger Compote, taken from Bryn's Kitchen by Bryn Williams (also from S4C's 'Cegin Bryn')
 
Serves Lola, Finn, Mum and Dad
 
3 leaves of gelatine
250ml double cream
100g caster sugar
1 vanilla pod, split in half, with the seeds scraped out
250ml buttermilk
200ml ginger wine
75g soft light brown sugar
strip of orange zest
250g rhubarb, trimmed and cut into 2cm batons
 
 
Method:


Soak the gelatine leaves in cold water until soft. Set aside.


In a large, heavy-based saucepan bring the double cream, caster sugar and vanilla pod and seeds to the boil.
 
As soon as it boils, remove the pan from the heat.
 
Scoop out the vanilla pod.
 
Add the softened gelatine to the hot liquid and stir well until dissolved.


Pour the liquid onto the cold buttermilk and whisk together until combined.
 
Pass the mixture through a fine sieve, (I'll be honest, I didn't - I risked it and got away with it!!)  then pour into four heatproof glasses or ramekins. Place in the fridge to set. This should take about 2 hours.


While the panna cotta is setting, gently heat the ginger wine with the light brown sugar and the orange zest in a large, shallow pan until the sugar has dissolved.


Add the rhubarb batons and poach gently for 4-6 minutes, or until just soft. Remove from the heat, leaving the rhubarb to cool in the liquid.


To serve, spoon the rhubarb on top of each chilled panna cotta, (after you have unmoulded the panna cotta of course - I did this by running a knife around the edges and then dipping the two thirds of the mould briefly in a bowl of boiling water before easing it out onto the plate) and drizzle with the rhubarb and ginger sauce.

Friday, 10 August 2012

Missing France! Chocolate Mousse with Orange Florentines


I actually made these before we went to France, because I was wanting to get in a vaguely French mood (like it needs so much effort, but anyway...) and unusually I actually didn't order a chocolate mousse for pudding whilst I was in France recently, as my head was turned by 'des glaces', however, a French trip in the past has not been complete without several chocolate mousses, so, here we are: chocolate mousse, with the (not necessarily so French) inclusion of some Ottolenghi orange florentines, which I figured might be a fitting accompaniment.

Because I had decided I wanted to make the florentines, the original recipe for the mousse (which is from 'French Brasserie Cookbook' by Daniel Galmiche) was for the mousse to have candied orange zest adorning the top, but I omitted this, mainly because it was a bit of a faff and I had other things to be doing, and also because I felt I had enough orangeyness going on. I instead elected to grate some dark chocolate over the top for that delightful dark chocolate hit before the mellowness of the mousse.

The recipe suggests that once chilled for the hour it recommends, if you keep them in longer you should take the mousses out of the fridge about half an hour before serving. If your kitchen is warm, like mine, and you have been cooking the main course, you might want to lessen the half hour that is recommended.

Also, I doubled the recipe because I was concerned the original might not be enough for everyone coming for dinner. The recipe below lists the original quantities, which I believe will feed four quite generously, and if you are having chocolate mousse, then generousness is pretty crucial if you ask me.

Anyway, served in double shot glasses, breaking off shards of florentine to scrape the edges of the glass to get the last of the chocolateyness of this dessert. I can think of worse things to undertake.

Bitter Chocolate Mousse adapted from 'French Brasserie Cookbook' by Daniel Galmiche, accompanied by Orange Florentines, taken from 'Ottolenghi: The Cookbook' by Yotam Ottolenghi and Sami Tamimi.

Serves Mum, Dad, Lola and Finn generously.

Ingredients:

For the mousse:

3 1/2 oz plain chocolate (66 - 70% cocoa solids) chopped into small pieces
3 oz caster sugar
3 egg yolks
5 fl oz double cream
1tbsp icing sugar

For the florentines:

Makes about 20x8cm florentines or 12x11cm florentines

2 medium/large egg whites
100g icing sugar
260g sliced almonds
zest of 1 orange
sunflower oil for greasing the baking trays

Method:


To make the chocolate mousse, put 2 1/2 oz of the chocolate into a heatproof bowl and place it to rest on a saucepan of simmering water, ensuring the bottom of the bowl does not touch the water underneath.


Heat the chocolate and stir occasionally until it has melted, then remove from the heat and keep warm.

 Very hard to capture a ribbon like trail!

In a separate heatproof bowl mix together the sugar, egg yolks and two tablespoons warm water. Rest the bowl over simmering water once more and beat until it turns pale, thickens perceptibly and trails ribbon like shapes when you lift the whisk or the beaters from the bowl. This could take 10 minutes or so.


Slowly stir in the melted chocolate until well combined.

 I poured my mousse mixture into a jug because I was filling shot glasses with it. Quite tricky without a jug!

In another bowl (I used my mixer) whip the cream and icing sugar to soft peaks and gently fold it into the chocolate and egg mixture until it is smooth and combined. Don't overwork it.

Divide the mousse into four glasses (or whatever you intend to serve it from) and cover with cling film. Place in the fridge for at least an hour to set and it you are leaving it to chill for a longer time, then remove from the fridge 30 minutes before serving (though read the note above)

Whilst the mousses are chilling, make the florentines.


Preheat oven to 150C (300F), brush a large tray (or two) with oil or use baking paper and still brush with oil. (Very important - they will stick without a decent coating of oil)


Mix the icing sugar, egg whites and orange zest until uniform, then fold in the almond to coat with the binding mixture.


Plop a large truffle-sized amount of mixture onto your oiled tray, and gently flatten with a fork, making the biscuit as thin as possible without creating too many large gaps. The biscuits should be about 8cm wide to make 20. This, however, is a fiddly, quite messy job and yours may look as 'home made' as mine.
 
Repeat until the tray is full – you don’t need to leave much space between each one as they don’t spread out much at all.


Bake until the biscuits are golden brown Check from 12 minutes but it could take longer depending on the size and the thickness your biscuits end up being.
 
Check under one biscuit to see if they’re golden underneath too. Put more mixture on another tray whilst the first batch are baking.
 
Cool before trying to remove from the tray. They may stick a little if you don’t use paper, but if you’re using a thin baking tray you can bend it slightly and this will help you get a spatula underneath without breaking them up too much.


Remove the mousses from the fridge. You could melt the remaining chocolate in a heatproof bowl over water and swirl it onto the top of the mousse, or else you could just grate it onto the top and then eat any chocolate that is left. Your choice.


To serve, place a mousse on a side plate (if you like) and accompany it with one or two of the florentines.


Thursday, 26 April 2012

Spanish and Moreish: Arroz con Leche, or Rice Pudding with Orange and Lemon


After a balmy March, April can only be described as a bit of a wash out, and a cold one at that. Yesterday in particular was bitter (or 'Baltic' as some of us say around these parts) and walking to pick up Lola was a bone chilling, damp experience, reminiscent of those days of Autumn when the skies are leaden, the wind cuts right through you, hinting at Winter, and where no one should really leave home without an umbrella. Ugh, horrible... and alien to my sun loving soul.


So whilst I was dodging the puddles (Finn wasn't; there is nothing more entertaining than jumping in them, let's face it) my thoughts turned to the night's meal. I'd already gone down a Spanish route, with a chorizo and pork casserole (blog post to follow) so I decided that Spain was where it was at, and that a pudding that you could curl up infront of the telly with was in order. Rice Pudding - Arroz con Leche if you will.


I used to know someone who used to open a tin of Ambrosia rice pudding, warm it up, put it in an oven proof dish, sprinkle sugar on the top and put it under the grill to create something like a caramelised, 'skin' top, then passing it off as her own, because she thought it was easier than making her own. It isn't. It sounds like a faff. Making your own rice pudding is really rather easy and whilst you can complicate it like I have done here, the principle is really rather easy, as long as you are able to keep an eye on it and not let it catch too much on the bottom of the pan (though that comes under cook's perks for me; the slightly caramelised scrapings from the bottom of the pan are sweet, vanilla and have the consistency of a chewy sweet - delish!)


This recipe is adapted from Modern Spanish Cooking by Sam and Eddie Hart; a superb Spanish cookery book of which I want to cook every recipe and eat it all. Their suggestion of making a quick orange jam to go along with the citrussy rice pudding was inspired, though I had no brandy as the original recipe calls for, so I dug out my trusty bottle or Triple Sec and used that instead. It's by no means necessary to make it, as the rice pudding is stunningly gorgeous as it is, but if you are looking for something just a little bit different, you may have just found it here.


Arroz con Leche, adapted from Modern Spanish Cooking by Sam and Eddie Hart


Serves Lola, Finn, Mum and Dad


For the rice pudding:


850ml whole milk
finely pared strip of zest of 1 orange
finely paired strip of zest of 1 lemon
1/2 tsp cinnamon
150g pudding rice (they suggest Arborio but pudding rice was fine - and cheaper!)
120g sugar
1 vanilla pod (though a tsp of good vanilla extract will suffice)


For the orange jam:


150ml orange juice (about 2 large oranges)
1/2 tsp cinnamon
zest of an orange
1 tbsp sugar
30ml triple sec


Method:

Take a large saucepan and put all the rice pudding ingredients in it. Give it a quick stir then turn the heat on. Bring it slowly to the boil then reduce the heat so that the mixture simmers. It will take around 40 minutes or so. You're looking for the rice to have swelled and be cooked through and for the liquid to be of a creamy consistency. Keep an eye on it whilst it is cooking.

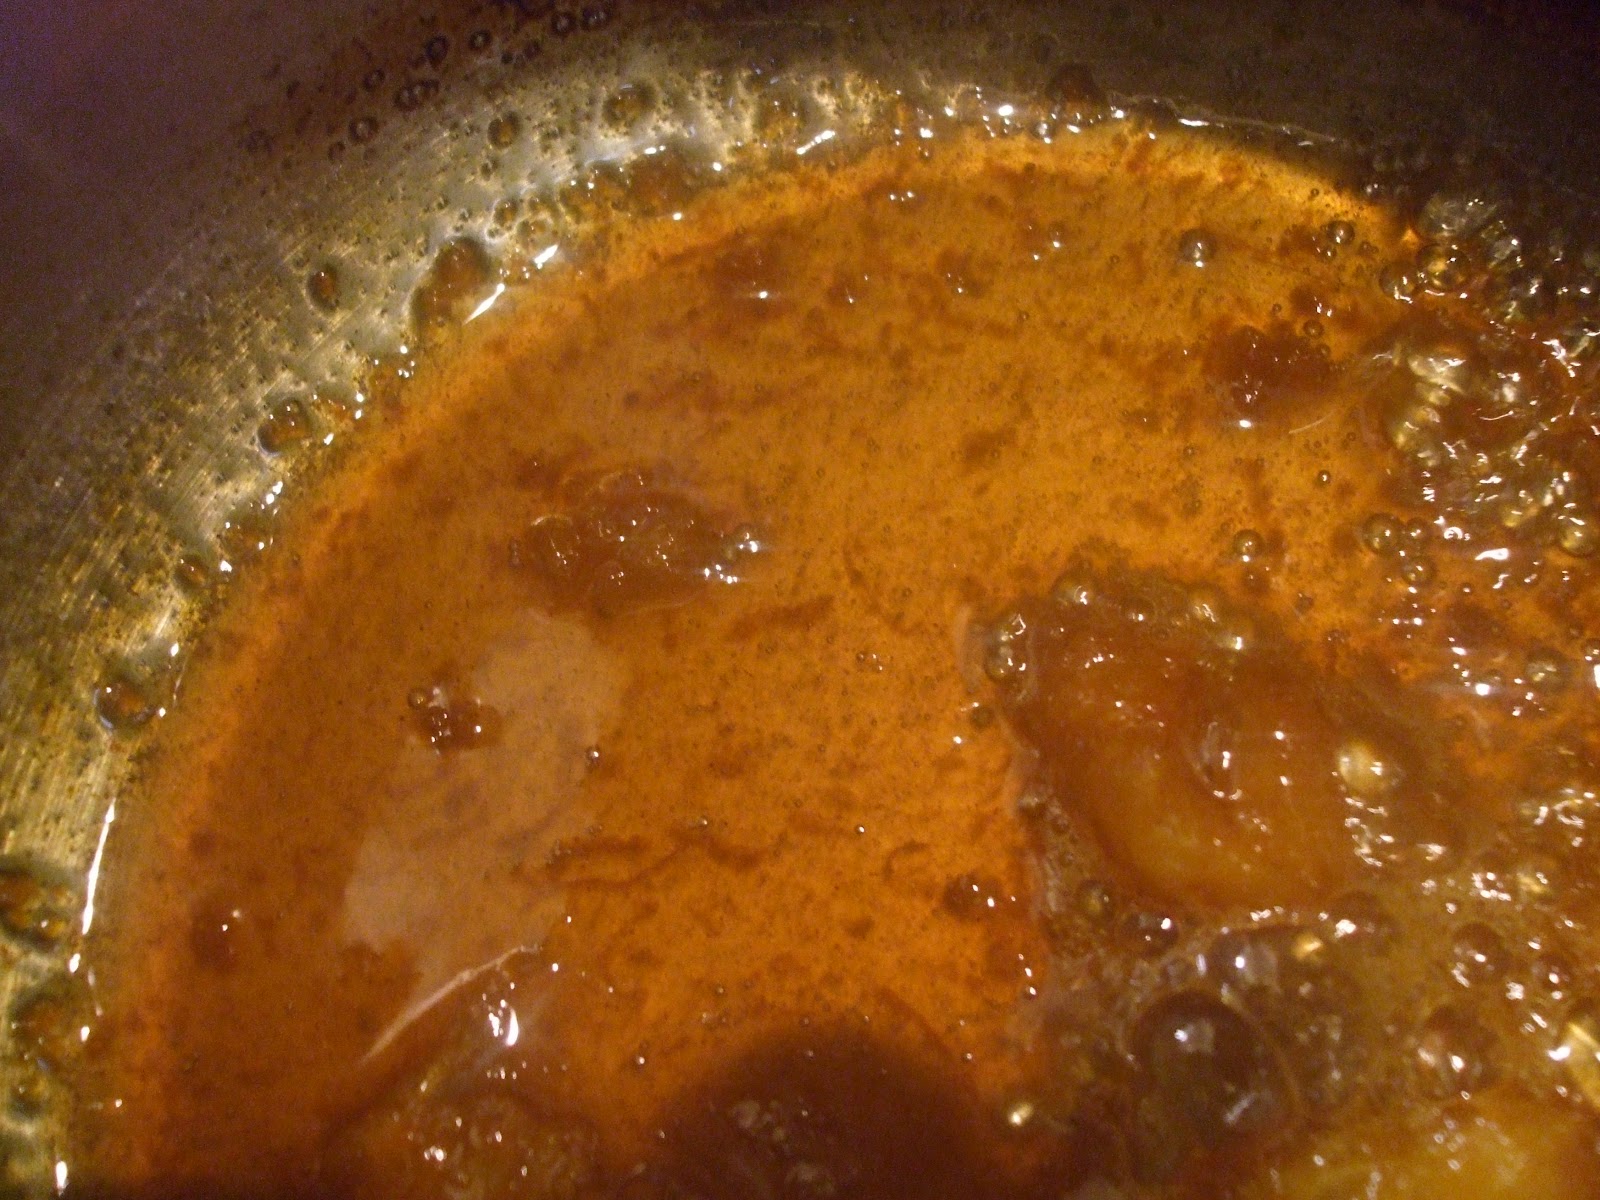
Meanwhile, to make the orange jam, in a small saucepan put all of the ingredients, give it a quick stir and slowly bring to the boil, stirring to dissolve the sugar. Simmer until the mixture has reduced to a slightly runny syrup. This could take about 15 minutes on a gentle heat, maybe more.

To serve: Remove the citrus zest and vanilla pod from the rice pudding (if you can find them). Serve in warm bowls with some of the orange jam.


A perfect pudding for an unseasonably cold day.

Saturday, 31 March 2012

Easy and flavoursome. Pork, Oriental Style, with Honey and Soy Sauce


I do love a recipe that requires the minimum of faff with stuff I invariably have in the cupboard and that takes very little time to cook because, whisper it, I sometimes really and truly cannot be bothered. Do you ever get like that? Maybe it is if I am tired, or 'cooked' out, or would just prefer to be somewhere else than the kitchen. A restaurant, if I am lucky. Or in the bath. A bubbly bath. With candles. This recipe relies on you remembering to marinade the pork for a couple of hours, and stand around for the 10 minutes or so it takes to cook the pork and assemble the rest of the dish.

I think Michel Roux Jr is fab. I adore watching him on the television. I adore his passion for food and his attention to detail and his sheer culinary skill. And, whilst outward impressions may be misleading, he just seems like a really nice bloke, and so I was very pleased to receive his cookery book as a present. I have cooked a few of the recipes which were all stunning. When I saw this recipe, relatively lacking in faff, I decided that maybe this was the way to create something Michelin starred in no time. Well, I don't know about the Michelin star, but this is tasty and more importantly in terms of this blog, Lola and Finn liked the sweetness of the pork and the noodles, and in their book 'noodles' means 'pasta' and is therefore the best food ever.

I had to alter the cut of pork I used. Michel Roux Jr recommends neck end pork chops because of their fat content, and when I cook this again, I will look for a fattier chop. However, as this was one of these dishes that I chose to cook on a whim, I subbed the pork escalopes I had in the freezer. Whilst the fat content was missing, the marinade still gave the pork a lovely flavour.  I served this with steamed vegetables and noodles and apart from the vegetables on Lola and Finn's part, the meal was enjoyed by all. By using the three escalopes, I think I had probably reduced the amount of meat from the original recipe, but I kept the marinade quantity the same, because I wanted to have a little extra to put on the escalopes as I was cooking them in the hope that it would create a little sauciness for the vegetables and noodles. I pan fried these by the way, rather than grilling them.

Pork with Honey and Soy Sauce adapted slightly from 'Grilled Neck End Pork Chops, Oriental Style', taken from 'Cooking with the Master Chef' by Michel Roux Jr.

Serves mum, dad, Lola and Finn

Ingredients:

3 pork escalopes (the original suggests six neck end pork chops, rind off)
3 garlic cloves, chopped
2 tbsp fish sauce
2 tbsp oyster sauce
3 tbsp light soy sauce
1 tbsp honey
juice of 1 orange
coarsely ground black pepper
a little chopped coriander, for garnish

Method:


Marinade the chops by putting them in a non reactive dish and adding the garlic, the 'sauces' the honey, the soy and the orange. Mix well and rub the marinade over the meat. Leave for at least a couple of hours in the fridge, covered in cling film.


Preheat the grill, if you are grilling, or the barbecue, or the griddle or the frying pan. Place the meat on the hot surface and cook until ready. Mine took about five minutes or so either side.


Serve with whatever you like. I steamed some sliced vegetables and noodles to accompany the pork.


LinkWithin

Related Posts Plugin for WordPress, Blogger...