Lola and Finn's Mum

Lola and Finn's Mum
Showing posts with label golden syrup. Show all posts

Monday, 15 February 2016

A seventies cake for a seventies chick - Black Forest Victoria Cake


Retro. That’s me. And that being the case, it was only fitting that my birthday cake of choice would also be, like me, of a seventies vintage, the Black Forest Gateau. I don’t care if it’s naff, the combination of chocolate, cream and cherries is, quite frankly, lush, and I thumb my nose to all you dinner party aficionados who think it a gastronomic crime to serve this after your prawn cocktail and your duck a l’orange… (I lurve duck a l’orange by the way…)
I was flicking through some cookery books for an idea as to what to indulge myself with (and force upon others) for my birthday and when the book fell open on this cake I thought to myself, bingo… I have all the ingredients, so no visit to the supermarket (a dangerous business when you are in the midst of ‘healthy eating’ and feel like eating your own arms…) and I like chocolate. And cherries. And cream. And more chocolate. If I am abandoning my current pastime of living virtuously, albeit temporarily, then this is a beautiful way to do it.
This recipe is from ‘Gorgeous Cakes’ by Annie Bell. A completely apt title if you ask me. I made some adaptions, like adding some vanilla extract and salt to the chocolate cake mix, for chocolate likes vanilla and needs salt for that chocolatey ‘hit’. I brushed the warm cakes over with some kirsch because I don’t believe that you can ever have too much of a good thing, and I sweetened the cream with some vanilla and a little icing sugar. Because I can.
The other nice thing about Black Forest Gateau is that you can make it look as pretty as a picture. It didn’t need the 42 candles that should have gone on it. Just as well really as I imagine that such an amount of candles constitutes some kind of fire hazard.

Black Forest Victoria, adapted from ‘Gorgeous Cakes’ by Annie Bell
Makes a 1 20cm cake with sides of 9cm deep, (but I divided the mixture into three 18cm sandwich tins)
Ingredients:
For the cake -
225g unsalted butter, at room temperature
200g golden caster sugar
1 tbsp golden syrup
1tsp vanilla extract
200g self-raising flour
2 tsp baking powder
25g cocoa powder, sifted
4 medium eggs
100ml milk
Pinch of salt
10 – 15ml kirsch, for brushing over the cake
For the filling –
Half a jar of black cherry jam
1 tbsp kirsch
350ml double cream
1 tsp vanilla extract
1 tbsp icing sugar, sifted
To decorate:
Approx 50g of grated chocolate (Should have used dark chocolate, chose to use milk due to fussy children!)
Cherries (I used some from a jar)

Method:
Preheat the oven to 180c and prepare tins by greasing and then lining the bottoms with greaseproof paper.

The original recipe recommends putting all the ingredients together and creaming them until combined. Rightly or wrongly I did it the way mama taught me, that is, creaming the butter with the sugar, then added the syrup, the vanilla and the eggs, one at a time, putting a spoonful of flour into the mix after each egg to stop the mixture from splitting. Then I added the flour alternately with the milk and mixed to only just combined. Lastly, I added the salt and then for the final mix together I used a spatula to ensure that all the mixture was combined.

Pour the mixture into the tin(s). If using the sandwich tins then bake for about 20 mins, until the cake is firm to the touch and has shrunk away from the sides of the tin. If baking in the recommended tin, bake for about 55 mins or until a toothpick placed into the centre of the cake comes out clean).
Once the cakes come out of the oven and whilst still warm, brush a little of the kirsch over the top of the cake(s). If you are making one cake then you will need to cut the cake into layers.
To make the filling: Whip up the cream with the icing sugar and vanilla until it forms pretty stiff peaks which will hold whilst piping. Do not overbeat.
Put the jam into a bowl and loosen with the kirsch. Grate the chocolate.

To assemble. Once cool, spread jam over the layer and then pipe some cream on. Place the next layer onto the cake and then repeat the process.

On the top layer, brush the jam over the top and then cover the jam with grated chocolate. Once the top is completely covered in chocolate, pipe the top decoratively. Adorn the cake with pitted cherries.
Don your bell bottoms and Cuban heels and then serve to all and sundry.


Tuesday, 28 October 2014

Pimp my flapjack... Apple Flapjacks


It's not like I have a box of apples anywhere or anything - you can decide, if you like, whether that is likely by reading my last blog post about scrumping and apple vodka, but putting grated apple into flapjacks is seriously tasty, especially if they are slightly tart like the apples from the scrumping mission. They act as an acidic foil to all that golden syrup that goes into making flapjacks. And on the subject of golden syrup, and sugar, and butter, I don't think I will ever tire of the gooey unctuousness that flapjacks are, especially if they are crispy and brittle at the edges. I know you can get allsorts of fancy tray bakes now, but this is the number one. Low faff, maximum impact. And somehow, as the nights get longer, it's these type of cakes that I like to turn to. I mean, something light and fluffy is fine and all, but I find myself craving more ballast with a cup of tea when there is a nip in the air and the leaves have started to turn...
 
Apple Flapjacks, adapted from Cegin Bryn by Bryn Williams (and it's in his book 'Bryn's Kitchen' too. Yes, by the way, I do know that 'Cegin Bryn' is Welsh for 'Bryn's Kitchen'. I am in touch with my Welsh roots....)
 
Makes 12
 
Ingredients:
 
150g butter
50g light brown sugar
3 heaped tbsp. golden syrup
100g peeled apple, grated
220g porridge oats
 
 
Method:
 
Pre heat the oven to 160c


Melt the butter in a heavy bottomed saucepan. Add the sugar and the golden syrup.
 
 
Add the apple and the oats. Stir the mixture until evenly combined.


Place the mixture into a greased baking tray that has greaseproof paper in the base.  Mine was 12 by 30cm.
 
Spread the mixture evenly, then bake until golden, probably about 15 minutes but keep checking.


Take out of the oven and allow to cool. Whilst still warm, cut the flapjacks into squares or rectangles. Then leave to cool completely.


Friday, 15 November 2013

What overripe bananas were made for! Banoffee Cake

 
It is almost worth letting your bananas go black, just to make this cake. Personally, bananas have to be perfectly yellow if I am going to eat them. If there are black spots on them then they are too ripe and sweet to eat. Luckily, ripe bananas make great cakes and this is a lovely recipe which makes a cake that stays moist for several days if you keep it properly.
I have been looking forward to blogging for the European Day for Multilingual Blogging and trying out my French for a real purpose. There is a French version of this blog post here if you are interested. Since I studied French (and German) many years ago, the times to use my French have been seldom and it is only since I have started visiting France regularly again that I have realised just how much I really love France. To write in French once again is a pleasure, even if I do get some of the words wrong! It is odd, but for a long time I preferred the German language (and I was better at it), but now, I prefer French.
Anyway, from one interest to another. There are not enough cakes on this blog so here is another one. It is from ‘The Birthday Cake Book’ by Fiona Cairns and is a banana sponge topped with delicious toffee frosting. I tried to decorate the top with dried banana slices but I couldn’t find any, so I picked out some chewy toffees to decorate. Not recommended if you have loose fillings.
Banoffee Cake adapted from ‘The Birthday Cake Book’ by Fiona Cairns
 Ingredients:
120g unsalted butter, softened, plus more for the tins.
250g self raising flour
1 teaspoon baking powder
Pinch of salt
¼ teaspoon grated nutmeg
1 teaspoon ground cinnamon
160g brown (light muscovado) sugar
3 extremely ripe, large bananas
2 eggs, lightly beaten
1 teaspoon vanilla extract
2 tablespoons whole milk
For the toffee buttercream: (Note: I halved the quantities to produce enough buttercream to sandwich then top the cake).
240g unsalted butter, softened
60g brown (light muscovado) sugar
2 tablespoons golden syrup
1 tablespoon double cream
1 teaspoon vanilla extract
200g icing sugar, sifted
Banana chips, or toffee sweets for decoration.
Method:
Preheat the oven to 180c/350F.
 
Butter two 20cm round cake tins. Ensure they are tins with deep sides, (3 or 4cm, maybe). If necessary, create a collar of a double thickness of baking parchment to come up above the sides.
 

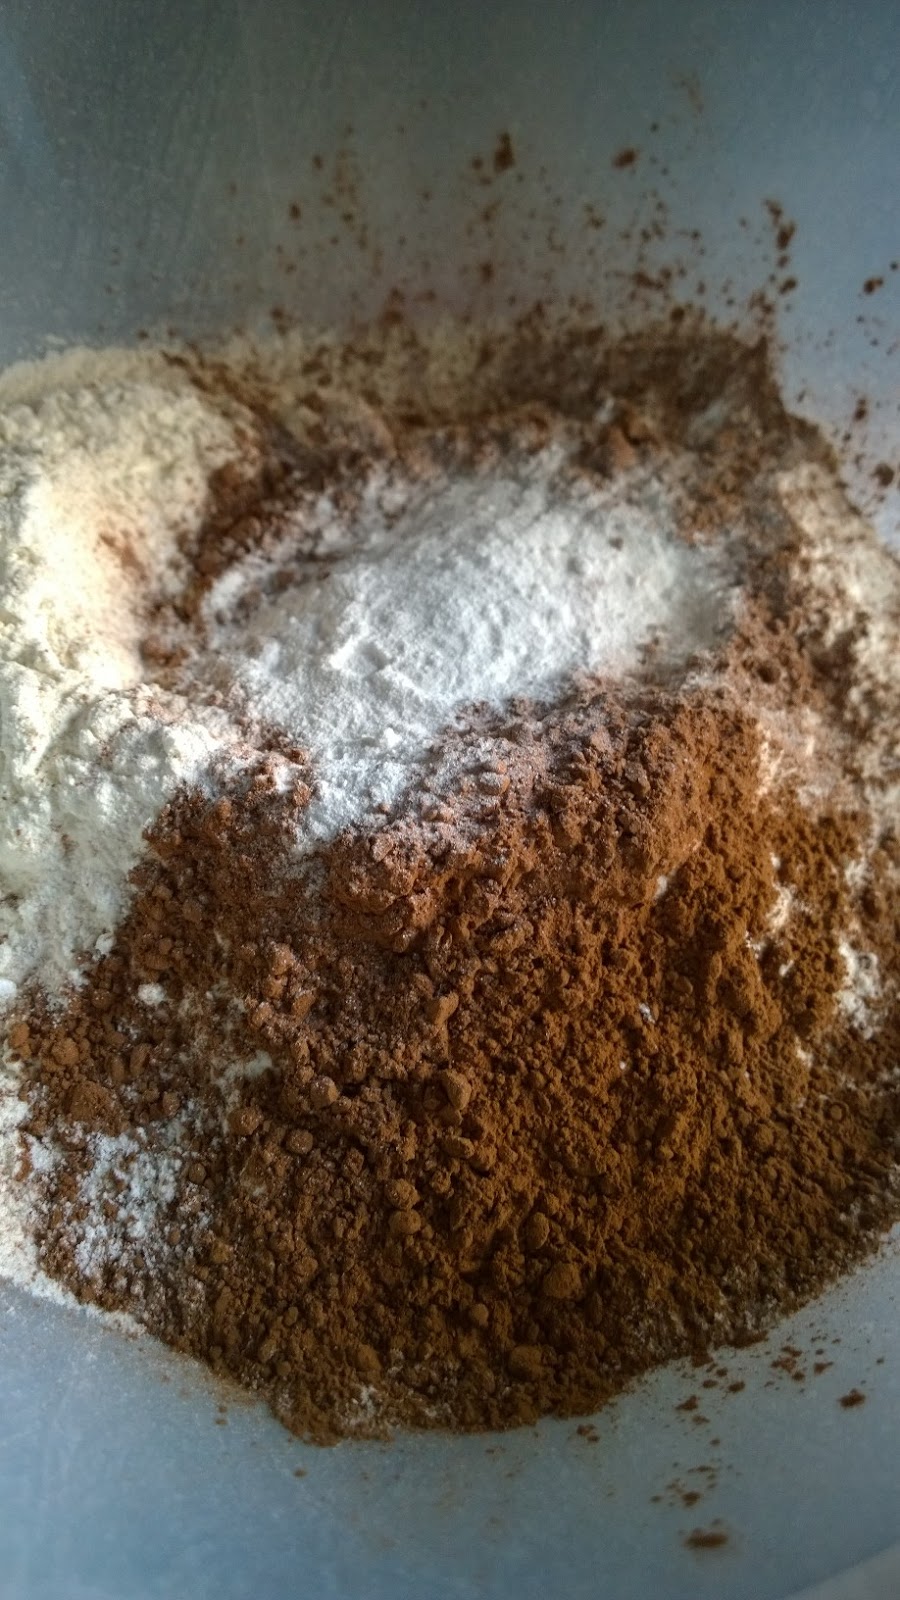
Sift together the flour, salt, baking powder, cinnamon, and nutmeg.
 

Cream together the butter and the sugar in a mixer until soft and fluffy. Meanwhile, mash the bananas with a fork.
 
 
Add the eggs, vanilla and milk to the butter mixture with a spoonful of flour to prevent the mixture from splitting.
 

Fold in the remaining the flour mixture, then the bananas, and then pour the batter into the tins.
Bake for about 40 minutes or until a skewer placed into the middle of the cake emerges clean. .


Remove the cake from the oven and run a knife around the sides. Take the cakes out of the tins and allow to cool.


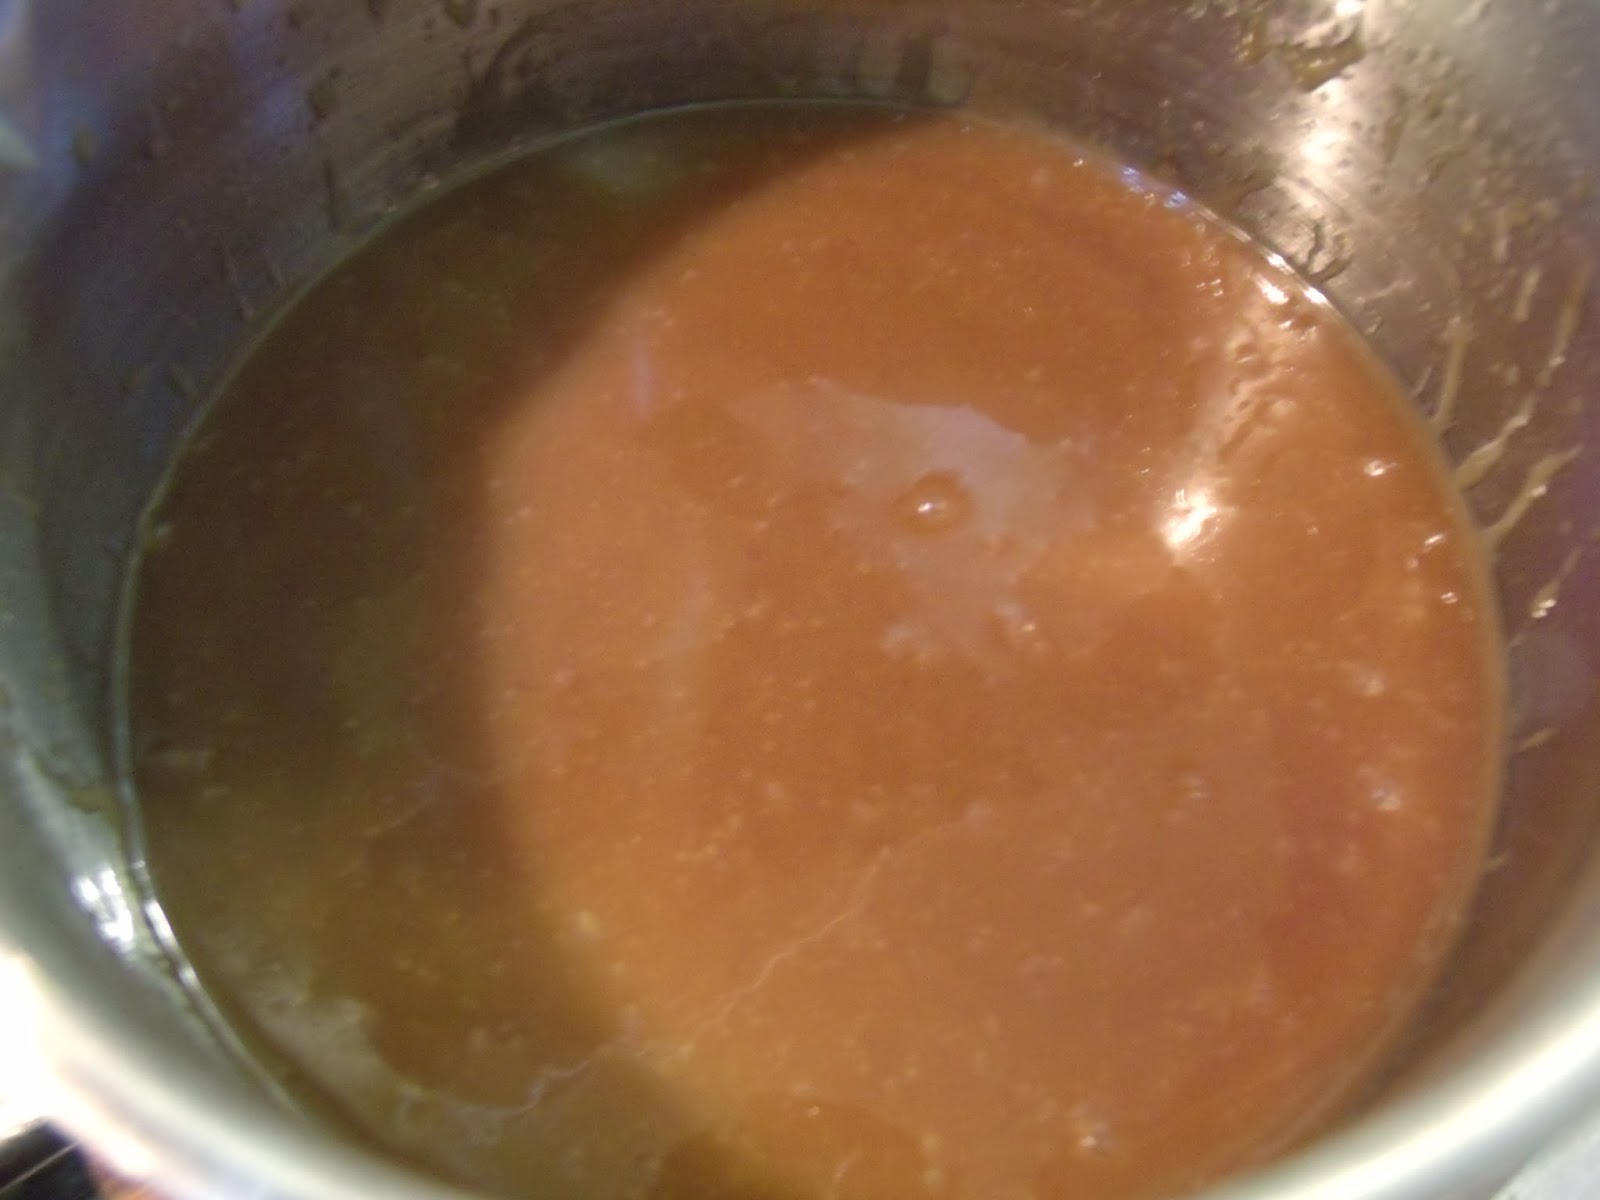
To make the buttercream, melt 80g of the butter, the brown sugar and the syrup over a low heat until it is a deep caramel colour. Take the mixture off the heat and add the cream and the vanilla extract. Keep stirring the mixture. Allow to cool.
 

In a mixer, beat the remaining butter until soft then and fluffy add the icing sugar and beat the mixture for at least five minutes, or until light and creamy.


Add the cooled toffee mixture and beat in well.
 
Use the buttercream to sandwich the cakes together. Then top the cake generously with the remaining buttercream.
Decorate with banana chips, or with toffees.

Friday, 14 September 2012

It's not all about Scouse. Introducing Wet Nelly, the pudding that sticks to your ribs.


The dish that is synonymous with Liverpool is Scouse, a version of which has graced this very blog right here and is one of those heartwarming (Northern) dishes that makes grim months like November and January seem bearable. It is poor man's food but you'd never know it because it's too damn good to be ever thought of as poor.
 
Which brings me to a poor man's pudding, for dinner shall not be complete without something for dessert. There are lots of cakes associated with the North, with numerous towns having some sort of confectionery that they call their own. 'Wet Nelly' is probably the one you have never heard of. A native of Liverpool, (and its environs, it will be argued) she is closely related to Nelson cake (google it) but here she is smartened up a bit with a dash of alcohol and a pastry crust. More 'Mildly Moist Elizabeth' than 'Wet Nelly', maybe.
 
I googled the recipe after visiting Speke Hall recently with the family. By virtue of their dad, they have some sort of connection to Speke Hall and Lola and Finn spent a lot of the time telling anyone who would listen that they were here to visit Grandma's house. We wound up at the cafe and after having a bowl of Scouse each (no longer poor man's food here, £6.75 for a smallish bowl and it was virtually blind - buck your ideas up please National Trust!) I spied the Wet Nelly. I had to make one. So a few minutes on Google and here you are.
 
Here we are! Speke Hall! Back to claim what is rightfully ours!!!
 
My adaptations were that I soaked my raisins in Marsala because it was out on the work top and I couldn't be bothered finding the rum, which the recipe suggests. My quantities for sweet pastry will leave with you with half left which you can freeze and then be moments away from whipping up something a bit tarty, which I like to do, often. If that isn't your thing, then just half the quantities for the sweet pastry listed below.
 
'Wet Nelly', adapted from the recipe from Tom Bridge: Cookery Detective
 
Serves 6, very well indeed
 
For the pastry:
 
8oz/225g plain flour
 
4oz/110g unsalted butter, straight from the fridge
 
3oz/80g caster sugar
 
1 large egg, to bind
 
For the filling:
225g / 8 oz trifle sponge or sponge cake or broken biscuits crumbled (I used trifle sponges blitzed in the food processor)
110g / 4 oz raisins, soaked in a little dark rum (I used Marsala, a couple of tablespoons)
Grated rind and juice of 1 lemon
4 tbsp full fat milk
4 tbsp golden syrup
Beaten egg to glaze
 
 
Method:


Start by soaking your raisins. By the time you are ready to make the filling the raisins should have plumped up.


To make the pastry, blitz the flour, sugar and cold butter together in a food processor, or rub together by hand until you get a mixture that resembles breadcrumbs.


Add the egg to bind the pastry together.


Wrap in clingfilm and leave to rest in the fridge for about an hour or so. It is quite a squidgy pastry and will need to be chilled sufficiently.
 
When the pastry is ready, butter a suitable pan. I used an 8 inch (20cm approx) fluted loose bottomed flan tin.


Flour a board and roll out enough pastry to line the bottom and sides of your pan. You can do a bit of a patch job if the pastry is proving difficult to handle. Trim the edges.
 
Set the oven to Gas Mark 5, 190c /375f


Mix together the sponge crumbs, raisins, lemon rind and juice, milk and syrup.
 
 
Place the mixture into the pastry case.


Roll out some more pastry to cover the filling and before placing the lid on top, brush the edges of the pastry in the flan tin with some beaten egg so that the sides and pastry top will stick together when they're crimped. Seal and crimp the edges and then brush the top with beaten egg.
 
Not too fussed about the odd crack. I am about to drown it in custard.
 
Bake in the centre of a pre-heated oven for 30 minutes. or until browning on top. Remove from the oven and allow to cool a little.


Serve warm with custard.


April 2014 - I have just discovered my fellow blogger, Phil from the excellent blog 'As Strong as Soup' has produced a razzle dazzle, upmarket version of this fine Liverpool delicacy. You can read about and learn how to make it here.

LinkWithin

Related Posts Plugin for WordPress, Blogger...