Lola and Finn's Mum

Lola and Finn's Mum
Showing posts with label icing sugar. Show all posts

Monday, 15 February 2016

A seventies cake for a seventies chick - Black Forest Victoria Cake


Retro. That’s me. And that being the case, it was only fitting that my birthday cake of choice would also be, like me, of a seventies vintage, the Black Forest Gateau. I don’t care if it’s naff, the combination of chocolate, cream and cherries is, quite frankly, lush, and I thumb my nose to all you dinner party aficionados who think it a gastronomic crime to serve this after your prawn cocktail and your duck a l’orange… (I lurve duck a l’orange by the way…)
I was flicking through some cookery books for an idea as to what to indulge myself with (and force upon others) for my birthday and when the book fell open on this cake I thought to myself, bingo… I have all the ingredients, so no visit to the supermarket (a dangerous business when you are in the midst of ‘healthy eating’ and feel like eating your own arms…) and I like chocolate. And cherries. And cream. And more chocolate. If I am abandoning my current pastime of living virtuously, albeit temporarily, then this is a beautiful way to do it.
This recipe is from ‘Gorgeous Cakes’ by Annie Bell. A completely apt title if you ask me. I made some adaptions, like adding some vanilla extract and salt to the chocolate cake mix, for chocolate likes vanilla and needs salt for that chocolatey ‘hit’. I brushed the warm cakes over with some kirsch because I don’t believe that you can ever have too much of a good thing, and I sweetened the cream with some vanilla and a little icing sugar. Because I can.
The other nice thing about Black Forest Gateau is that you can make it look as pretty as a picture. It didn’t need the 42 candles that should have gone on it. Just as well really as I imagine that such an amount of candles constitutes some kind of fire hazard.

Black Forest Victoria, adapted from ‘Gorgeous Cakes’ by Annie Bell
Makes a 1 20cm cake with sides of 9cm deep, (but I divided the mixture into three 18cm sandwich tins)
Ingredients:
For the cake -
225g unsalted butter, at room temperature
200g golden caster sugar
1 tbsp golden syrup
1tsp vanilla extract
200g self-raising flour
2 tsp baking powder
25g cocoa powder, sifted
4 medium eggs
100ml milk
Pinch of salt
10 – 15ml kirsch, for brushing over the cake
For the filling –
Half a jar of black cherry jam
1 tbsp kirsch
350ml double cream
1 tsp vanilla extract
1 tbsp icing sugar, sifted
To decorate:
Approx 50g of grated chocolate (Should have used dark chocolate, chose to use milk due to fussy children!)
Cherries (I used some from a jar)

Method:
Preheat the oven to 180c and prepare tins by greasing and then lining the bottoms with greaseproof paper.

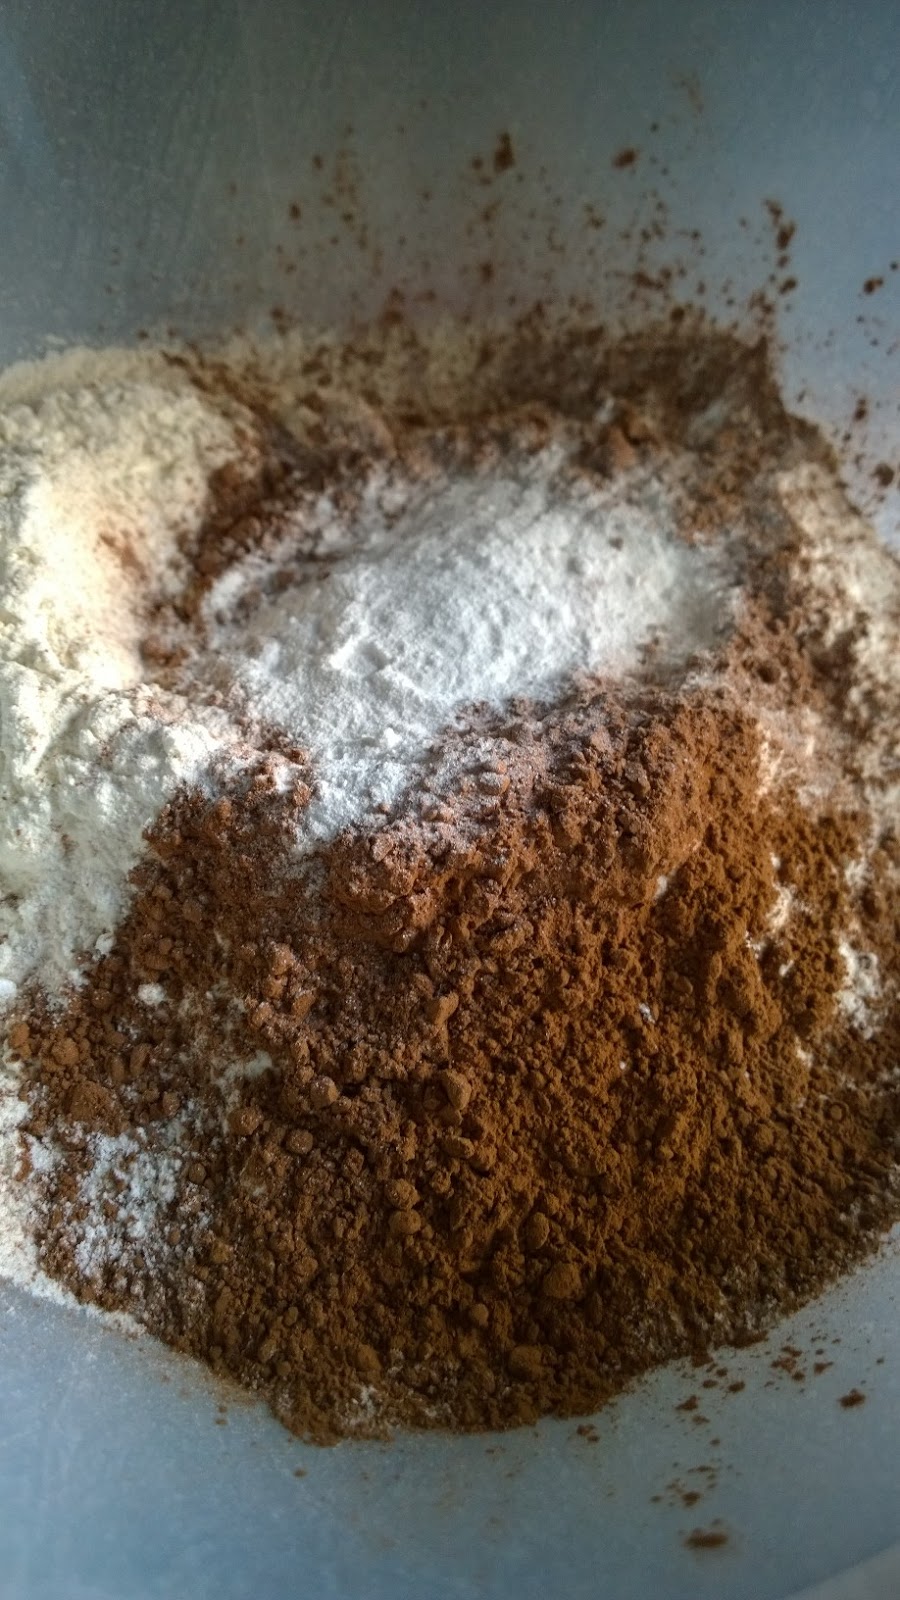
The original recipe recommends putting all the ingredients together and creaming them until combined. Rightly or wrongly I did it the way mama taught me, that is, creaming the butter with the sugar, then added the syrup, the vanilla and the eggs, one at a time, putting a spoonful of flour into the mix after each egg to stop the mixture from splitting. Then I added the flour alternately with the milk and mixed to only just combined. Lastly, I added the salt and then for the final mix together I used a spatula to ensure that all the mixture was combined.

Pour the mixture into the tin(s). If using the sandwich tins then bake for about 20 mins, until the cake is firm to the touch and has shrunk away from the sides of the tin. If baking in the recommended tin, bake for about 55 mins or until a toothpick placed into the centre of the cake comes out clean).
Once the cakes come out of the oven and whilst still warm, brush a little of the kirsch over the top of the cake(s). If you are making one cake then you will need to cut the cake into layers.
To make the filling: Whip up the cream with the icing sugar and vanilla until it forms pretty stiff peaks which will hold whilst piping. Do not overbeat.
Put the jam into a bowl and loosen with the kirsch. Grate the chocolate.

To assemble. Once cool, spread jam over the layer and then pipe some cream on. Place the next layer onto the cake and then repeat the process.

On the top layer, brush the jam over the top and then cover the jam with grated chocolate. Once the top is completely covered in chocolate, pipe the top decoratively. Adorn the cake with pitted cherries.
Don your bell bottoms and Cuban heels and then serve to all and sundry.


Saturday, 13 February 2016

LET ME EAT CAKE, I SAY (Just like Marie Antoinette) Spelt and Olive Oil Cake with Blood Orange

I don’t really know whether Marie Antoinette was into ‘healthy eating’ or not really. If she was anything like me she needed to be, as when I am in France I tend to eat my own weight in croissants, camembert and crusty ‘baguette’ and then wash it down with Madiran, and whilst red wine is meant to be REALLY good for you, I am not sure the rest of it is. Anyway, the damage is done for me and before our next jolly to La Belle France in July (Annecy and the French Alps, plus a foray into Northern Italy – very excited) I want to be healthier. But I want cake.
Here is the compromise.  I bought some spelt flour yonks ago because I bought a recipe book (yes really) which raved on about it. I made a recipe from the book for a lemon tart and it was horrible and I thought, ‘Spelt? Nah…’ and put it back in the cupboard. Fast forward to the purchase of another cookery book (yes really…) called ‘Grains as Mains’ and after a couple of successful meals made, no doubt coming to a blog near you soon) I happened upon a recipe for olive oil and spelt cake, with blood orange. I lurve blood orange. I lurve cake. This doesn’t sound as unhealthy as ‘normal’ cake. I opened the cupboard and out came the much maligned spelt flour. 
The alterations I made for this recipe were down to the fact that I like a cake that looks semi appealing, and I had an idea that this might not. Plus I did not want to waste any of my blood oranges so I upped the zest to the zest of two oranges as it took two oranges to produce the juice required to make the cake. I also decided to slice my remaining orange up, after removing the peel and a pith with a sharp knife, and put it on the cake. Then I thought that the slices might dry out and look a bit shrivelled so I strew a tablespoon or so of Demerara sugar over the cake in the hope that it would caramelise over the orange slices and make them look like huge jewels.
As the cake came out of the oven, I brushed over a luscious syrup made of orange juice and icing sugar to give it that ‘French Patisserie’ look.  Marie Antoinette would definitely be up for this cake. I am sure of it.
Spelt and Olive Oil Cake adapted from ‘Grains and Mains’ by Laura Agar Wilson
Serves 12, apparently…
Ingredients:
120ml extra virgin olive oil plus extra for greasing the tin
225g spelt flour
100g ground almonds
Grated zest of one orange (I used two)
2 tsp baking powder
1 tsp salt
2 eggs
150g light brown sugar
To decorate the top
A blood orange, peeled with the pith removed
1 tbsp Demerara sugar
To glaze:
1 tsp blood orange juice
35g icing sugar

Method:


Preheat the oven to 180c – grease and line a 23cm round cake tin.


Mix the dry ingredients (not the sugar) and the orange zest together until well combined.


In a separate bowl, mix the wet ingredients, plus the sugar, together.


Add the wet and dry ingredients together and mix until only just combined. Do not overmix.
Place the cake mixture into the prepared pan.


To prepare the decoration, slice the bottom and the top of the orange so that it sits flat. Using a sharp knife, cut the peel and pith away from around the orange, starting at the top of the orange down to the bottom. When you have removed the peel and the pith, slice the orange into thin slices and place them onto the top of the cake. Strew the Demerara over the cake and then place it into the oven.
Whilst the cake is baking, make the glaze. Mix the orange juice and the icing sugar with two teaspoons of water until everything is combined.


Bake for about 40 minutes, until a skewer/toothpick in the centre comes out clean. Brush the glaze over the cake.
This is best served warm.

Saturday, 1 November 2014

Cake!!!! Lemon and Blueberry Layer Cake


I don't make enough cakes for this blog, or for anybody or anything, really. And I should, because I have really enjoyed pottering around in my kitchen, whisking and tasting and creating something that looks ever so pretty. And whatever else I make and do, baking is the biggest challenge; it's a scientific thing; no hurling of a bit of this and a bit of that, hoping that something amazing will take place. Oh no, it's 'get the scales out' time. And be prepared to take the consequences if you stray too far from the path.
 
However, there was a little straying that took place here in terms of the ingredients for this recipe. In my Hummingbird Bakery cook book, this started out as lemon and raspberry, but I decided to ring the changes by turning this into a blueberry cake, for blueberries and cakes are lovely. I'm thinking blueberry muffins, yum.
 
There are some significant adaptations to the original recipe therefore, and it doesn't really bare too much resemblance to the original. I substituted yoghurt for the original buttermilk, as I have a memory of a lemon cake made with yoghurt which was completely delicious. I also tripled the lemon zest content - If a cake is going to be lemon cake, then it has to be lemon. I don't want you to think that this 'zings' with too much lemon; it doesn't. It 'sings'. Just the way I like it.
 
I don't like making icing with the usual full fat cream cheese. It's too unstable and I think it turns frosting to liquid without too much sleight of hand. I prefer Mascarpone. It is far more well behaved and I love the creaminess it beings to frosting. The frosting below is ample for this cake -you could frost the sides if you wanted, but I decided on less is more and left the remainder of the frosting to be devoured by a passing Lola, or Finn, or dad.
 
 
Lemon and Blueberry Layer Cake
 
 
Cuts into 10 - 12 slices
 
For the sponge
110g unsalted butter, softened
380g caster sugar
320g plain flour
4 tsp baking powder
320ml natural yoghurt
zest of three lemons and the juice of one
3 large eggs
salt to taste
 
80g blueberry jam
 
For the frosting:
I tend to eyeball and taste frosting to get it to the consistency that I want, but it goes a little bit like this:
 
150g unsalted butter, softened
250g mascarpone cheese
500g icing sugar
zest and juice of 1 lemon
 
To decorate:
Grated zest of a lemon
A handful of blueberries

Method:


Preheat the oven to 170 degrees and line two large cake tins with greaseproof paper.
Make the sponge by creaming the butter and the sugar together until light and fluffy.


Add the eggs, one at a time, putting a couple of spoonfuls of flour in with the last egg to prevent the mixture from splitting.
 
Add the zest and the lemon juice and mix until combined.


Lastly, add the flour and the baking powder and the yoghurt alternatively, taking care not to overbeat. Mix until just combined.
 
Divide the batter between the two tins and bake for 20-30 minutes until golden brown and an inserted skewer comes out clean.


Meanwhile, make the frosting by gradually mixing the butter, the mascarpone, the icing sugar, lemon zest and juice and together on a low speed with the electric whisk until combined and there are no large lumps of butter and the icing has lost its grainy texture.
 
Once the sponges are cool, assemble the cake by placing one layer on a large plate.


Spread with a layer of blueberry jam and top with 3-4tbsp of frosting, smoothing out with a palette knife.


Sandwich the second layer on top and frost the top of the cake (and the sides if you want).


Decorate with a few blueberries, some lemon zest and a sprinkling of icing sugar. 
 

Saturday, 31 May 2014

Full of Eastern Promise - Pistachio Yoghurt Cake with White Chocolate and Cardamom Frosting


A rather tenuous link here between the phrase that makes me think of Turkish delight and the fact that this has rosewater in the frosting, but what I will say is that this is from Silvena Rowe's wonderful book 'Orient Express' which is full of luscious recipes from the eastern Mediterranean and (slightly further) beyond... and the cake is full of pistachios...so when I say Turkish I am not that far from the actual truth.
 
This is a cinch to make if you have food processor. The basic gist is that you just blitz the stuff that needs to be blitzed and then add the rest of the ingredients and then blitz some more. Put it into a prepared tin and you are done. And since I found myself a 10 cm cake tin, it means I can have my cake and eat it, since I don't have to make a full size cake and then be responsible for eating it all. Which unfortunately in the long term is probably a good thing.
 
Anyway, the coarse texture of this cake marries well with the cream topping, and even though I had no rose petals to garnish (a month too early for my garden, I fear) this cake still looks beautiful unadorned, the swirl of frosting hiding the nutty, ever so slightly verdant centre. Try it; it's lush!
 
Pistachio Yoghurt Cake with White Chocolate and Cardamom Frosting adapted from 'Orient Express' by Silvena Rowe
 
I halved the recipe below to make a cake that cuts into 4- 5 slices. The ingredients below make a cake that cuts into 8 - 10 slices
 
For the cake
 
200g ground pistachios
1/2 tsp ground cardamom
150g unsalted butter
225g self-raising flour
185g caster sugar
3 eggs
125ml thick yoghurt ( I used strained Greek yoghurt 0% fat - it worked!!)
a pinch of salt (optional)
 
For the frosting:
 
100g white chocolate
200g cream cheese
1/2 tsp rose water
1 tbsp icing sugar
1/4 tsp ground cardamom
1-2 small edible roses
1 tbsp icing sugar
 
 
Method


Preheat the oven to 180°C/gas 6. Butter and line a 20cm cake tin with baking paper.


Blend the ground pistachios, cardamom, butter, flour and sugar in a food mixer. Then combine with the eggs and yoghurt in a mixing bowl.


Pour the mixture into the cake tin and bake in the oven for one hour. Cover the cake with foil halfway through cooking then allow to cool on a rack.
 
 
To make the frosting, melt the chocolate in a bowl over a saucepan of simmering water, and allow to cool. In a separate bowl combine the cream cheese with the rose water, then add the cooled chocolate. Sift in the icing sugar and sprinkle in the ground cardamom. Mix well until you have smooth cream.


Serve cake accompanied by the chocolate and cardamom cream. Sprinkle with edible roses and dust with icing sugar. (I just covered my cake in frosting instead of serving it separately; a frosted cake is such a pretty thing!)

Wednesday, 26 March 2014

The Upside of a Teachers' Strike - Lemon Cake with Lemon Icing


This will not be a political post; I am not on strike. However, Finn's teacher is, and so my mission today has been to transform myself from English teacher to 'midweek mum', and really it's all been rather nice. When I was informed via email that I would not be paid for my 'special leave' it was at that point I decided that the marking would stay on the desk upstairs and I would breeze around the house and maybe take Finn out for a kick around with a football, a spot of lunch and whatever took our fancy.  Basically, I was going to do the stuff I think about doing when I am at work. It also gave me time to whip up this fabulous cake with some tooth tingling-ly tart icing which I have been threatening to do for a while, since I picked up the recipe card at Tesco however long back it was.
 
A selfie of Finn and me, enjoying our day of freedom!!
 
I am not really sure that there is anything to beat a lemon cake, and I have to say that this cake turned out brilliantly well and was a cinch to make. It is once light, but dense with lemon flavour. I did divert from the original recipe (which you can find here) and decide that instead of soaking it with unctuous lemon flavoured syrup as in the original recipe, I would squeeze the remaining lemon I had and mix it with a little icing sugar to adorn the top of the cake at first, before allowing it to drizzle down the sides. Yum. You must try it!
 
Lemon Yoghurt cake with Lemon Icing, adapted from the original recipe by Tesco
 
Ingredients:
 
 
250g (9oz) unsalted butter
275g (9 1/2oz) golden caster sugar
4 finest* Brown Eggs
275g (9oz) self-raising flour
a pinch of salt
1tsp vanilla extract
2 lemons, finely grated zest and 3tbsp juice
100g (4oz) finest* Greek yogurt, plus extra to serve
 
Icing:
 
The juice of the remaining zested lemon (see above)
About 150g (6oz) icing sugar, sifted
 
(*finest refers to the range of ingredients at Tesco, foreign readers!!)
 
Method:
 
Prepare a  23cm round, spring form cake tin by greasing it and lining it.
 
Preheat the oven to gas 4, 180°C, fan 160°C.


Beat the butter and sugar together until fluffy and light. I used my Kenwood mixer and mixed for a few minutes whilst I was emptying the dishwasher. Yes, I am being serious.


Add the eggs, one by one, beating well between each addition. If by the fourth egg your mixture looks a bit split, add a couple of tablespoons of the flour to bring the mixture back to the required consistency.


Fold in the flour and salt to make a smooth batter.


Fold in the vanilla extract, lemon zest and juice and 100g of the Greek yogurt.


Pour into the tin, smoothing the top and bake for 50 minutes to an hour, until golden and springy on top. Mine was ready after about 55 minutes.
 
Allow the cake to cool a little before removing from the tin. Do not ice the cake until it is fully cool.


To make the icing, mix together the juice from the remaining lemon with the icing sugar. Add the icing sugar gradually; you may need less or you may need more depending on how much juice you get from the lemon. You are looking for a mixture with a 'slow' pouring consistency that can be spread across the cake and then drizzle down the sides at will.


Once iced, cut yourself a slice and consume...


LinkWithin

Related Posts Plugin for WordPress, Blogger...