Lola and Finn's Mum

Lola and Finn's Mum
Showing posts with label jam. Show all posts

Monday, 15 February 2016

A seventies cake for a seventies chick - Black Forest Victoria Cake


Retro. That’s me. And that being the case, it was only fitting that my birthday cake of choice would also be, like me, of a seventies vintage, the Black Forest Gateau. I don’t care if it’s naff, the combination of chocolate, cream and cherries is, quite frankly, lush, and I thumb my nose to all you dinner party aficionados who think it a gastronomic crime to serve this after your prawn cocktail and your duck a l’orange… (I lurve duck a l’orange by the way…)
I was flicking through some cookery books for an idea as to what to indulge myself with (and force upon others) for my birthday and when the book fell open on this cake I thought to myself, bingo… I have all the ingredients, so no visit to the supermarket (a dangerous business when you are in the midst of ‘healthy eating’ and feel like eating your own arms…) and I like chocolate. And cherries. And cream. And more chocolate. If I am abandoning my current pastime of living virtuously, albeit temporarily, then this is a beautiful way to do it.
This recipe is from ‘Gorgeous Cakes’ by Annie Bell. A completely apt title if you ask me. I made some adaptions, like adding some vanilla extract and salt to the chocolate cake mix, for chocolate likes vanilla and needs salt for that chocolatey ‘hit’. I brushed the warm cakes over with some kirsch because I don’t believe that you can ever have too much of a good thing, and I sweetened the cream with some vanilla and a little icing sugar. Because I can.
The other nice thing about Black Forest Gateau is that you can make it look as pretty as a picture. It didn’t need the 42 candles that should have gone on it. Just as well really as I imagine that such an amount of candles constitutes some kind of fire hazard.

Black Forest Victoria, adapted from ‘Gorgeous Cakes’ by Annie Bell
Makes a 1 20cm cake with sides of 9cm deep, (but I divided the mixture into three 18cm sandwich tins)
Ingredients:
For the cake -
225g unsalted butter, at room temperature
200g golden caster sugar
1 tbsp golden syrup
1tsp vanilla extract
200g self-raising flour
2 tsp baking powder
25g cocoa powder, sifted
4 medium eggs
100ml milk
Pinch of salt
10 – 15ml kirsch, for brushing over the cake
For the filling –
Half a jar of black cherry jam
1 tbsp kirsch
350ml double cream
1 tsp vanilla extract
1 tbsp icing sugar, sifted
To decorate:
Approx 50g of grated chocolate (Should have used dark chocolate, chose to use milk due to fussy children!)
Cherries (I used some from a jar)

Method:
Preheat the oven to 180c and prepare tins by greasing and then lining the bottoms with greaseproof paper.

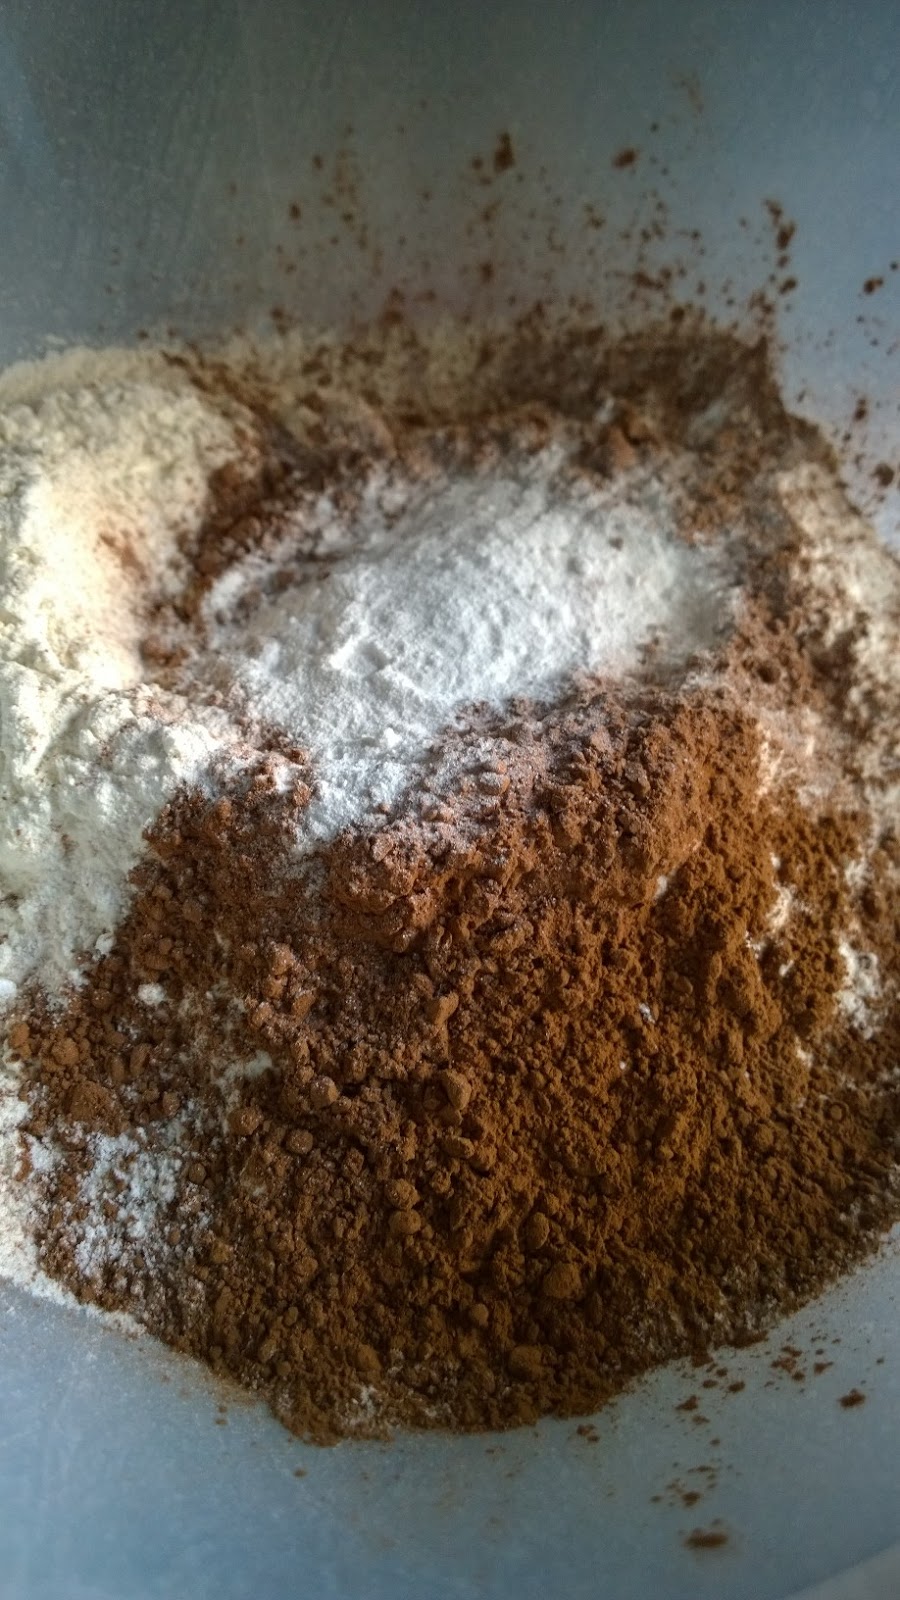
The original recipe recommends putting all the ingredients together and creaming them until combined. Rightly or wrongly I did it the way mama taught me, that is, creaming the butter with the sugar, then added the syrup, the vanilla and the eggs, one at a time, putting a spoonful of flour into the mix after each egg to stop the mixture from splitting. Then I added the flour alternately with the milk and mixed to only just combined. Lastly, I added the salt and then for the final mix together I used a spatula to ensure that all the mixture was combined.

Pour the mixture into the tin(s). If using the sandwich tins then bake for about 20 mins, until the cake is firm to the touch and has shrunk away from the sides of the tin. If baking in the recommended tin, bake for about 55 mins or until a toothpick placed into the centre of the cake comes out clean).
Once the cakes come out of the oven and whilst still warm, brush a little of the kirsch over the top of the cake(s). If you are making one cake then you will need to cut the cake into layers.
To make the filling: Whip up the cream with the icing sugar and vanilla until it forms pretty stiff peaks which will hold whilst piping. Do not overbeat.
Put the jam into a bowl and loosen with the kirsch. Grate the chocolate.

To assemble. Once cool, spread jam over the layer and then pipe some cream on. Place the next layer onto the cake and then repeat the process.

On the top layer, brush the jam over the top and then cover the jam with grated chocolate. Once the top is completely covered in chocolate, pipe the top decoratively. Adorn the cake with pitted cherries.
Don your bell bottoms and Cuban heels and then serve to all and sundry.


Wednesday, 18 December 2013

I really should have thought of this far earlier - Jam Butty Pudding


Given my refreshing sense of laissez-faire when it comes to life (This is my kind way of saying 'can't be arsed') I seem to have three half used jars of jam randomly arranged on my worktop and half a loaf of stale bread, because I didn't wrap it up properly, and I could have made toast and jam, but this is so predictable. Instead I decided to make it far more unhealthy by encasing the aforementioned bread and jam in a creamy vanilla custard, therefore creating, if you will, jam butty pudding.  If you are not from these parts,'butty' means 'sandwich' and 'pudding' means 'something glorious' ... probably.
 
I could have taken the crusts off I suppose, but personally I kinda like the way they crisp up and create that wonderful textural contrast between crunch and softness. And you could use any old jam you like. This just happened to be strawberry but, you know, I could be persuaded to use any jam. I think I would like to use the quince jelly I have, which means I'll have to buy even more of it when I next go to France. Shame.
 
I made this so it would be a set custard, so I was working on 100ml of liquid to one egg and I did this because I wanted to pour a little cream over when I served this. I was thinking crunchy, soft, warm then cold. If you wanted to, you could increase the liquid to egg ratio for a more liquid custard. I only added about 30g of sugar because I wanted the jam to be the sweetness, but that is all about personal taste. You could also cook this, bain marie style but I'll be honest, due to my liking of laissez faire, I just bunged it in the oven with some foil on top for about 30 - 40 minutes or so, then checked if the custard was starting to solidify, which it was. Then I removed the foil and let the top brown for about 15 minutes or so.
 
By the way, if by some peculiar notion you happen to have leftovers, this is really quite nice the next day. Let's just say that I have eaten breakfasts that are far, far worse...
 
Jam Butty Pudding
 
Ingredients:
 
Six to eight slices of stale, white bread
Half a jar of jam (I used strawberry)
150ml double cream
150ml milk
3 eggs
a vanilla pod (you could use extract)
30g sugar (or to taste)
 
Method:
 
Preheat the oven to 180c


Make jam sandwiches (take the crusts off if you want)


Cut the sandwiches into triangles that will fit snuggly into an ovenproof dish. Arrange them so that they sit in the dish reasonably tightly.


Meanwhile to make the custard, mix the liquids, the eggs and the sugar together. Slit the vanilla pod and scrape the seeds into the mixture. Then put the vanilla pod in. (or just use a tsp of extract).


Pour some of the custard mixture over the sandwiches and allow the bread to absorb it. Then pour the rest of the custard over.
 
Place the dish on a tray and cover with dish with foil. Place in the oven for about 30 - 40 minutes. Check the pudding round about 30 minutes to see if the custard is beginning to set. Take the foil off for the last 20 minutes or so to brown the top, but keep an eye on it as it could burn quickly.
 
Once you're happy with the colour, take the dish out of the oven. The pudding should appear quite puffed but will sink once it comes out of the oven.


Serve warm, with a splosh (or more) of cream.


Saturday, 3 August 2013

We're jammin'! - Jumbleberry Jam


Well, this was quite a satisfying thing to make for it solved a myriad of problems. I won't list them all, but in no particular order it gave me the chance to pretend to be Nigella, though it's quite a stretch as I don't have her luxurious tresses, her hourglass figure or a nearly ex husband (well done luv!) but I do have lots of fairy lights, a tendency to raid the fridge and a penchant for denim jackets and shopping at Waitrose, and they say that imitation is the most sincerest form of flattery, so there we are...
 
It also provided a way of using up some particularly sad looking frozen fruit in the back of the freezer which looked like they were surrounded in some sort of permafrost, to be honest, some strawberries from the garden, of which there has been quite a glut for some reason that I really don't get. Talking of gluts, Phill's mum's red and blackcurrant canes always seem to produce more berries than anybody really needs, so they're also included here, giving up their gloriously sour, vibrant juice.


Lastly, August 2013 is the month of Nigella Lawson on the 'Cook Like a Star' blog hop, hosted by Zoe at Bake for Happy Kids, Joyce from Kitchen Flavours and Anuja from Simple Baking. I only just got in to last month's blog hop, so this month I was determined to be part way organised, especially I will be taking a little French leave in a couple of weeks or so.
 
 
JUMBLEBERRY JAM, taken from 'Kitchen' by Nigella Lawson
 
Ingredients:

750g mixed berries, such as strawberries (quartered), raspberries, blackberries, redcurrants and blueberries
750g jam sugar
 
 
Method:

  Pop a couple of saucers in the freezer for later.


Place the berries and the sugar into a large, deep pan and stir well.
Put the pan on a low heat. Do not stir, but give the pan a few gentle shakes to encourage the sugar to melt into the fruit.
 
Once all the sugar has dissolved, turn up the heat. Bring to the boil, then turn down to a medium heat so that you have a consistent, vigorous simmer. Resist the temptation to stir!


After about 15 minutes, take a saucer out of the freezer. Take a teaspoon of jam and smear it over the saucer;  leave for a few minutes. Then push the surface of the jam with the teaspoon; if it is beginning to wrinkle, it’s ready. If not, keep the pan on the heat for a few more minutes, then repeat the process.

 
When the jam’s ready, take it off the heat and pour/spoon into jars. This amount makes around four standard size jars. Seal, then leave to cool.
 
The jam can be stored in a cool place for up to one year. Once opened, store in fridge and use within a month.
 

Monday, 20 August 2012

Speeding up history - Bakewell Tart (or pudding, if you like)


I am lucky in that being British I have gorgeously satisfying, completely stodgy puddings in my cooking DNA. Whilst sometimes it might be nice to finish a meal with something light, there are times, often when it's cold or miserable outside, that I require something a little more weighty, the kind of 'afters' that sticks to your ribs. And whilst this particular pudding might not have the sticky gravitas of Spotted Dick or Steamed Treacle Sponge, Bakewell Tart is a gorgeous way of finishing off a meal. And to think, like Tarte Tatin, it happened through mistake...

Coming back from France I brought a motor home freezer full of (amongst other things) puff pastry, filo pastry, shortcrust pastry and so on, not because I hate making pastry as such but because it's so bloody cheap compared to here and it's amazing quality. And it's easy to whip something up resembling a hearty meal when I come home from work when the pastry is already there, done, waiting to be topped with tomatoes or mozzarella or something, or wrapped around potatoes and meat to produce a pie or a pasty, both adored by Lola and Finn. I figured that I could make this tart easier by using ready made pastry. Ordinarily I would have used puff as this is meant to be more faithful to whatever the 'original recipe' was, but I used pate brisee this time and it was absolutely fine, and totally delicious.

And as my great, great grandma and plenty of her forebears are from Bakewell, I kinda feel quite close to this pudding, imagining that some of my ancestors might have been ones to try the original mistake in the Rutland Arms, nearly 200 years ago.

Bakewell Tart or Pudding

Ingredients

6 - 8 oz puff pastry (though on this occasion I used ready rolled pate brisee)3 oz butter
3 oz caster sugar
3 egg yolks lightly beaten
2 egg whites
A quarter of a teaspoon of almond essence or almond oil if you have it.
four tablespoons of firm raspberry jam
(though I have used a bit more than that - I like it jammy)

A handful of flaked almonds

Method

Preheat oven to 210 C and put in a baking sheet to warm up (the bottom of the pie needs extra heat to cook the pastry)


Roll the pastry out and use to line a greased tart tin or pie plate about 7 inches across and one inch deep with a tiny lip all the way round. Spread the jam thinly on the bottom of the pastry. It should look like a big jam tart.

Beat the butter and sugar together until light and fluffy, and work in the egg yolks and almond essence bit by bit.


In a separate bowl, whisk the egg whites until they form soft peaks, then fold into the butter and sugar mix. You might end up with a batter that is quite thick, but you should be able to pour it into the pastry and jam.


Pour this batter over the jam, scatter some flaked almonds over the top and place in the oven on the baking sheet. After about 15 minutes, check the pie to see if the top is browning. If it is getting quite dark, reduce the heat down to about 180 C. Bake for a further 20 minutes or so, but keep checking. If the batter is still too wobbly but is browning more than it should, place some foil over the top.


The pudding is ready when the pastry is puffed and the mix has risen and looks dark. The batter will yield a little.

Allow to cool slightly. The top will sink very slightly but its meant to.


Serve with pouring cream, custard or vanilla ice cream. Custard is the accompaniment of choice around here!


LinkWithin

Related Posts Plugin for WordPress, Blogger...